Mary Berry’s Angel Food Cake with Lemon Curd and Passionfruit drizzle

I love Baking and like to try something new. Sometimes I bake to beat boredom, other times there seems to be so much going on that I have to find time to bake! This was one of those times.

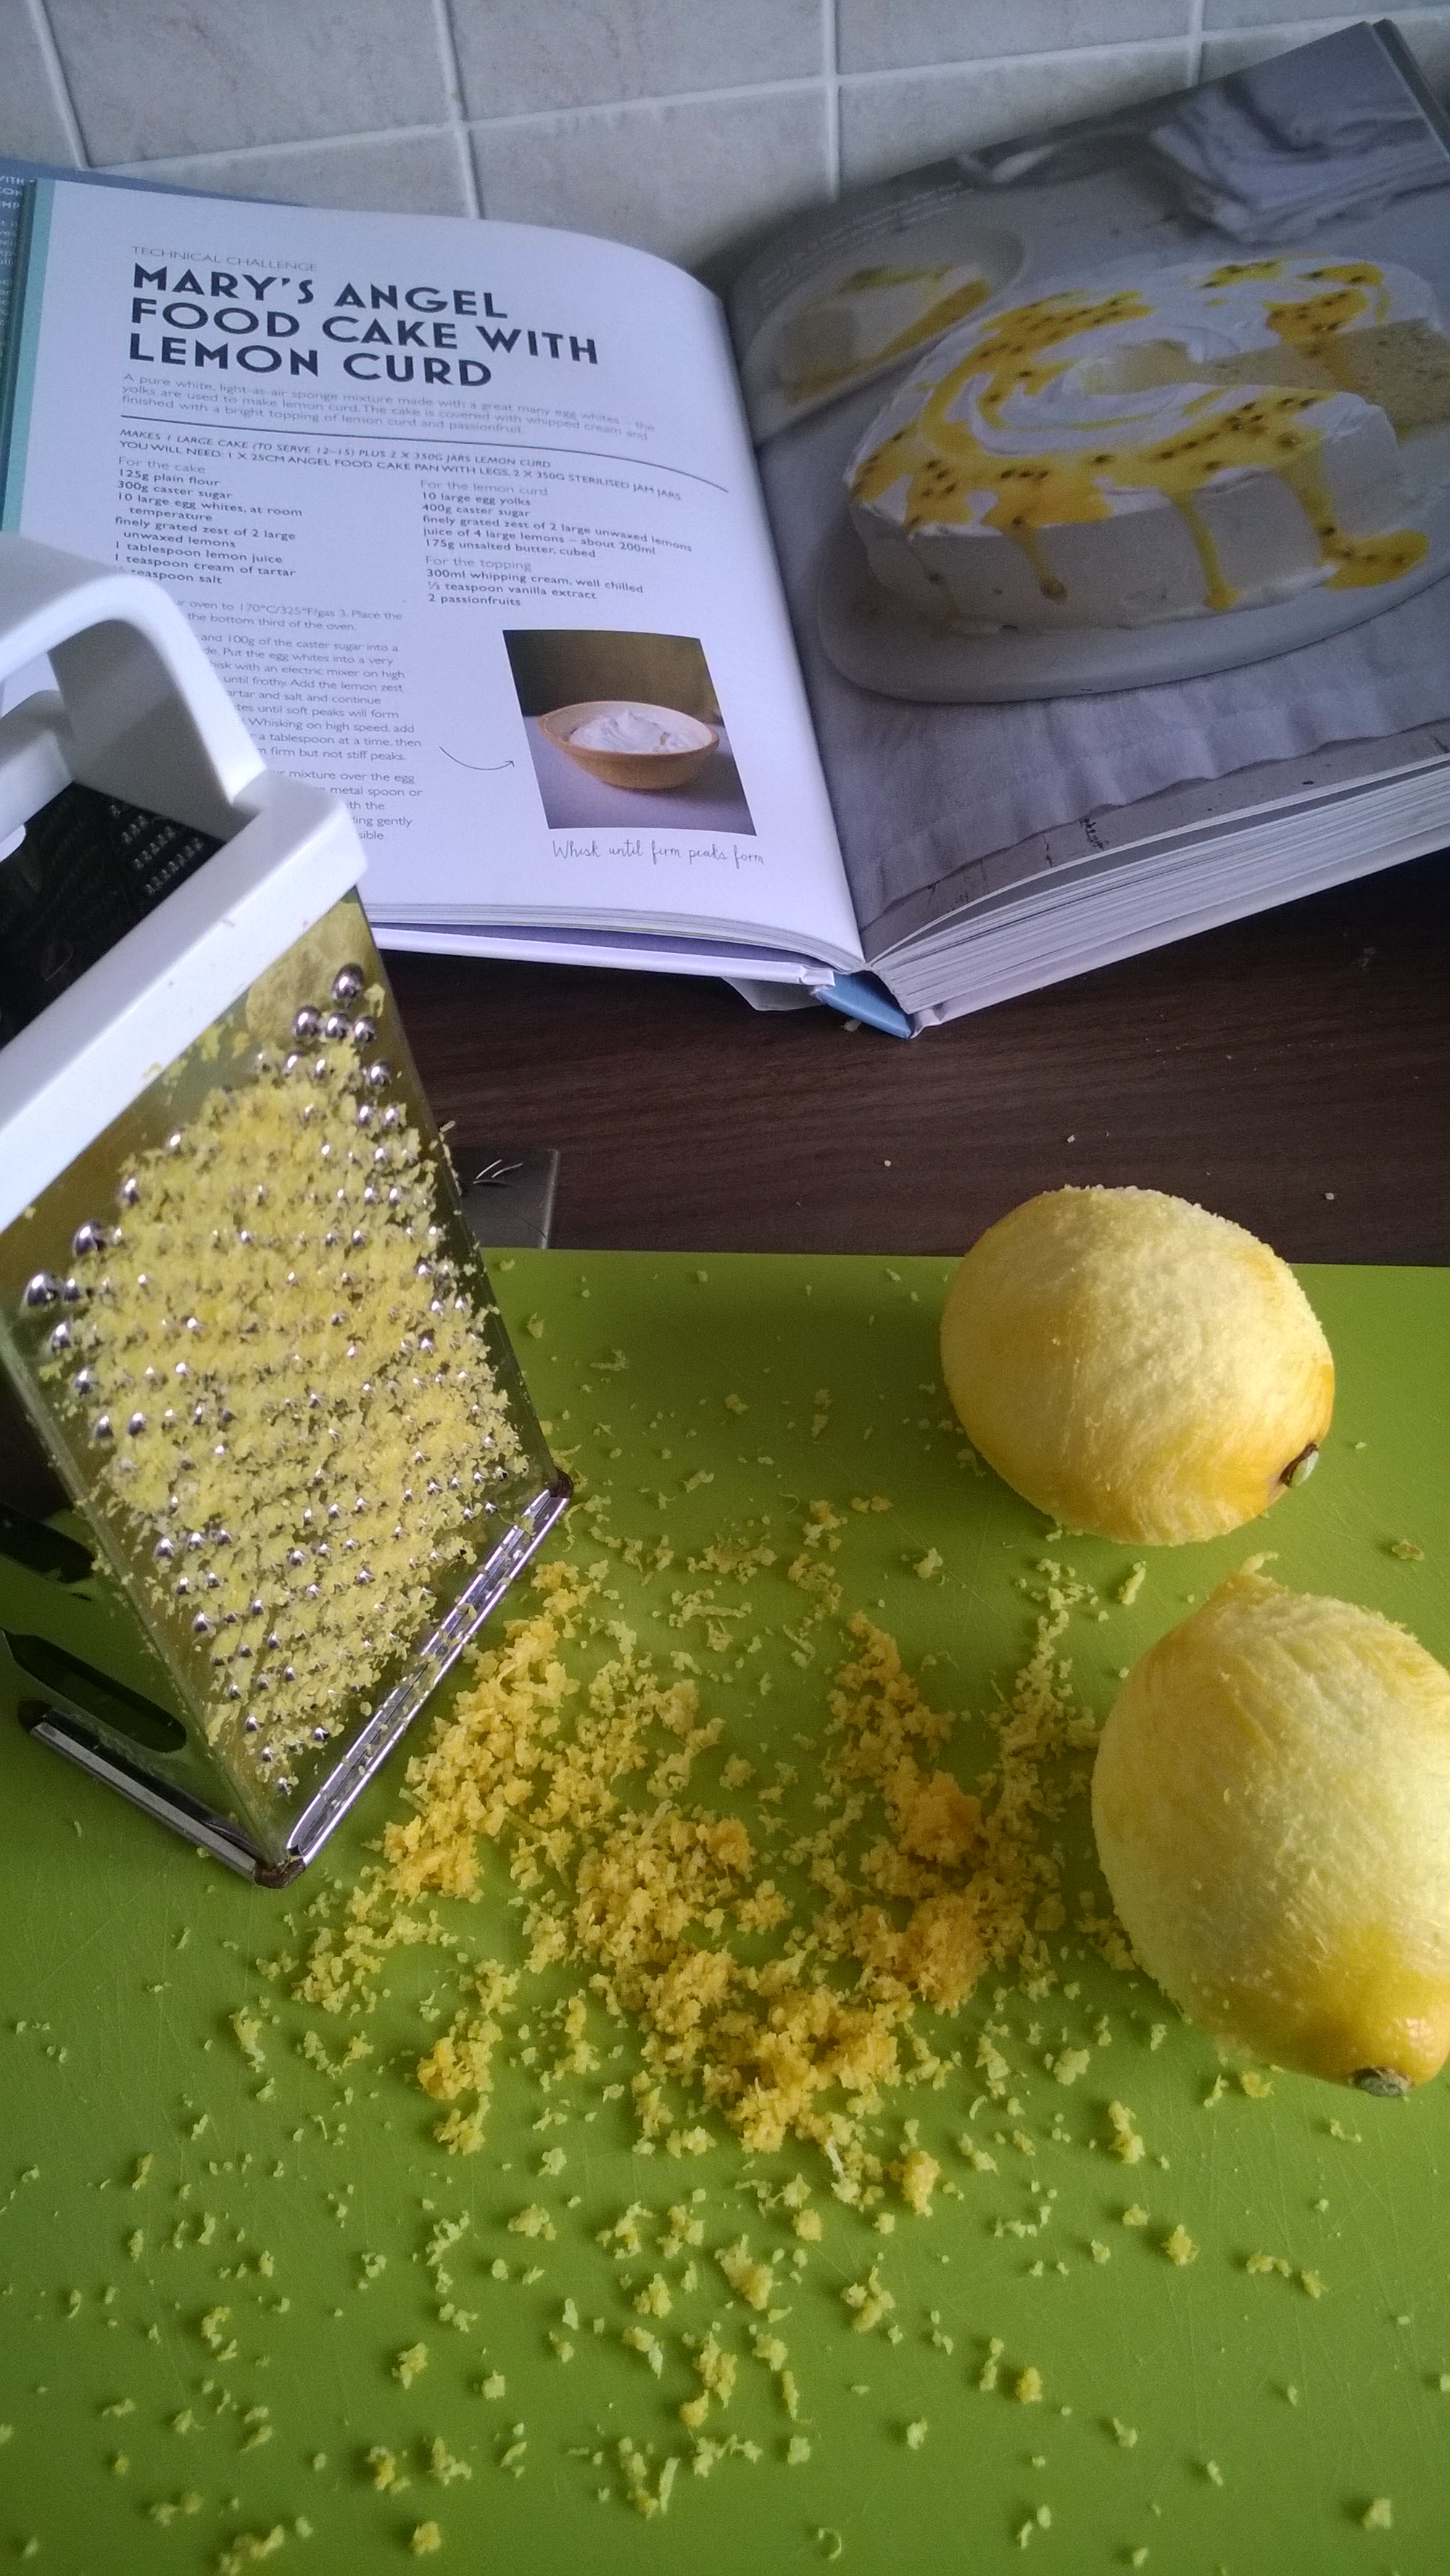
I saw this recipe on Bake Off last year and have wanted to make one ever since but I haven’t have the right tin. For Christmas, my lovely mother in law bought me the tin! Wahoo! So I have been dying to make it ever since. Here is how it went!

WP_20140118_18_54_18_Pro

Recipe
Cake Ingredients
125g Plain Flour
300g Caster Sugar
10 Large Egg Whites, at room temperature
Finely grated zest of 2 large unwaxed lemons
1 tbsp Lemon Juice
1 tsp Cream of Tartar
1/2 tsp salt

Method
1 – Heat the oven to 170C/Gas 3 and put the oven shelf in the bottom third of the oven

2 – Sift the flour and 100g of the caster sugar into a bowl and set aside. 4

3- Separate the eggs, put the whites into a very large bowl (keep the yolks in a smaller bowl for later) and whisk with an electric mixer on high speed for 1 minute until frothy.

WP_20140118_14_24_40_Pro
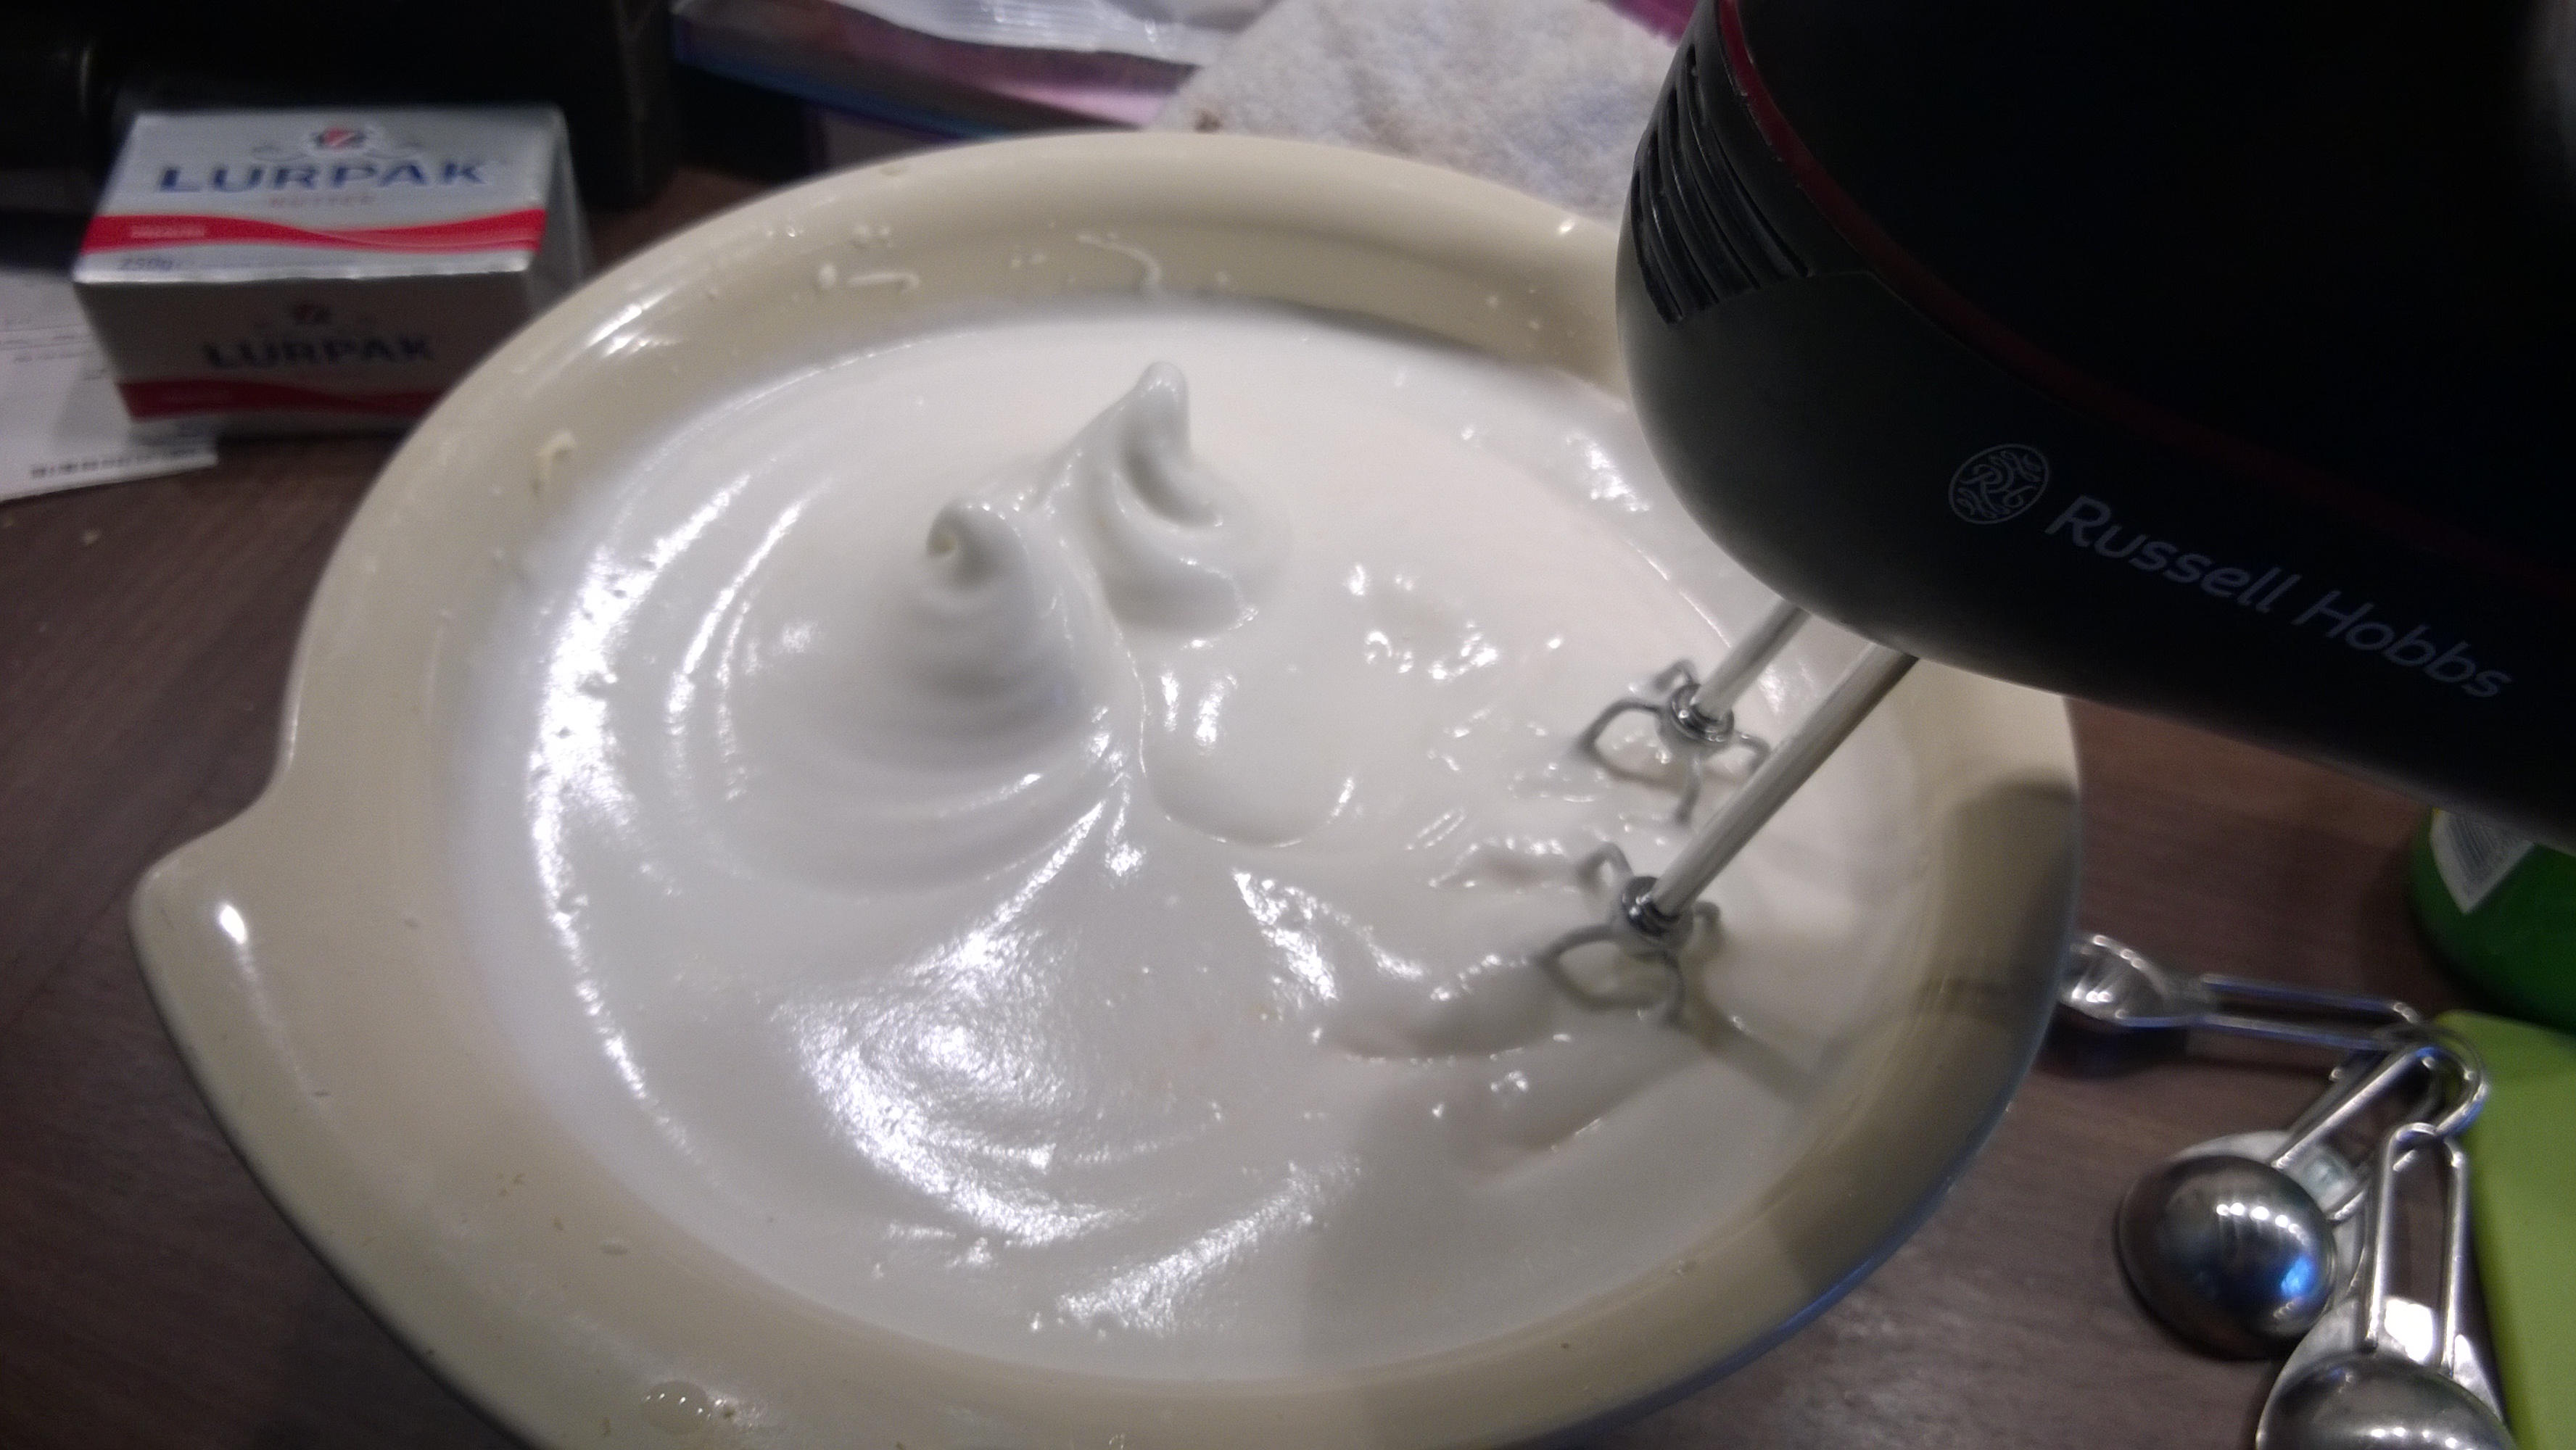
4- Add the lemon zest (careful not to zest your thumb too like I did, ouch!) and juice, cream of tarter and salt and continue whisking for 2-3 minutes until soft peaks will form when the whisk is lifted. I think this is how they should look:

5 – Whisking on high speed, add the remaining 200g caster sugar a tbsp at a time and whisk until the whites form firm but not stiff peaks.

6 – Sprinkle a 1/3 of the flour mixture over the whites and gently fold in with a large metal or plastic spoon until combined (I can’t remember why but you shouldn’t use a wooden spoon to fold egg whites, I think it takes the air out). Repeat with the remaining flour mixture, in 2-3 batches, folding gently to keep as much air in as possible.

7 – Transfer the mixture to an un-greased 25cm Angel Food cake Pan with Legs, then gently run a knife through the centre of the mix to dislodge any large pockets of air.

8 – Bake in the oven for 45 -50 mins, I baked mine for 45 minutes and it was definitely done, maybe even a couple of minutes over. It is done when a skewer inserted into the cake comes out clean.

WP_20140118_16_24_26_Pro

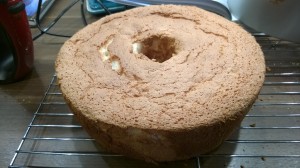
 9 – Remove the pan from the oven and immediately turn upside down (hence the    legs), Leave to cool for at least 1 hour.

10- Run a palette knife around the inner and outer edges of the pan to loosen it from the pan, then invert the pan onto a plate and use the palette knife to loosen the cake from the base of                                                                                 the tin. Leave to cool completely on a wire rack.


WP_20140118_14_06_07_ProLemon Curd Ingredients

10 large egg yolks
400g Caster Sugar
Finely grated zest of 2 large unwaxed lemons
Juice of 4 large lemons – about 200ml (I don’t have a posh juicer and the juice I squeezed out of my 4 lemons was about 150ml, so I used a bit of Jif lemon to top it up)
175g unsalted butter, cubed


Method
1 – Mix together the egg yolks, sugar, lemon zest and juice in a large pan.

2 – Cook gently over a low heat, stirring with a wooden spoon (make sure to stir the sides and base thoroughly) for 5-7 minutes until the mixture thickens enough to coat the back of the spoon.

WP_20140118_15_19_14_Pro

3 – Remove from the heat and stir in the butter until melted and smooth.

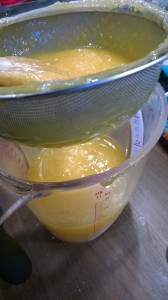
4 – Strain the lemon curd through a sieve into a large jug (it suddenly starts to resemble lemon curd at this point!)

5- Mary Berry’s recipe says that you should fill two 350g sterilised Jars with curd and seal with a lid. Then use the rest of the curd for the topping. I only seemed to have enough for one 300g jar and there was nearly 200g left which I used for the topping. I’m not sure if we heated it for too long or if I didn’t have enough lemon juice, but there was nowhere near enough for two 350g jars plus some for the topping!

WP_20140118_15_28_13_Pro


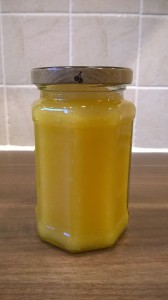
6 – So fill jars with as much lemon curd as you have and then leave some (the recipe is very vague but I kept about 200g and it seemed to work well and taste yummy) in the jug for the topping. Cover this with clingfilm and leave to cool.

Topping Ingredients
300ml whipping cream, well chilled
1/2 teaspoon vanilla extract
2 passionfruits

Method

1 – Whip the cream with vanilla extract until it will form soft peaks.

2 – Spoon the cream over the cold cake and smooth down with a palette knife.

3 – Cut the passionfruits in half and scoop out the seeds and pulp. Stir into the reserved cooled lemon curd and drizzle over the angel food cake before serving.

WP_20140118_19_21_38_Pro

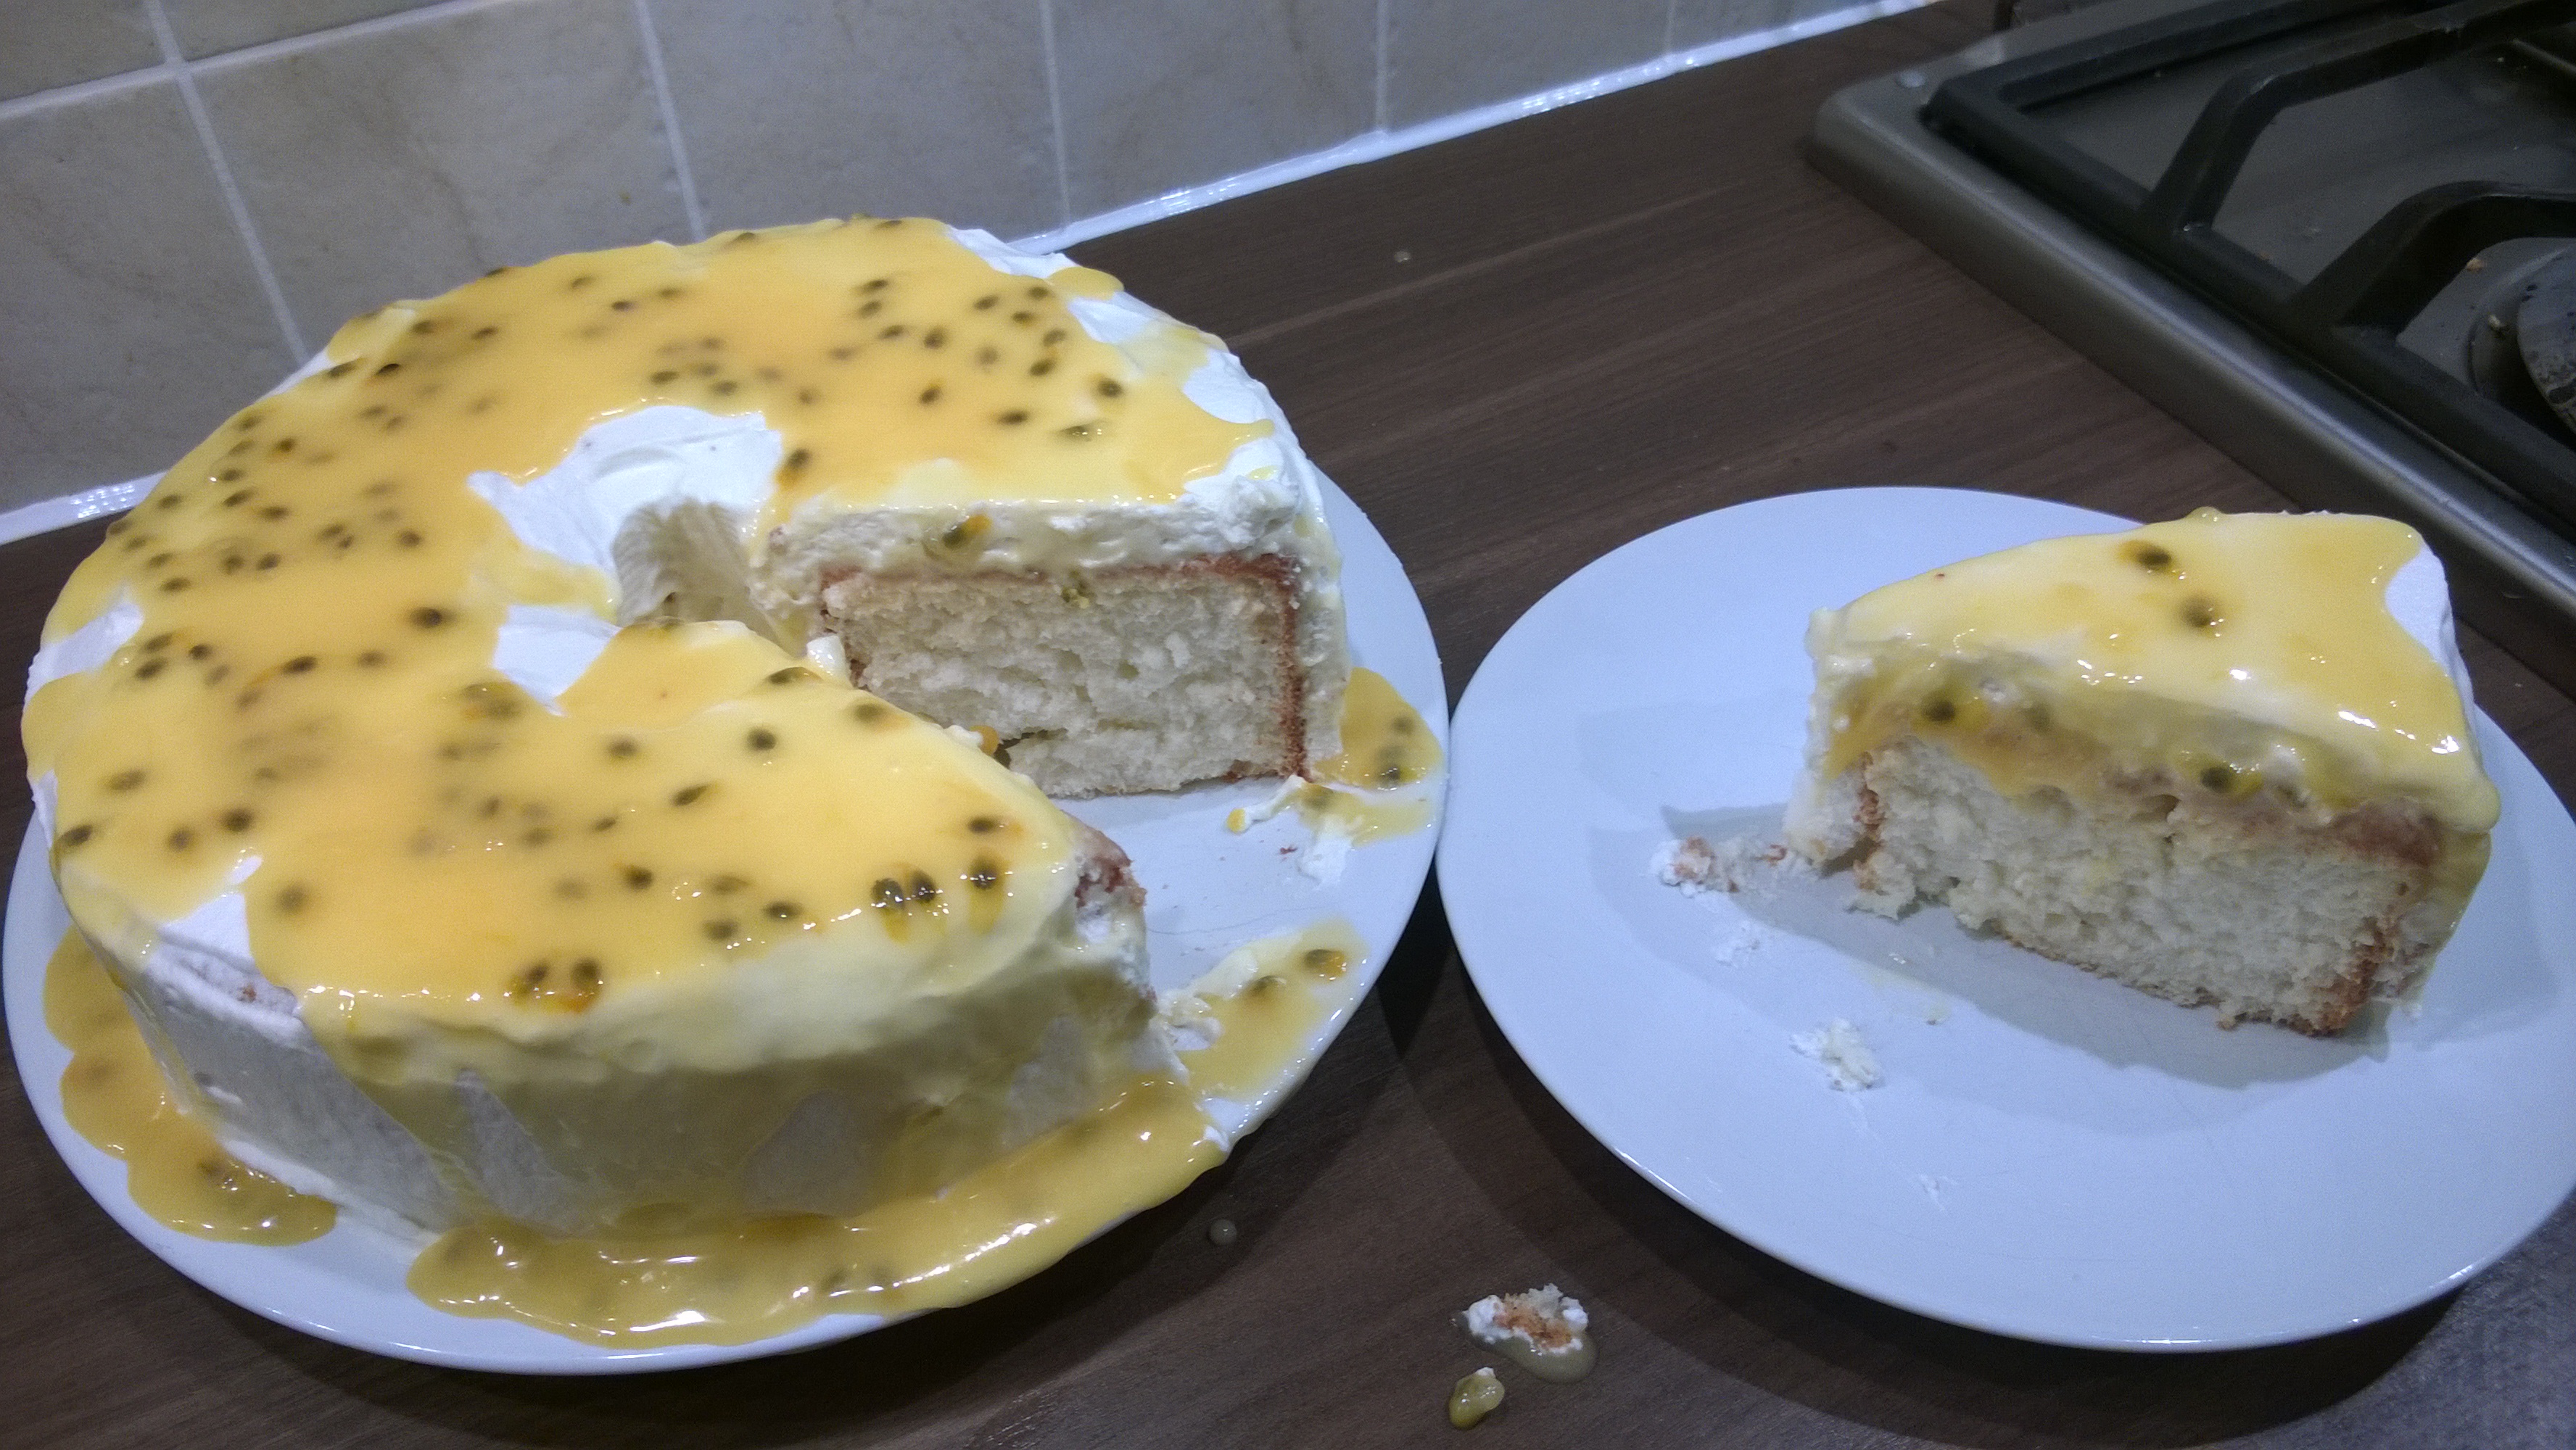
It’s not exactly the simplest bake in the world and I certainly didn’t do it perfectly (when I was tipping the mixture into the tin I kept finding pockets of flour and sugar – not quite as well folded as I thought!) but it turned out pretty well actually! It tastes yummy and very light though it’s an interesting texture because of the egg whites.

The sauce is a lovely combination of sharp and sweet and it goes very nicely with the delicate flavour of the cake but I actually think the cake would be nice without such a strong topping too.

I am particularly surprised with how well the lemon curd turned out – it has now set and is exactly how I think of Lemon Curd! Feels really nice to have made it – makes me want to make jams and all sorts now haha – maybe one day!

Happy Baking!

Gallery-logo

Tasty Tuesdays on HonestMum.com

Link up your recipe of the week

Beating Boredom with Baking Blog 3 – Paul Hollywood’s Chocolate and Peppermint Roulade

I haven’t written a baking  blog for a while as I have been on a bit of a diet. I have done pretty well with the diet, but I have really missed the baking. I just find it really therapeutic. Even on days when I am shattered and can’t be bothers, following the recipe is so soothing and then taking it out of the oven, decorating, ah the feeling of satisfaction is amazing.

WP_20131205_15_28_12_Pro

A few weeks ago I caught an episode of Paul Hollywood’s Pies and Puds during Monkey’s nap and just thought that this Roulade sounded delish, so here is the recipe:

Ingredients

  • 125g/4½oz dark chocolate ( I Used Bourneville – 39% Cocoa Solids :))
  • 4 free-range eggs, separated
  • 125g/4½oz caster sugar, plus extra for dusting
  • 2 tbsp cocoa powder, sifted (I use Green and Blacks)

For the filling

  • 325g/11½oz icing sugar, sifted ( I didn’t sift and it seemed fine :))
  • 100g/3½oz butter, softened
  • 2 tbsp milk
  • 3-4 drops peppermint flavour oil (I used about 4 drops of just peppermint flavouring as I couldn’t get oil, and it was very yummy)
  • 2 tbsp dark chocolate chips

Preparation method

  1. Line a 24x35cm/9½x14in Swiss roll tin with greaseproof paper and preheat the oven to 180C/350F/Gas 4.
  2. Melt the chocolate in a heat-proof bowl set over a pan of simmering water.
  3. Whisk the egg yolks with the sugar in a bowl. Add the cocoa powder, stir to combine until the mixture has thickened, is pale and increased in volume.
  4. Whisk the egg whites in a separate bowl until stiff.
  5. Pour the melted chocolate into the egg yolk and sugar mixture. Stir until the chocolate is fully incorporated.
  6. Gently fold in the egg whites.
  7. Pour the mixture into the prepared tin. Tilt the tin so that the mixture spreads into the corners.
  8. Bake for 18-20 minutes, or until firm and springy to touch.
  9. Once cooked, turn the roulade out onto a piece of greaseproof paper dusted with caster sugar.
  10. Gently remove the lining paper and cover with a damp tea towel. Leave to cool completely.
  11. For the filling, gradually add the icing sugar to the softened butter. Beat until all the icing sugar is incorporated. Add the edible peppermint oil to the milk, and then stir into the buttercream.
  12. Spread the filling onto the cooled roulade, leaving a 1.5cm/¾in gap at each edge. Sprinkle over the chocolate chips.
  13. Using the greaseproof paper to help you, roll up the roulade from one of the short ends. Don’t worry if it cracks a little. Transfer onto a serving plate Tip – From watching Paul on the telly, at the top end, fold the edge down completely about 2 cm in, so that it breaks. This makes rolling the rest much easier apparently!

I have never whisked egg whites before, never made meringues or anything so was a bit wary of how this would go, but actually it went pretty well! I’d watched enough of  the Great British Bake Off this year and had seen them whisking eggs, and gently folding it into cake mixtures to know roughly what to do and what not to do. I.e. Be gentle with the folding so you don’t lose any of the air you have just whisked in!

We don’t have a Swiss Roll tin either but I measured one our big baking trays and it was nearly the right depth for a swiss roll tin (2cm) so decided to try it and see if it worked, and it seemed just the right depth actually, which is good as it means we don’t have to buy a new tin.

WP_20131205_14_39_33_Pro


WP_20131205_15_27_28_Pro


I had one big fail, which was that I stupidly bought chocolate drops instead of chocolate chips. Chocolate drops are basically chocolate buttons so are far too big and intense hits of chocolate.


But on the whole it went really well! Hubby and Monkey love it, and my lovely Mother In Law, who is a brilliant baker said that it was possibly the nicest thing she had ever tasted – really high praise! My good friend and neighbour also said it was yummy and looked like a bought one :).  When I first saw it on TV I thought it would make a lovely Yule Log and after the success of this one I will definitely make it for Christmas! Though next time I will try it with chocolate chips or small shards of chocolate, though honestly I think it tastes lovely even without the addition of the dark chocolate in the cream!

WP_20131205_15_28_12_Pro
Tasty Tuesdays on HonestMum.com

Beating Boredom with Baking Blog 1 – Mary Berry’s Chocolate Fudge Cake

Boredom isn’t quite the right word for it, and Monkey and I keep ourselves very busy, but with the constant routine of mealtimes, playtimes, baby groups, naps, housework, sometimes I feel as if my brain is stagnating with the mundaneness. Sounds all a bit harsh and I am loving being at home with my little man, but I do need pursuits for myself to keep my brain going. Hence the baking!

We are watching Great British Bake-Off so maybe that has something to do with my sudden re-interest in baking, but I had a craving for a nice chocolate cake before that although I’m not sure why. Thanks to my husband’s tutelage I have now mastered the basic baking skills required for making a nice sponge cake, I also make cookies and flapjacks and things, but one thing I had never tried before was a good chocolate cake.

There are many many recipes out there and I was looking for a nice simple one that would give the tastiest chocolate cake possible. We have a few cookbooks in the house but I settled on a Mary Berry one. After a few failed attempts at some of her other recipes in the past (the pinwheel biscuits tasted really dull and we definitely prefer our flapjack recipe to hers) hubby was definitely a bit wary of this recipe book but her Chocolate Fudge Cake sounded too delicious not to try so off I went.

The cake recipe is as follows:

50g cocoa powder (I used Green & Blacks)
6 tbsp boiling water
3 large eggs
50 ml milk
175g self-raising flour
1 heaped tsp baking powder
100g soft butter
275g caster sugar
For Icing and Filling:
150g Plain Chocolate (Approx. 39% cocoa solids DO NOT USE A 70% COCOA SOLIDS CHOCOLATE, see below)
150ml double cream
Method:
 1.Pre-heat the oven to 180°C/gas mark 4. Grease two eight inch sandwich tins and line the bases with baking parchment.
2. Measure the cocoa into a bowl, add the boiling water and mix until smooth. Add the remaining ingredients and mix until smooth.
3. Divide the cake mixture between the prepared tins and level the surface
4. Bake in the pre-heated oven for about 25-30 mins until well risen and the tops of the cakes spring back when lightly pressed.
For the Icing and Filling:
1.Measure the chocolate and cream together in a bowl. Stand the bowl in a pan of simmering water and stir until just melted – do not get too hot.
2. Remove the bowl from the heat ad allow to cool until it has nearly set.
3. Spread onto cake as a filling and then the remaining for the icing.

I have to say right off that miraculously the cake baked perfectly first time round! I couldn’t quite believe it! The icing/filling however… not quite so.

Now it does say in the recipe that the chocolate should be 39% cocoa solids. I read this, but in my local shop they had 2 types of plain chocolate, one which didn’t say anything, and one which was 74% cocoa solids. I thought this was probably fine so bought that one. When I got home however I had another look at Mary Berry’s book and in the early pages (which I never normally read) she does explain why it is important not to use a chocolate with too high a percentage of cocoa solids. Something about the fat separating. This concerned for all of ooh, 2 seconds and then I thought, ahh it’lll be fine so went on with my baking.

What I was mindful of though was how bitter it would be using a plain chocolate that dark, so was prepared to add some sugar. when I had melted the chocolate and cream together I tasted it and sure enough it was a little bitter, so I added some sugar and extra cream to sweeten it. It tasted lovely, so all good I thought. Until I left it to cool. Then it started to go a bit gloopy and sure enouuh it separated. Soon there was a deep layer of oil on the surface of the bowl. Boooo! I tried to dab some off with kitchen roll (fail) then drained some of it down the sink. It did still taste nice which, according to hubby, was the most important thing.

I slapped it on the cake and actually it wasn’t too bad, tasted really good actually, I just knew that it wasn’t right.

Look what I made today... Mmmmm...... WP_002259

So a few days later, armed with some chocolate which was 43% cocoa solids (the lowest I could find) I tried again and it was definitely nicer. It was less greasy and it definitely set better as it cooled. Hubby says he liked both but my mum did admit she thought it tasted nicer the second time round.

WP_002306

So the moral of the story is – use the right type of chocolate! It is a seriously lovely cake though and such an easy recipe, so way to go Mary Berry! 🙂

Oh, one more note, the full recipe also mentions spreading apricot jam onto the cake before putting the icing/filling on, but I know Hubby would not like the apricot jam so I left it out, and it doesn’t feel like we are missing anything! 🙂

Tasty Tuesdays on HonestMum.com