The Creative Challenge – Join in with me!

I recently posted about how I am challenging myself to be more Creative with Monkey.  My aim is to come up with some more arty crafty things to do with him over the next month, and then report back on my progress and how successful I have been! I have decided that this kind of challenge is more fun done as a team, so….

Do you think you could be more creative? Do you shy away from messy play? Is there are a craft/art/hobby you’ve wanted to try but never quite got round to it?

I CHALLENGE you to change all that and give something new a try!

It could be anything you like as long as it’s a bit creative, such as:

 Always fancied crochet/knitting? Now’s the time to try.

Do you shy away from sticky/messy play? It’s time to be brave!

Want to get more adventurous with cooking/baking? Do it.

Always fancied writing a short story? Why not start right now?

CHALLENGE YOURSELF. 

Then come back and let me know how you’ve got on.

I’m giving us a month to give time to prepare and have time to make a good start.

The linky will open on WEDNESDAY 26TH FEBRUARY for you to share your creative story.

Please grab my badge, and spread the word! #CreativeChallenge

If you think you are going to join in I would love it if you could comment below and tell me how you are going to challenge yourself


Creative Challenge

Baking with a toddler – messy but brilliant! – 19 months

For quite a while now I have been thinking about doing some baking or cooking with Monkey but honestly have been too scared by the thought of him being in the kitchen around sharp knives, hot ovens, you get the idea. I may have mentioned once or twice that Monkey is a Fussy Eater, and in my extensive reading about ways to help with that I have read that getting them involved in the kitchen is a good way to go. For example, Supernanny’s Little Chef Technique, but, at risk of repeating myself, knives, hot ovens… aaaagh.

WP_20140115_15_50_45_ProThen one day I was getting dinner ready and he was so unhappy at me being in the kitchen that I let him come in with me. He played on the floor to start with with some cake tins and spoons, then he got interested in the sweet potato I was peeling, so I sat him on the step stool so he could see the worktop and he helped me put the chopped sweet potato into the steamer and the peelings in the bin. Simple things of course but it gave me confidence to try baking or something.

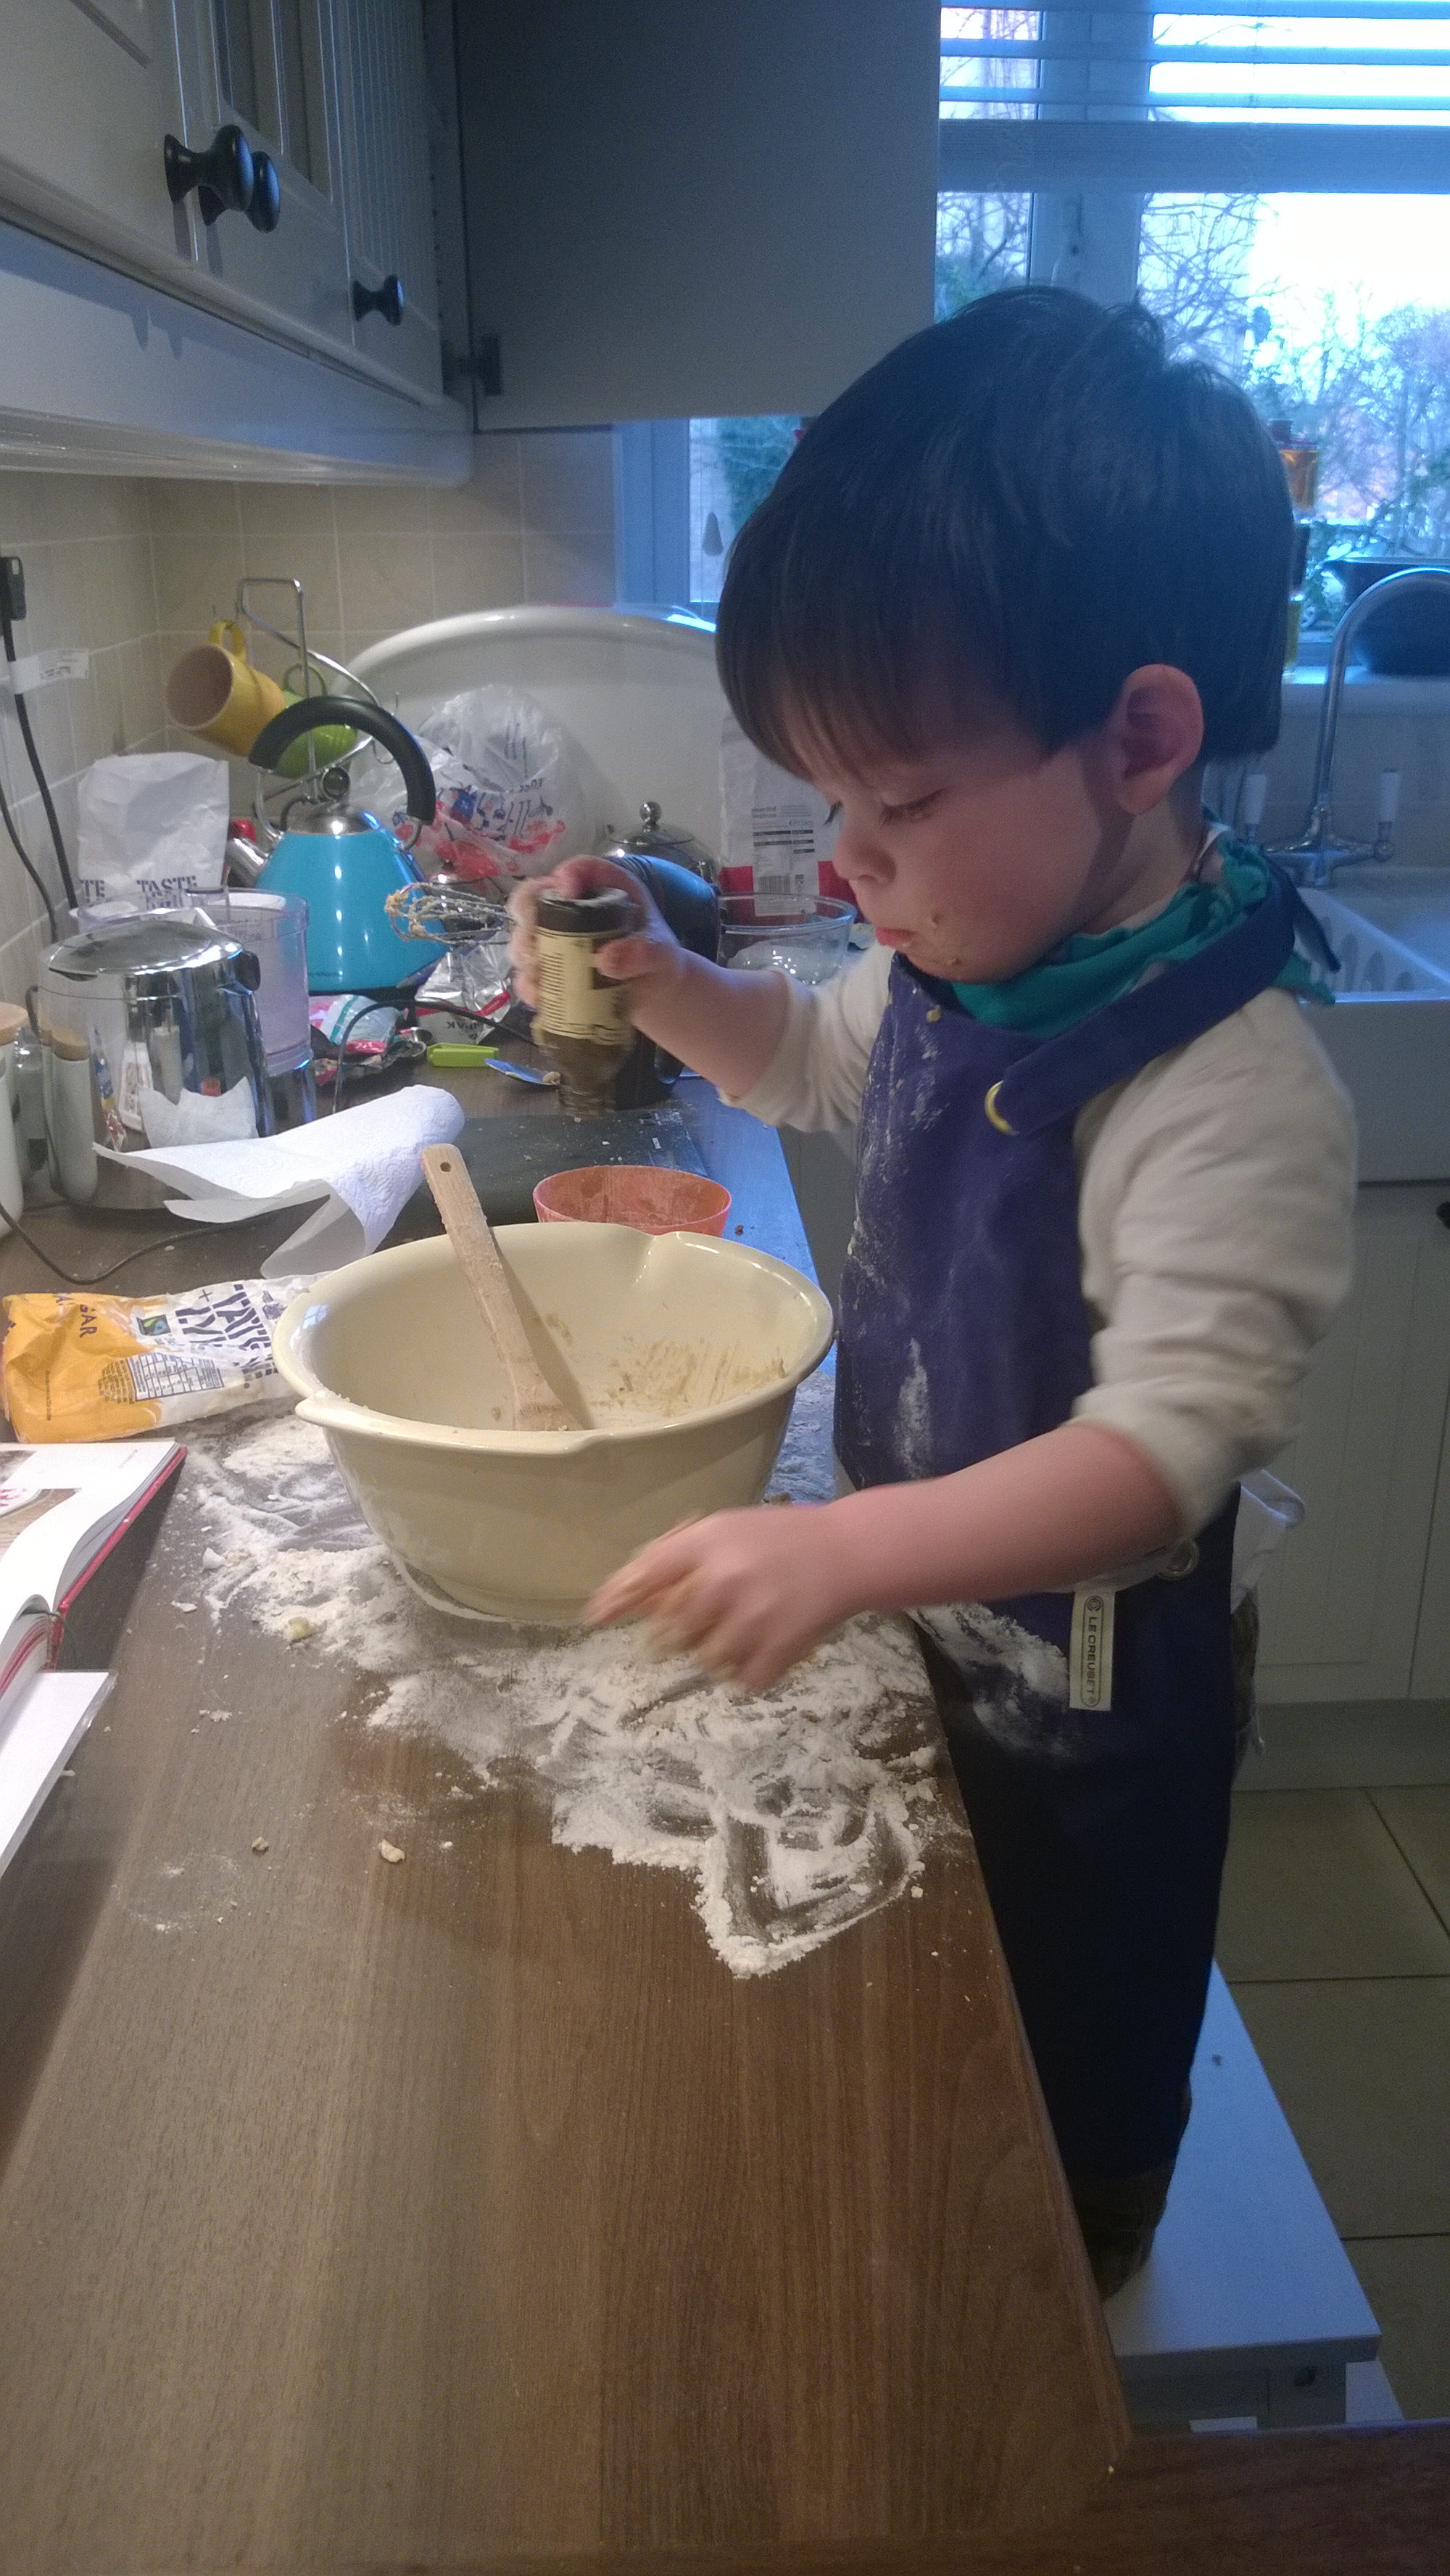
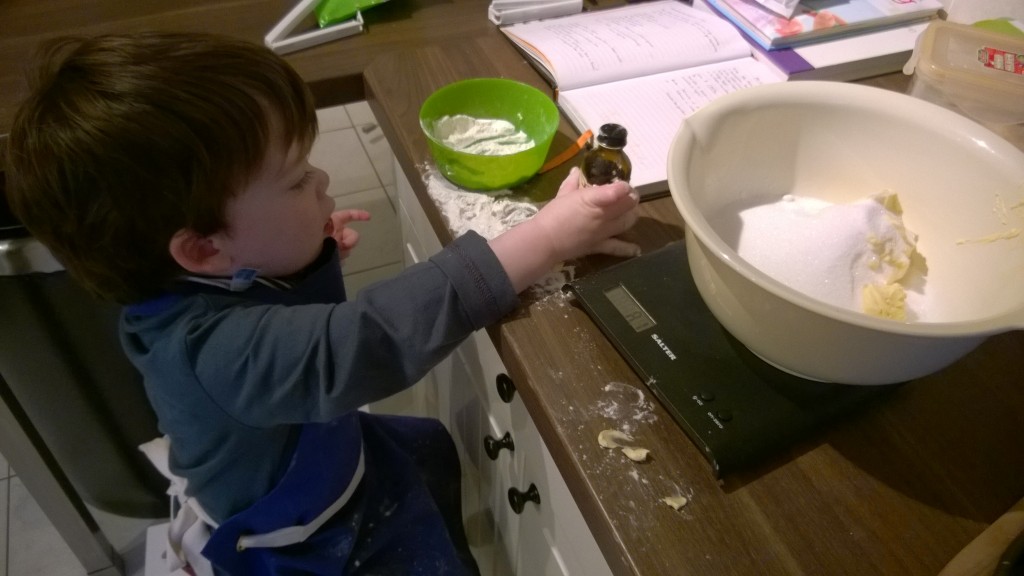
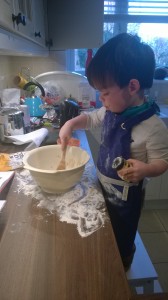
One afternoon after a short nap, I decided to go for it, put his lovely pinny on, and we made a very simple Victoria sponge cake. Unfortunately I am a bit of a control freak and didn’t want him to ruin the cake – no matter how much I told myself it didn’t matter how it turned out, I just couldn’t do it! So he helped me grease the tins etc. then I set him up with a mini bowl and all the ingredients (apart from the raw eggs) and he absolutely loved it.


WP_20140115_15_56_43_Pro

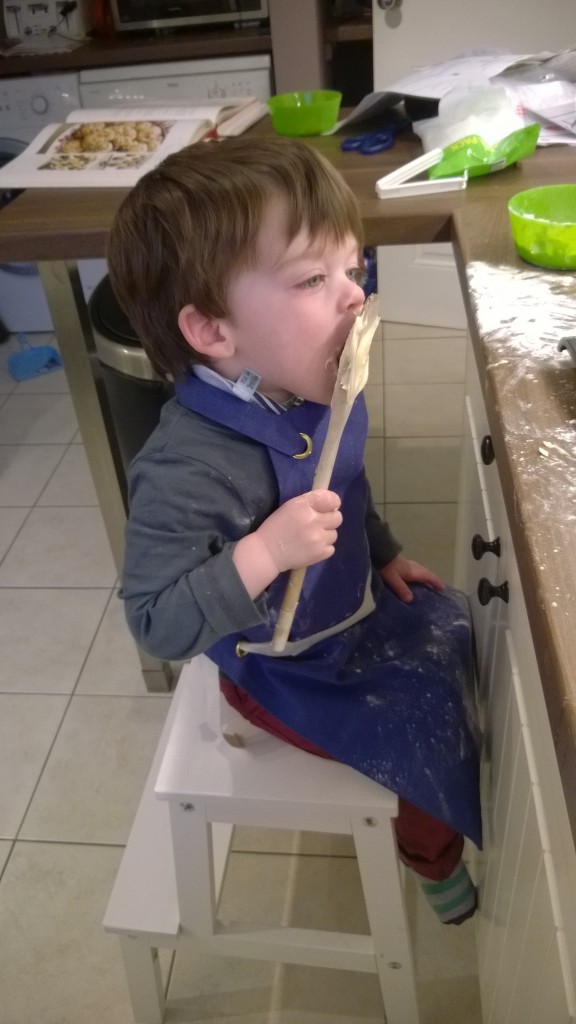
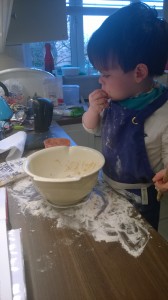
I let him stir the ingredients for the cake too and he loved licking the spoon and bowl once the cake was in the oven.

WP_20140115_16_04_13_Pro

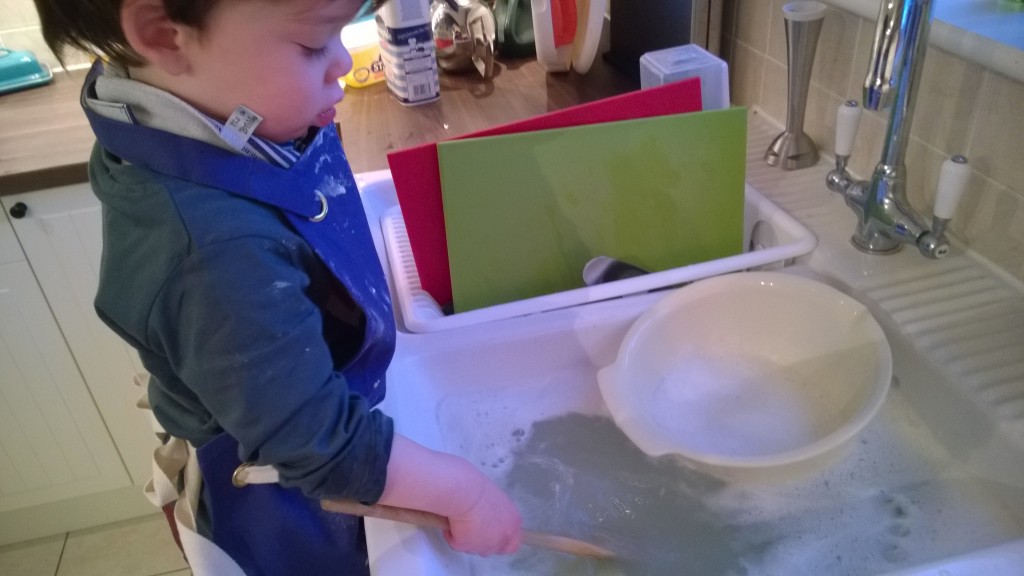
He had so much fun and then helped me with the washing up.

WP_20140115_16_09_35_Pro

He’s been dying to do it again and keeps pulling the step stool up to the worktop. It went so well the first time that I thought we should do it again, this time with some yummy biscuits. I’d made them once before and you can see the recipe here.

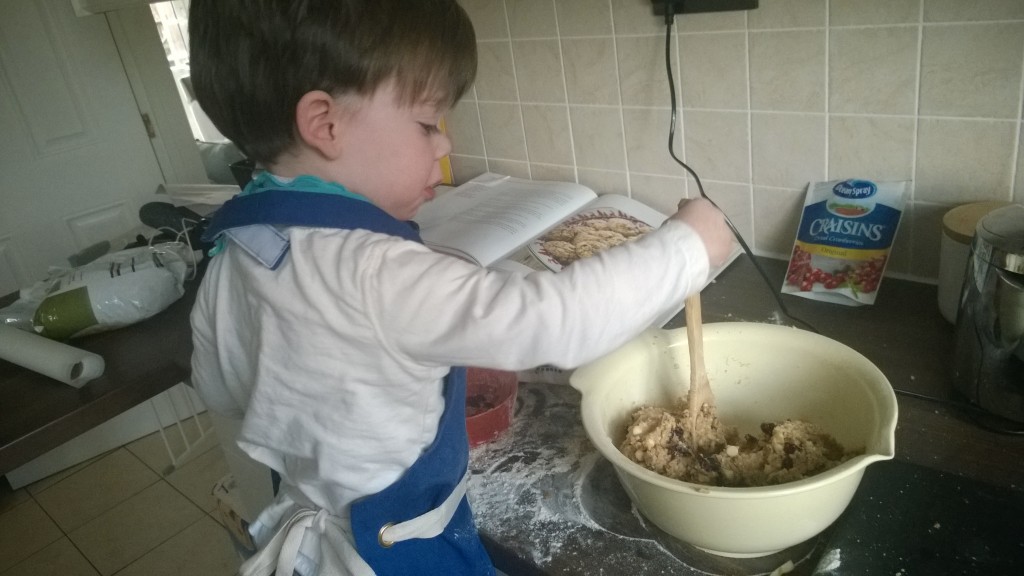
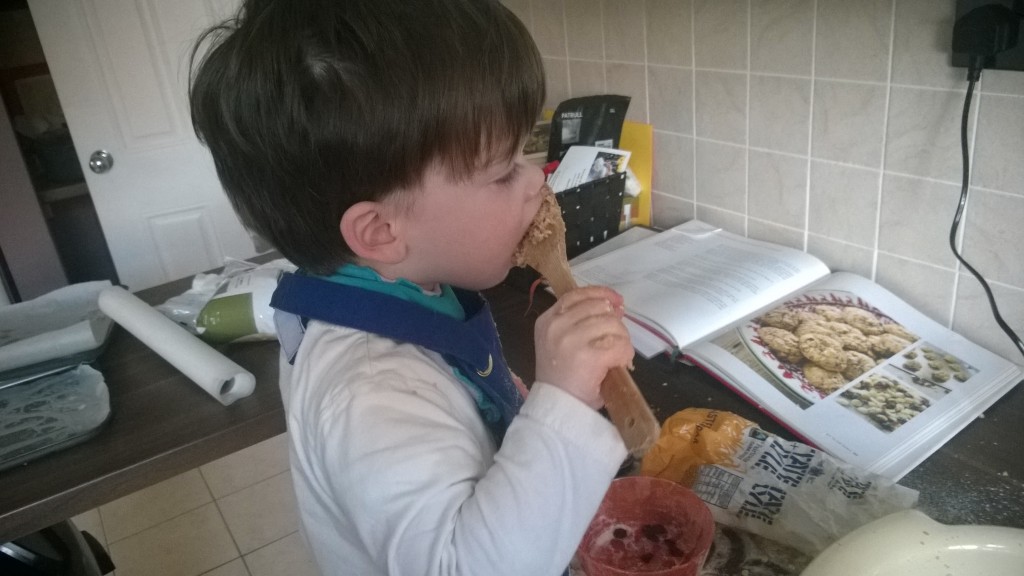
Again I’m afraid I got a bit freaked when he was grabbing the ingredients as I measured them in so again he got a little bowl of his own, which he loved so I don’t feel too guilty about it! He helped me stir it all up though and again he loved eating the mixture off the spoon.

WP_20140120_15_44_23_Pro

WP_20140120_15_44_39_Pro

The greatest thing about this baking experience was how much he enjoyed it!

Created with Nokia Camera Created with Nokia Camera WP_20140120_15_54_17_Pro

He carried on playing way after the cookies were in the oven. I love these pics as he looks like a proper little chef!

WP_20140120_15_53_12_Pro WP_20140120_15_53_08_Pro WP_20140120_15_54_14_Pro

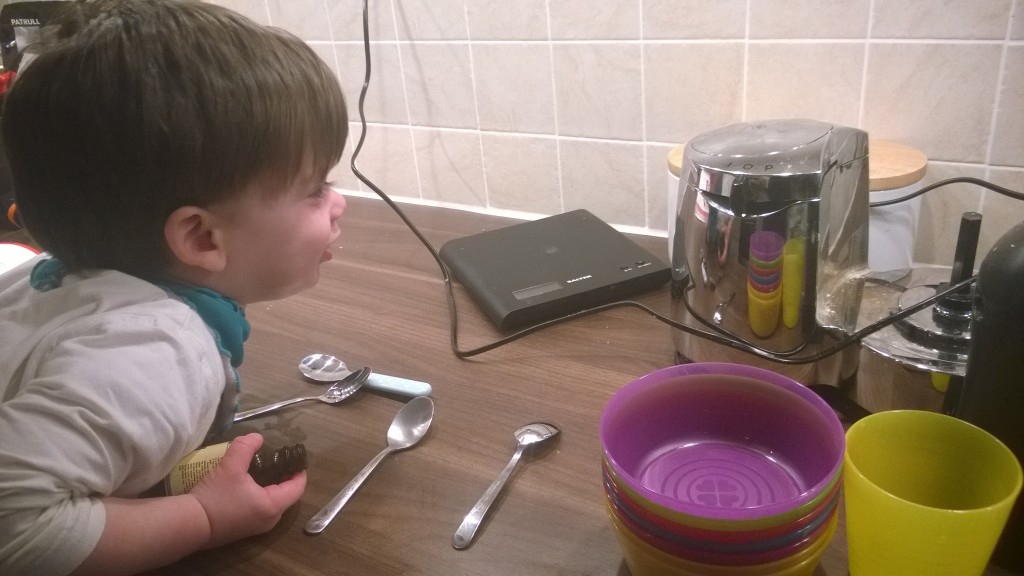
He was still playing at the worktop once the cookies were baked and I had washed everything up and even cleaned up around him!He had a brief play at the sink then wanted to get back to ‘his’ square of worktop where he was then happy playing with bowls and spoons… and then had a hilarious moment where he realised he could see his reflection in the food processor. So cute as he was pulling lots of funny faces! haha

WP_20140120_16_44_52_Pro

It was so much fun and I think the first time ever that we have spent an hour and half on an activity! So I have now overcome my fear of having him in the kitchen (not completely of course, a healthy dose of fear for his safety is permanent I think) and am looking forward to making lots more things with him in the future. Whether it helps his fussy eating, only time will tell.

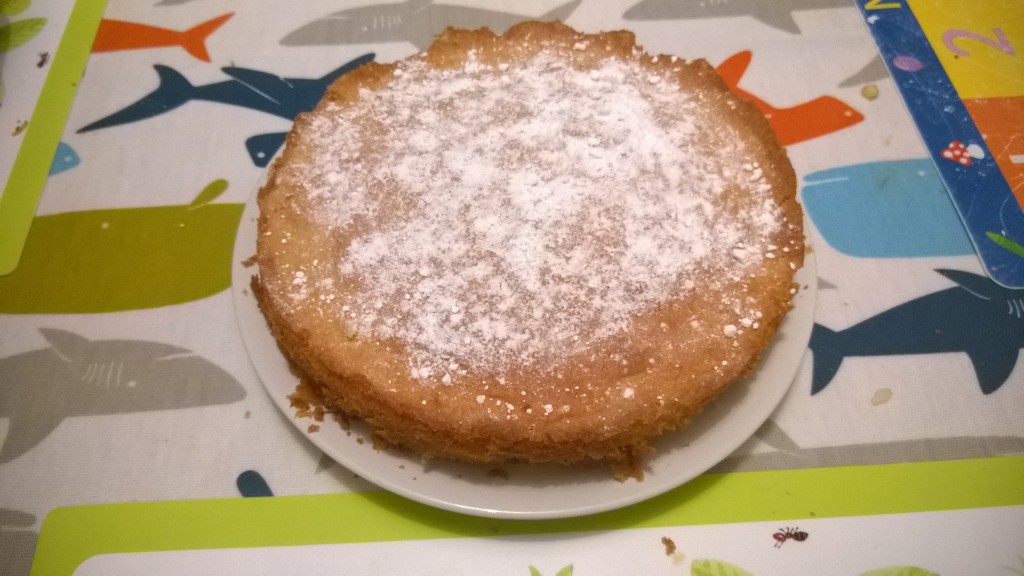
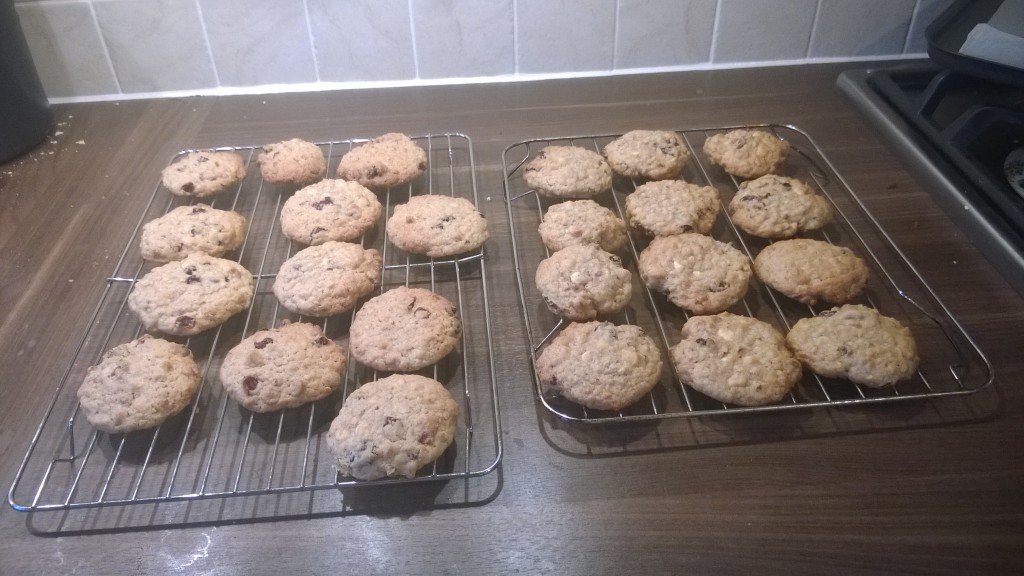
Oh and the baking resulted in this yummy cake

WP_20140115_18_10_05_Pro

And these yummy biscuits

WP_20140120_16_11_14_Pro

Do you like baking with your toddler?  What do you like to bake with them?

Ethans Escapades


Post Comment Love


What’s New this week – The Theme Game

I am linking up with two lovely ladies, Jocelyn at The Reading Residence and Iona at Redpeffer for The Theme Game. This week’s theme is New. There is so much you can right about with this theme that I have been wondering what to write about… and I have been thinking about how New is quite transitory. Nothing stays New forever and there is always something New… so in that vein I thought I’d write about a few things that are New in our house this week.

WP_20140121_20_08_35_Pro


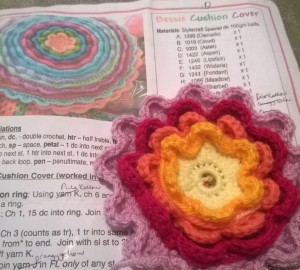
My New crochet project. I haven’t done anything since before Christmas so am excited to get going with my crochet hook again! This will be a cushion cover… though not quite in the same colours as the pattern as I want to use up the wool I have… and I have a weird thing about colours being in the right order of the spectrum… anyway, I’m sure I will write more about this as it progresses.


WP_20140121_19_05_13_Pro


I have finally bought a New Family Recipe book. We love cooking and baking in our house and have a book to write recipes in, but it’s a bit of a hodge podge so it’s difficult to find what you’re looking for. It also has Jamie Oliver’s face on it, and nothing against Jamie Oliver but I’d rather have a family recipe book that doesn’t have his face on it. I’ve been looking for ages and just wanted something simple. I know it doesn’t look much, it’s just a plain notepad, but it also has a handy pocket on the front to put some of the handwritten recipe cards from our mums in. Anyway it may not seem like a big deal but it is new and exciting to me.


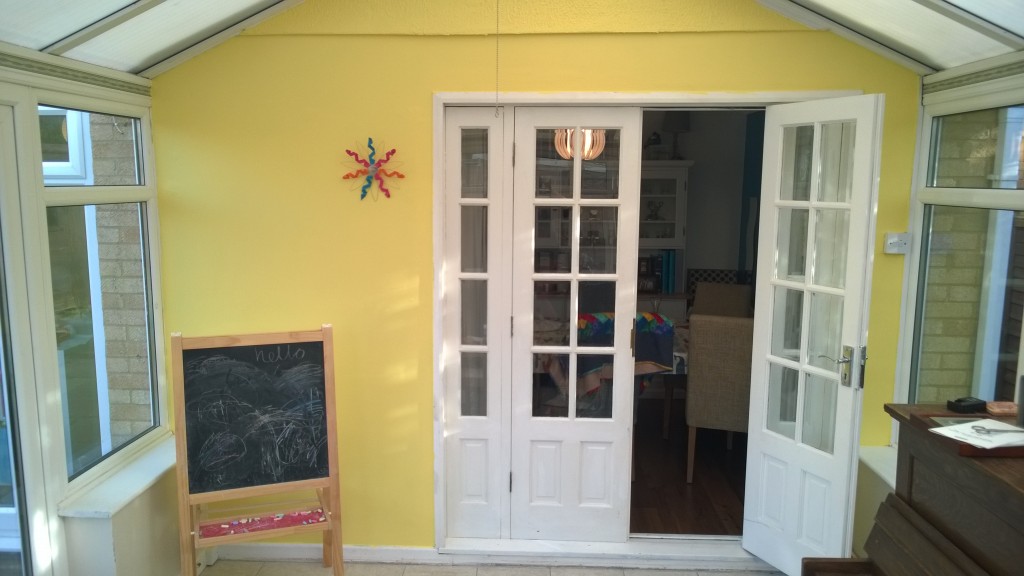
Our New Yellow wall in the conservatory. Since we moved in it has been quite a depressing shade of grey green and was a bit patchy and peely. We’ve planned to paint it since we moved in (2 years ago in April) and finally got round to it at the weekend with leftover paint from Monkey’s bedroom. It’s mainly used as a playroom so we wanted it to be a bit brighter and more fun. It just makes the room feel so much brighter, it’s lovely! We still need to paint the wooden doors into the house, then the little bits of wall under all the windows, but small steps and I am pretty pleased with it.

WP_20140120_10_59_28_Pro

WP_20140121_19_09_34_Pro


Our New Scrapbook, for our Days Out Scrapbook idea. I will make a bit of a cover for it and then need to get some pictures printed from our day at Lyveden New Bield but I love the thought of a New project and I hope that Monkey will love to look back on it as he gets older, and that it will be something we can do together too.


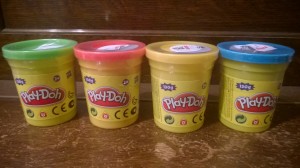
WP_20140121_19_08_40_ProNew Play-doh – it was on sale for 50p a pot so I couldn’t resist. We play with play-doh a lot in our house and even when you remember to put it away each time (which sadly, we don’t) I find it doesn’t last that long, so it is good to stock up while it is cheap. I have made homemade play-doh before but at 50p a pot it’s much less effort to just buy it!


A New music group. Nanny and Grandpops took Monkey to a new Rhyme Time group at a local Library on Monday. Lovely ting for them to do together and they all really enjoyed it. So much so that they want to take him every week – Yay for me as it also means I have a New hour of me-time to clean/blog/whatever 🙂

So there you have it, some of the things that are New this week, but by next week will have lost some of their novelty value.


Redpeffer The Theme Game
RedPeffer

Playing with Velcro Hair Rollers – 19 months old

I found this idea via the Kid’s Activities Blog last week on LalyMom and thought it was genius!

I too have wavy/curly hair and have tried in the past to tame it with velcro rollers and well, failed miserably! haha So in a drawer under my bed my velcro rollers have been gathering dust…. until now!

WP_20140116_10_15_38_Pro

It turns out there is a lot you can do with them and we have barely touched the surface.

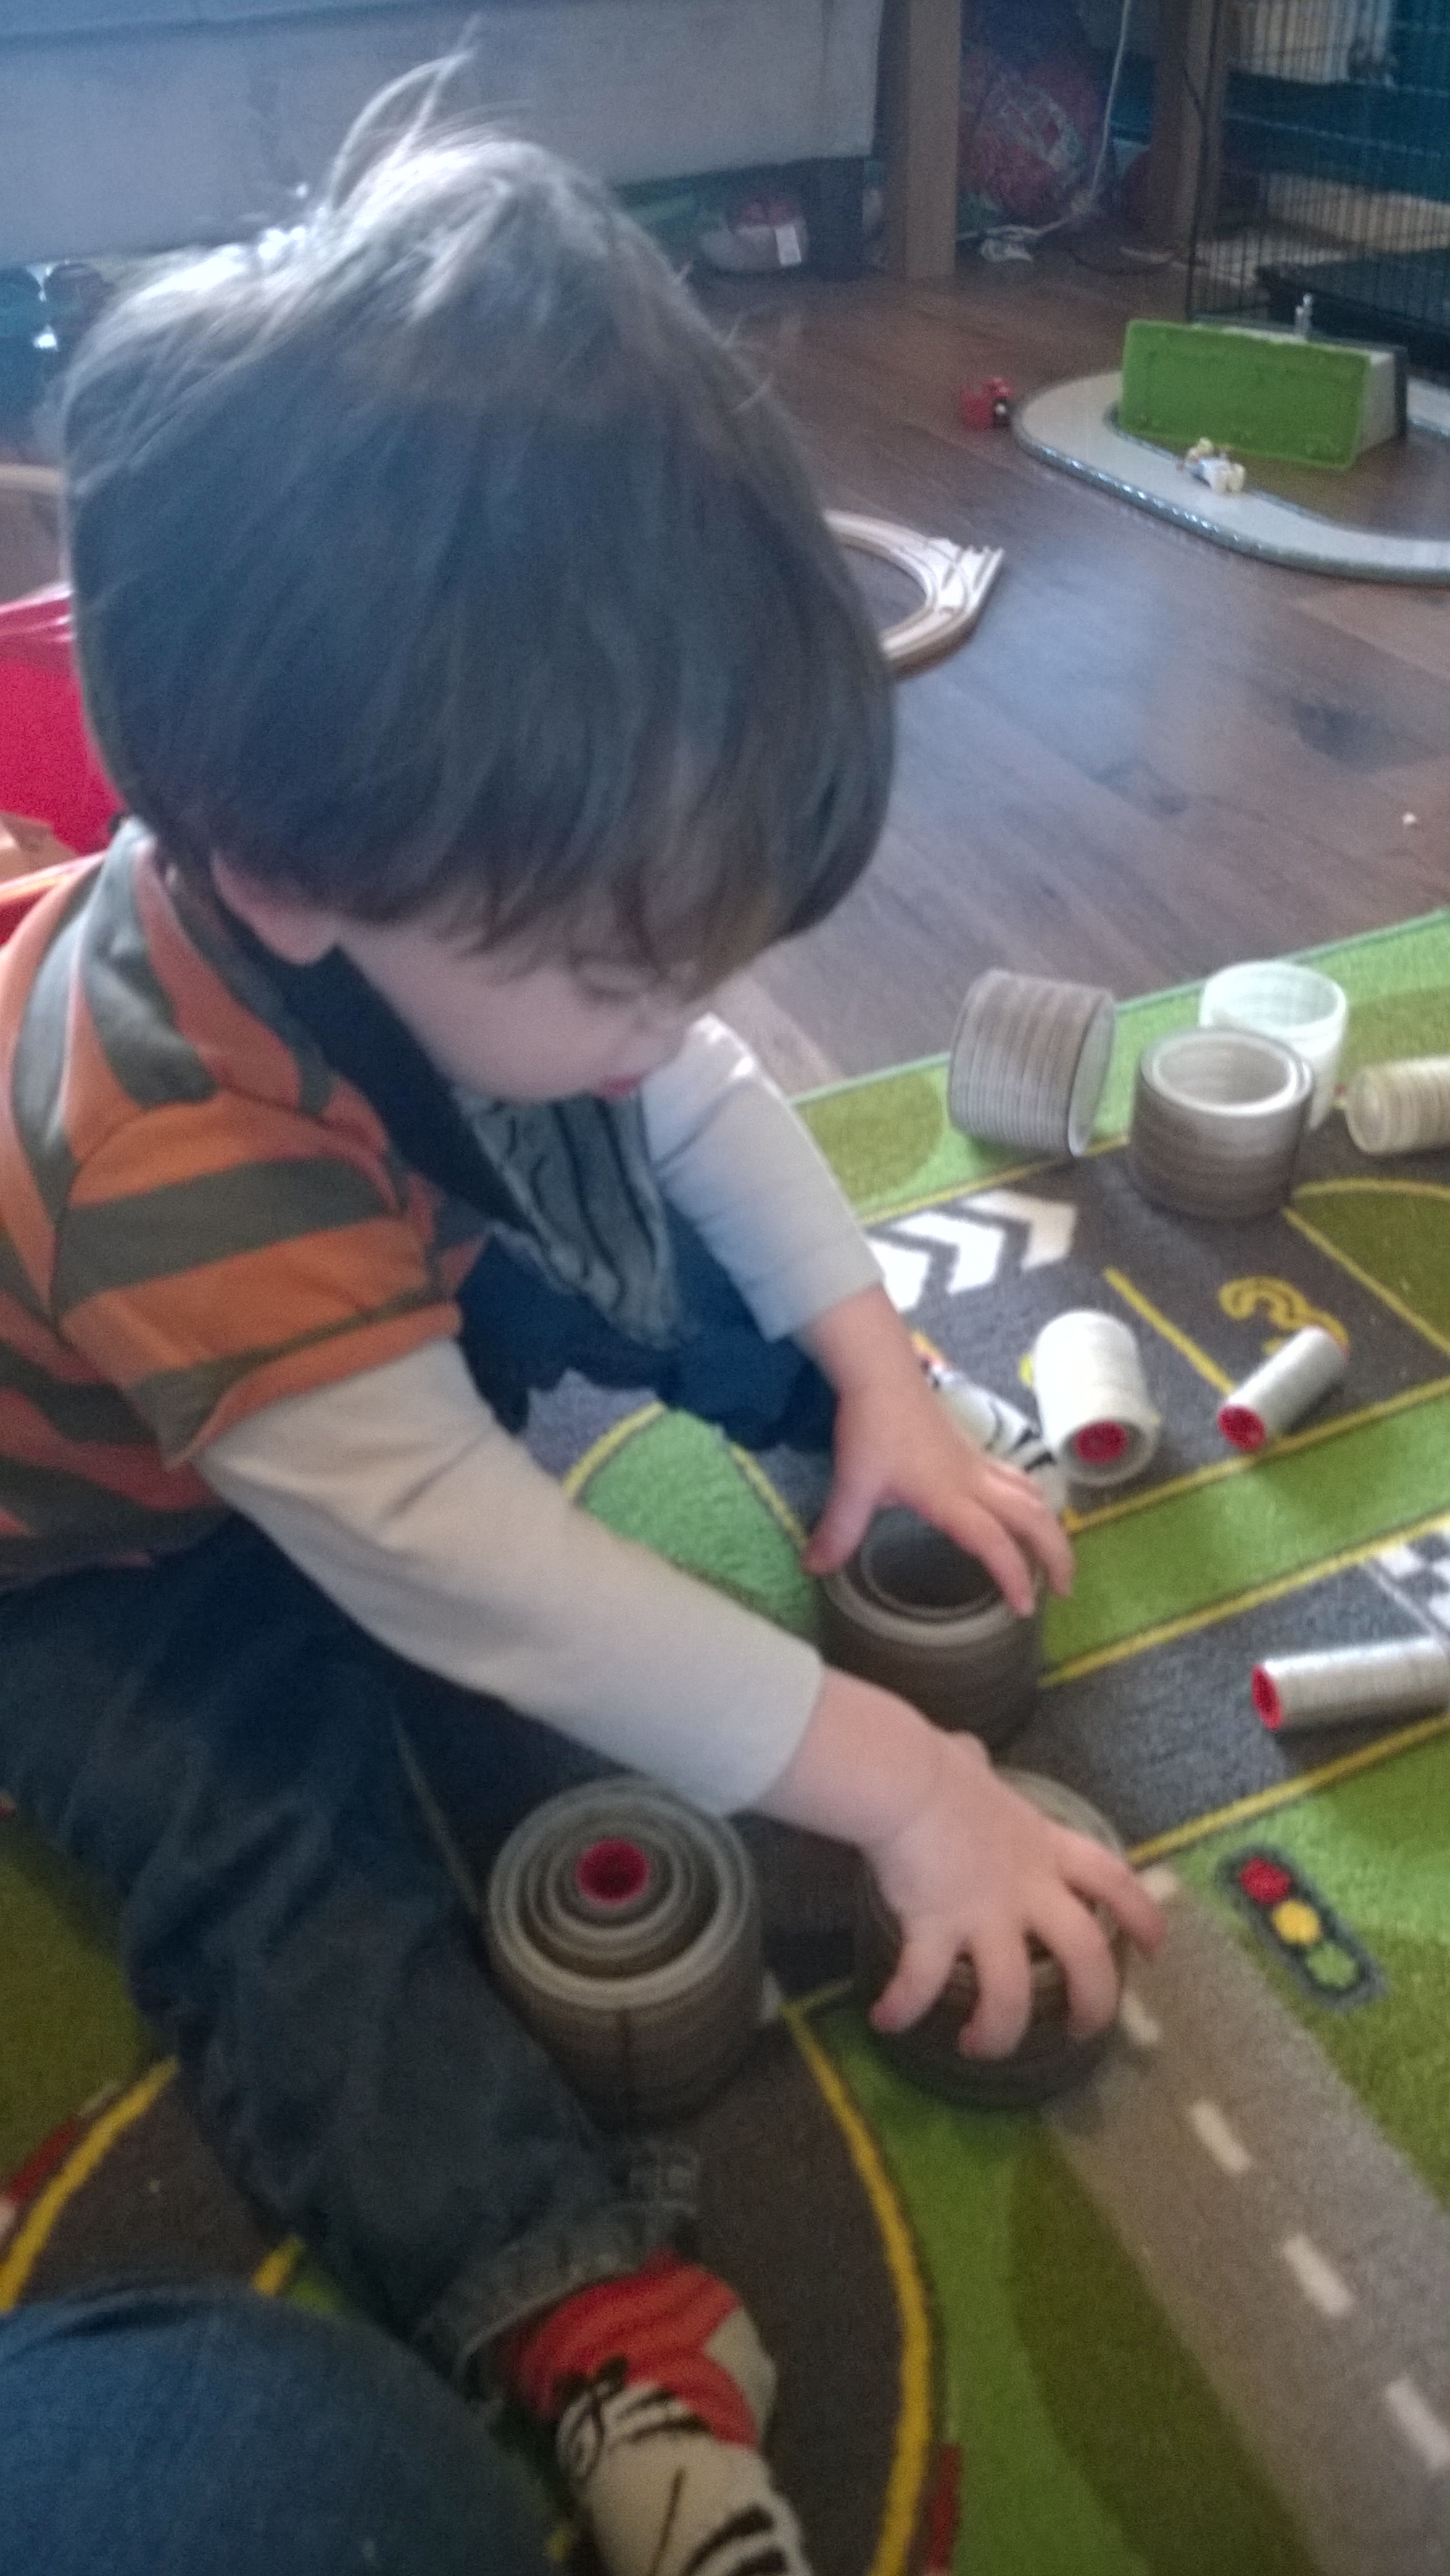
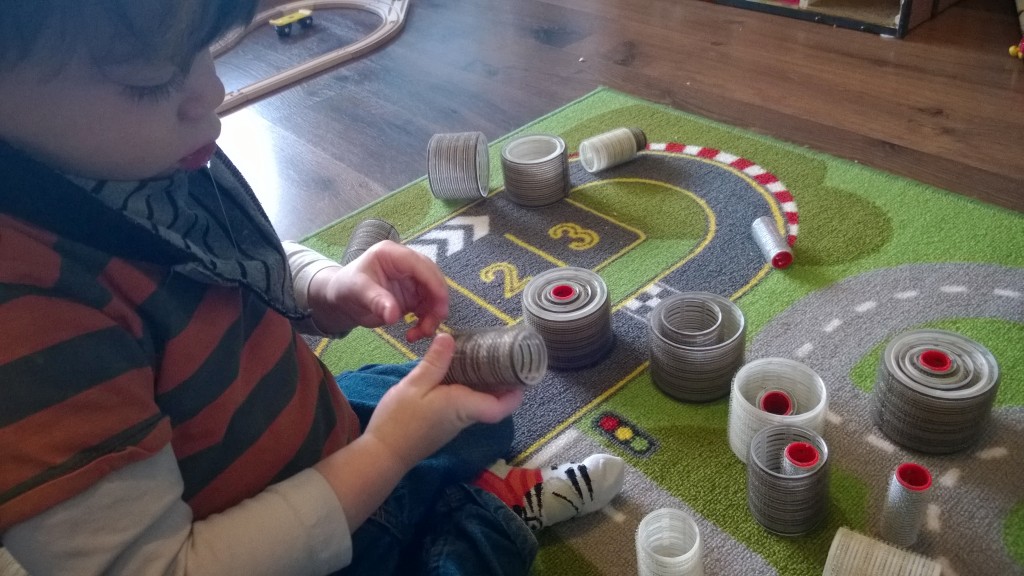
They are great for sorting by size, stacking, posting things through, sticking to each other and other things.

WP_20140116_10_12_38_Pro WP_20140116_10_11_50_Pro WP_20140116_10_13_17_Pro

Monkey liked putting them on his fingers and wiggling them around,

WP_20140116_11_54_06_Pro

You can use them to build, as they stick together, though Monkey just wanted to knock said buildings down so I didn’t manage a photo haha.

We spent ages playing with straws with them too, posting them through was great fun!

WP_20140116_11_54_26_Pro

Just another reminder that you don’t have to spend loads of money on toys to entertain the kiddies and they are great for those fine motor controls!


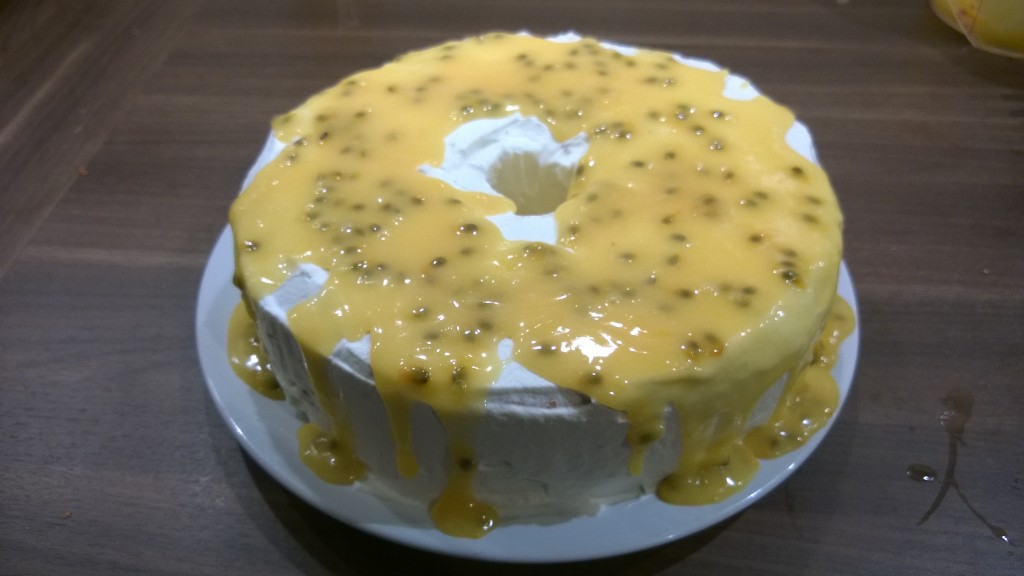
Mary Berry’s Angel Food Cake with Lemon Curd and Passionfruit drizzle

I love Baking and like to try something new. Sometimes I bake to beat boredom, other times there seems to be so much going on that I have to find time to bake! This was one of those times.

I saw this recipe on Bake Off last year and have wanted to make one ever since but I haven’t have the right tin. For Christmas, my lovely mother in law bought me the tin! Wahoo! So I have been dying to make it ever since. Here is how it went!
WP_20140118_18_54_18_Pro

Recipe
Cake Ingredients
125g Plain Flour
300g Caster Sugar
10 Large Egg Whites, at room temperature
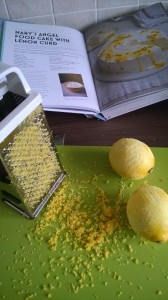
Finely grated zest of 2 large unwaxed lemons
1 tbsp Lemon Juice
1 tsp Cream of Tartar
1/2 tsp salt

Method
1 – Heat the oven to 170C/Gas 3 and put the oven shelf in the bottom third of the oven

2 – Sift the flour and 100g of the caster sugar into a bowl and set aside. 4

3- Separate the eggs, put the whites into a very large bowl (keep the yolks in a smaller bowl for later) and whisk with an electric mixer on high speed for 1 minute until frothy.
WP_20140118_14_24_40_Pro
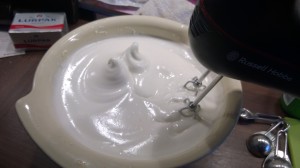
4- Add the lemon zest (careful not to zest your thumb too like I did, ouch!) and juice, cream of tarter and salt and continue whisking for 2-3 minutes until soft peaks will form when the whisk is lifted. I think this is how they should look:

5 – Whisking on high speed, add the remaining 200g caster sugar a tbsp at a time and whisk until the whites form firm but not stiff peaks.

6 – Sprinkle a 1/3 of the flour mixture over the whites and gently fold in with a large metal or plastic spoon until combined (I can’t remember why but you shouldn’t use a wooden spoon to fold egg whites, I think it takes the air out). Repeat with the remaining flour mixture, in 2-3 batches, folding gently to keep as much air in as possible.

7 – Transfer the mixture to an un-greased 25cm Angel Food cake Pan with Legs, then gently run a knife through the centre of the mix to dislodge any large pockets of air.

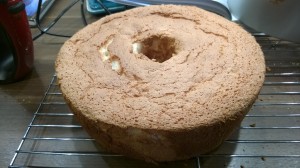
8 – Bake in the oven for 45 -50 mins, I baked mine for 45 minutes and it was definitely done, maybe even a couple of minutes over. It is done when a skewer inserted into the cake comes out clean.
WP_20140118_16_24_26_Pro

 9 – Remove the pan from the oven and immediately turn upside down (hence the    legs), Leave to cool for at least 1 hour.

10- Run a palette knife around the inner and outer edges of the pan to loosen it from the pan, then invert the pan onto a plate and use the palette knife to loosen the cake from the base of                                                                                 the tin. Leave to cool completely on a wire rack.
 

WP_20140118_14_06_07_ProLemon Curd Ingredients

10 large egg yolks
400g Caster Sugar
Finely grated zest of 2 large unwaxed lemons
Juice of 4 large lemons – about 200ml (I don’t have a posh juicer and the juice I squeezed out of my 4 lemons was about 150ml, so I used a bit of Jif lemon to top it up)
175g unsalted butter, cubed


Method
1 – Mix together the egg yolks, sugar, lemon zest and juice in a large pan.

2 – Cook gently over a low heat, stirring with a wooden spoon (make sure to stir the sides and base thoroughly) for 5-7 minutes until the mixture thickens enough to coat the back of the spoon.
WP_20140118_15_19_14_Pro

3 – Remove from the heat and stir in the butter until melted and smooth.

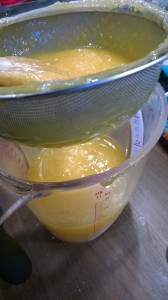
4 – Strain the lemon curd through a sieve into a large jug (it suddenly starts to resemble lemon curd at this point!)

5- Mary Berry’s recipe says that you should fill two 350g sterilised Jars with curd and seal with a lid. Then use the rest of the curd for the topping. I only seemed to have enough for one 300g jar and there was nearly 200g left which I used for the topping. I’m not sure if we heated it for too long or if I didn’t have enough lemon juice, but there was nowhere near enough for two 350g jars plus some for the topping!
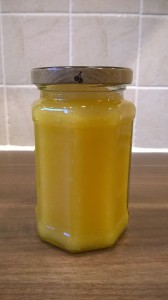
WP_20140118_15_28_13_Pro


6 – So fill jars with as much lemon curd as you have and then leave some (the recipe is very vague but I kept about 200g and it seemed to work well and taste yummy) in the jug for the topping. Cover this with clingfilm and leave to cool.

Topping Ingredients
300ml whipping cream, well chilled
1/2 teaspoon vanilla extract
2 passionfruits

Method

1 – Whip the cream with vanilla extract until it will form soft peaks.

2 – Spoon the cream over the cold cake and smooth down with a palette knife.

3 – Cut the passionfruits in half and scoop out the seeds and pulp. Stir into the reserved cooled lemon curd and drizzle over the angel food cake before serving.
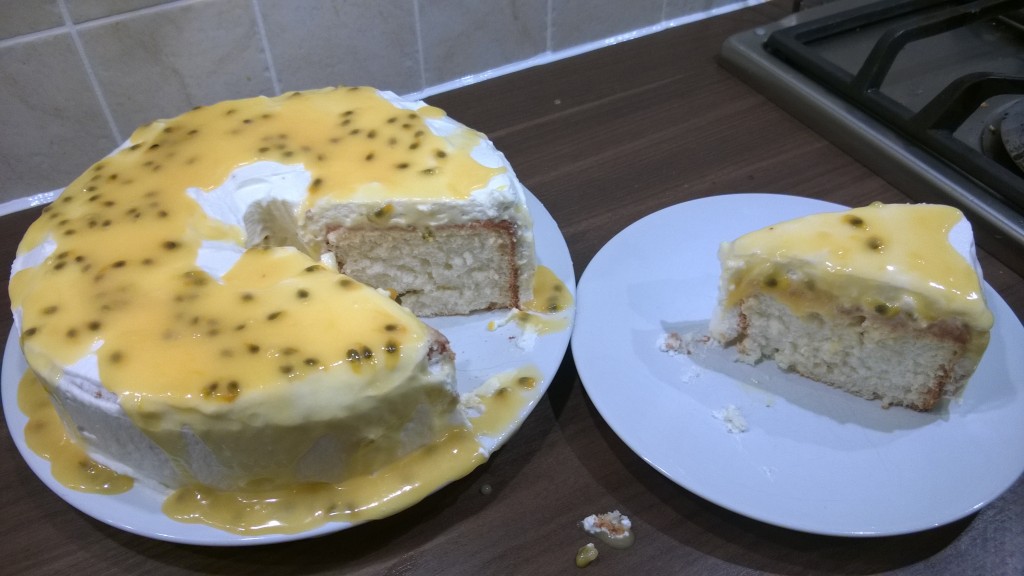
WP_20140118_19_21_38_Pro

It’s not exactly the simplest bake in the world and I certainly didn’t do it perfectly (when I was tipping the mixture into the tin I kept finding pockets of flour and sugar – not quite as well folded as I thought!) but it turned out pretty well actually! It tastes yummy and very light though it’s an interesting texture because of the egg whites.

The sauce is a lovely combination of sharp and sweet and it goes very nicely with the delicate flavour of the cake but I actually think the cake would be nice without such a strong topping too.

I am particularly surprised with how well the lemon curd turned out – it has now set and is exactly how I think of Lemon Curd! Feels really nice to have made it – makes me want to make jams and all sorts now haha – maybe one day!

Happy Baking!

Gallery-logo

Tasty Tuesdays on HonestMum.com

Link up your recipe of the week

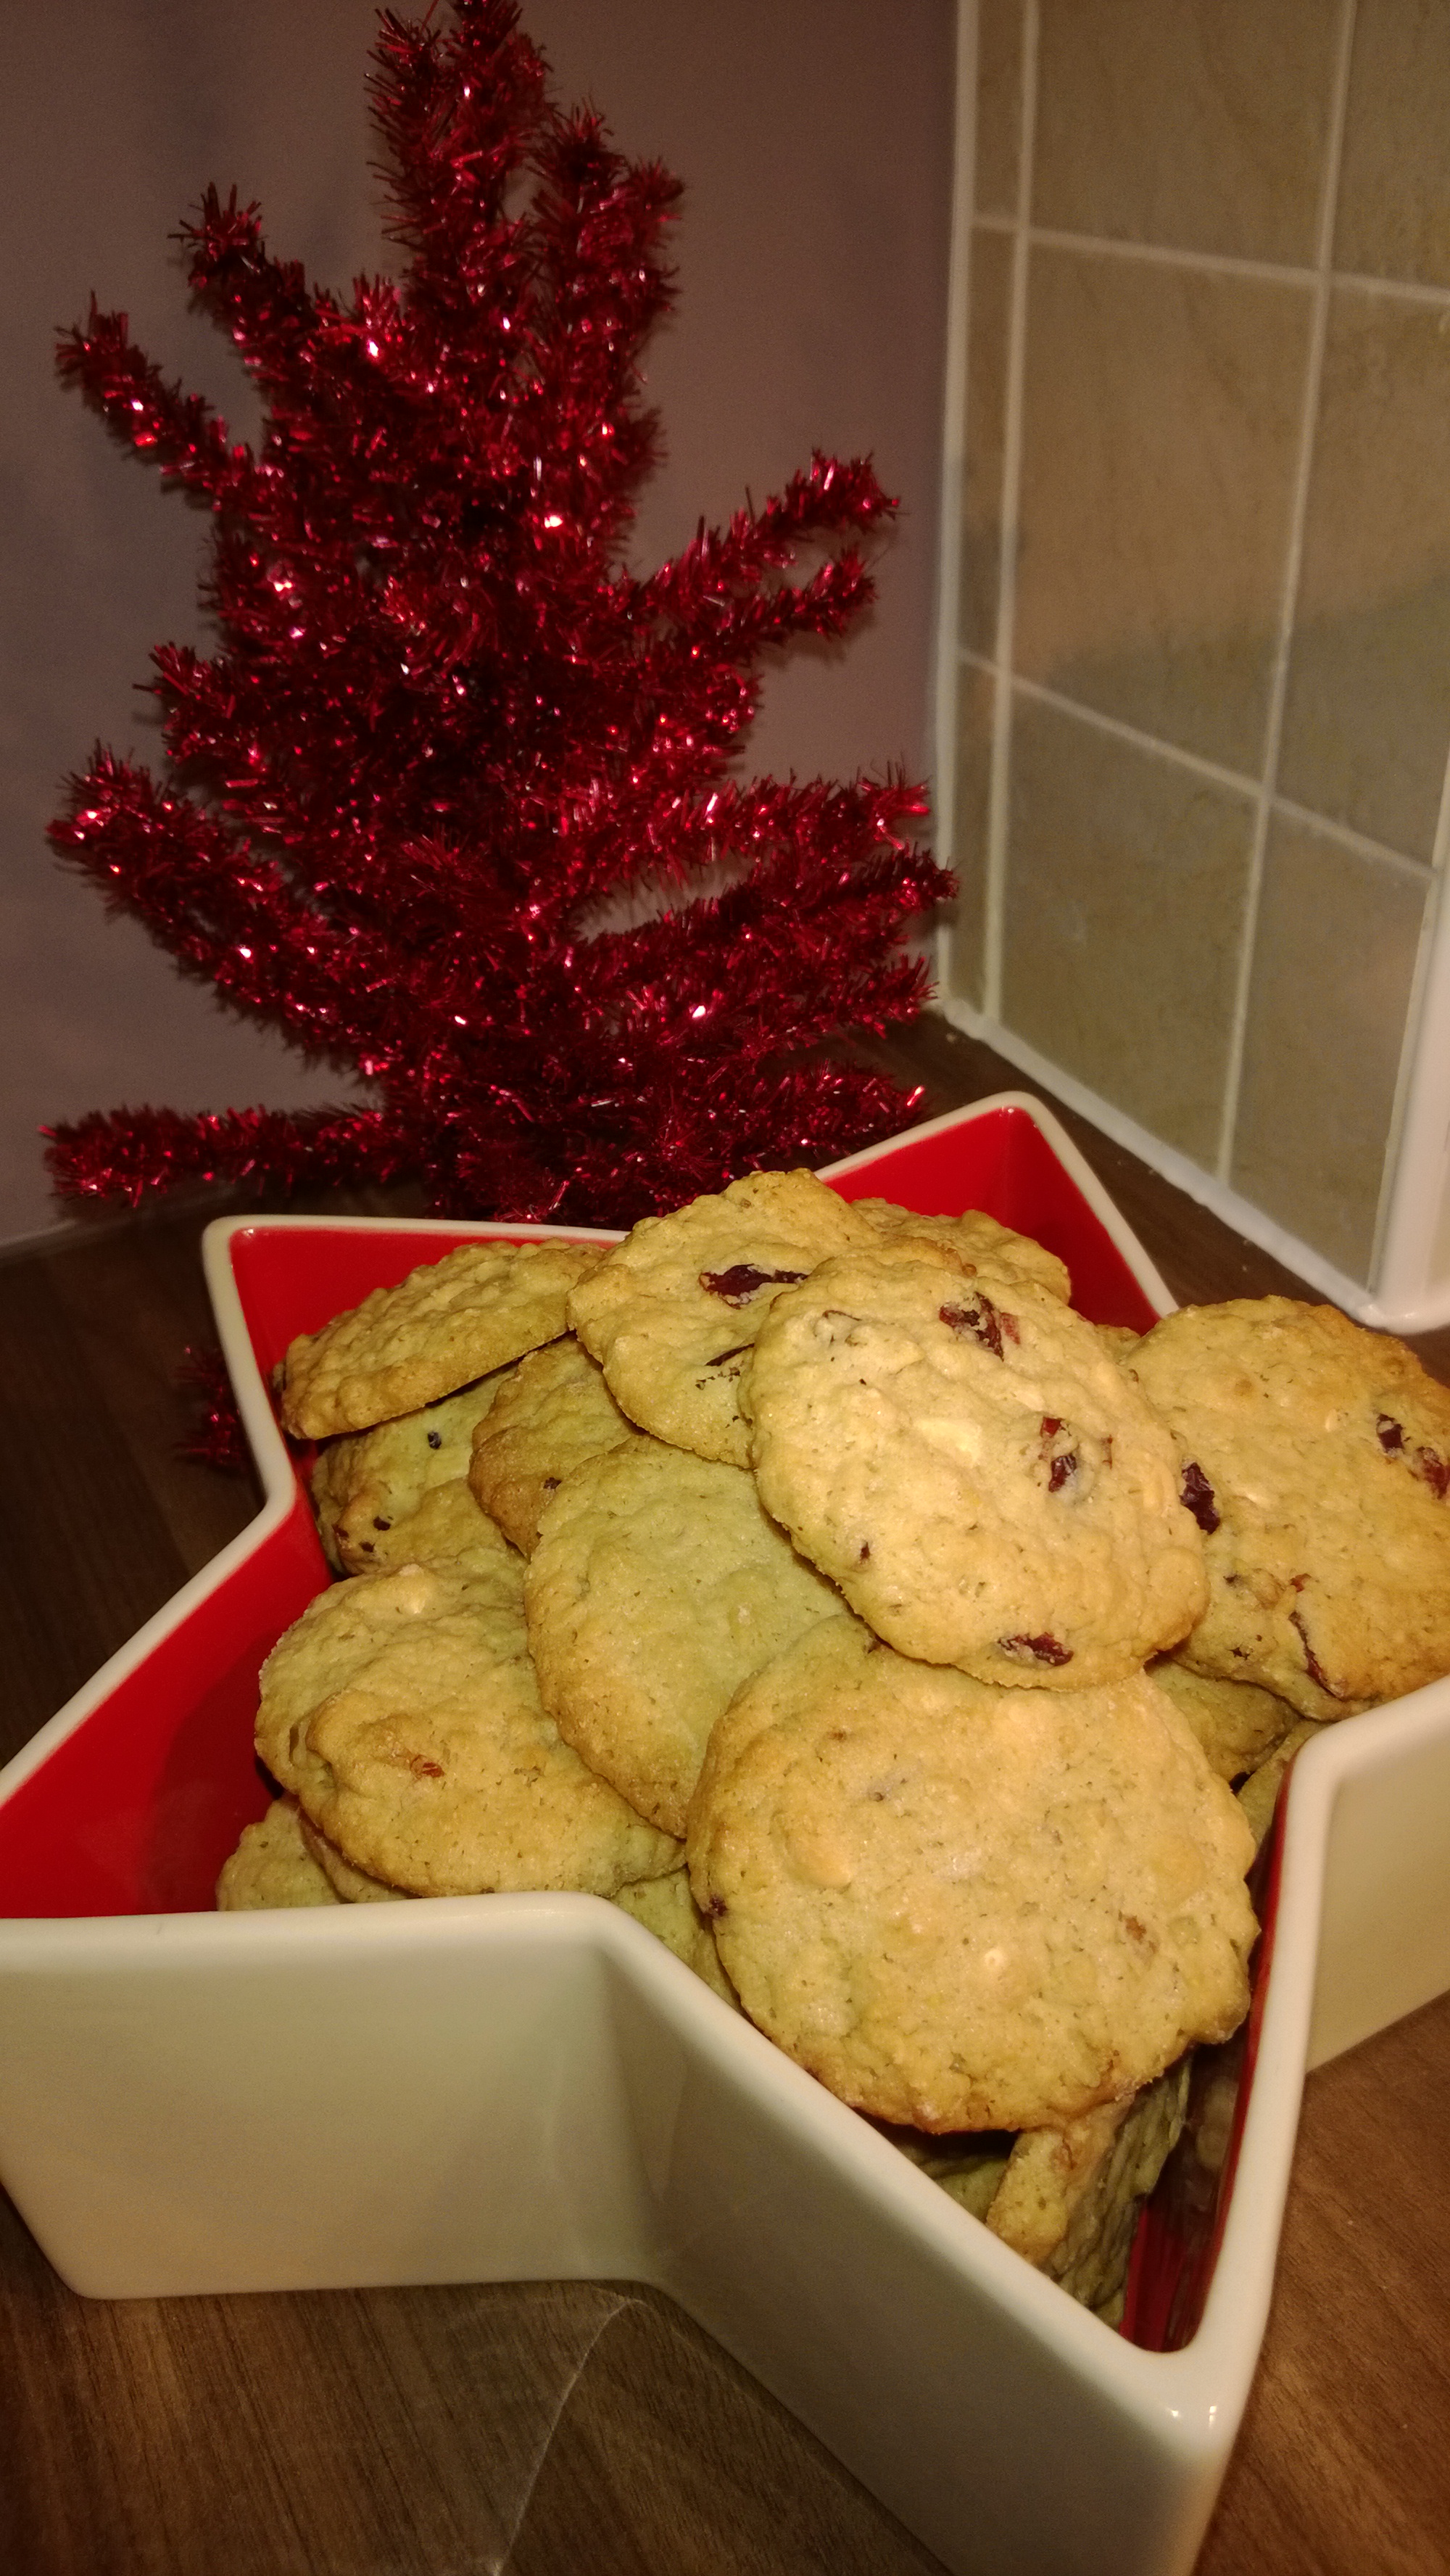
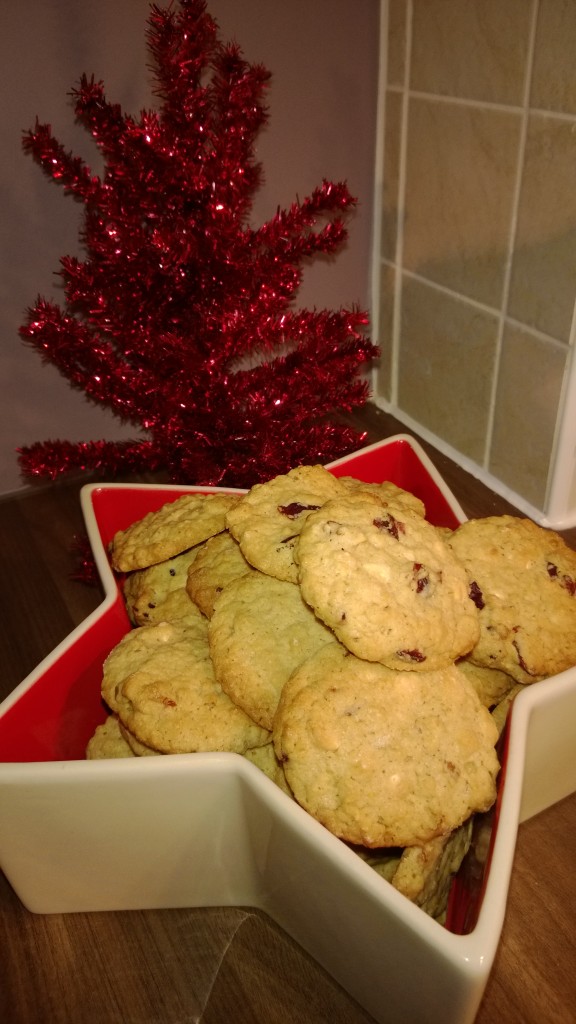
Christmas Baking has begun! Nigella’s White Chocolate and Cranberry Cookies

WP_20131223_15_31_39_Pro

Baking is a big part of Christmas don’t you think? It’s a good opportunity to indulge in some of your favourite sweet treats, and a good excuse to make them for others. That’s one of the things I love most about baking, watching others enjoy something I made. Not sure what that says about me! I know some people have whole baking days and I would love to, but with Monkey around there’s no way to do that at the moment, and he’s not quite at an age to help me bake, so this year baking is confined to his nap times.

We are baking a couple of our faves this Christmas, the Red Velvet, and the Chocolate Roulade, some chocolate brownie (recipe to follow), and we are also trying a new recipe! I know there is a lot about Nigella in the media at the moment and I am not going to weigh in on that minefield! Whatever went on in her home and marriage, there is no denying she is one heck of a cook and has some great recipes. This is no exception.

WP_20131221_13_57_16_ProIngredients
150g Plain Flour
1/2 teaspoon Baking Powder
1/2 teaspoon Salt
75g Rolled Oats
125g Soft Butter
75g Dark Brown Sugar
100g Caster Sugar
1 Egg
1 teaspoon Vanilla Extract
75g Dried Cranberries
50g Pecans (The recipe says roughly chopped but we whizzed in a processor to get them as small as possible! :))
150g White Chocolate Chips

Method

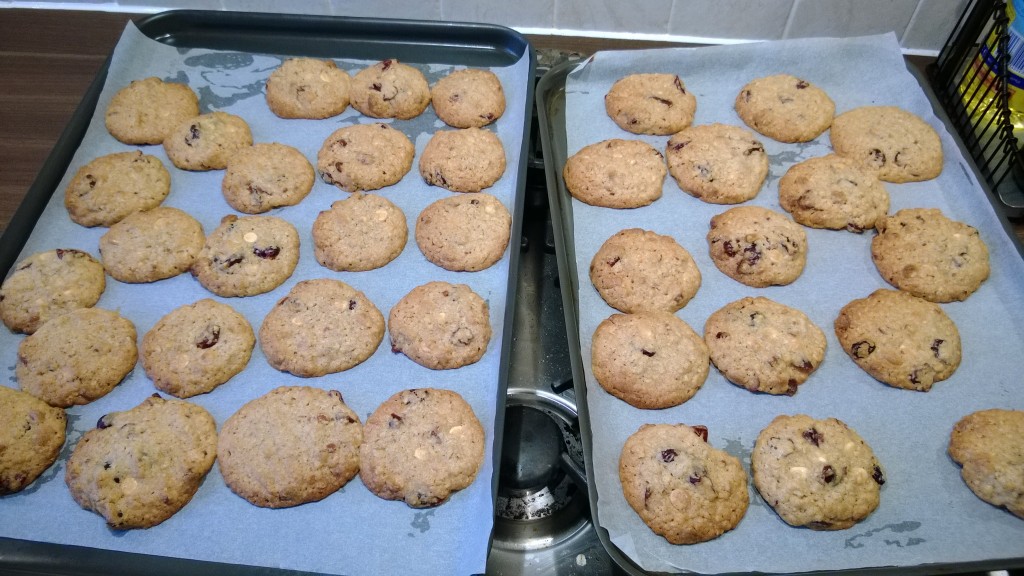
Preheat oven to 180C and line two big baking sheets with baking parchment (makes approx. 30 cookies)

Measure the Flour, Baking Powder, Salt and Oats into a bowl

In another bowl, beat together the Butter and both types of Sugar until creamy, then beat in the Egg and Vanilla Extract

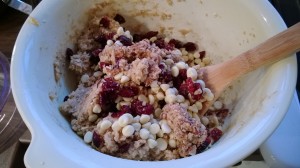
Beat in the Flour, Baking Powder, Salt and Oats mixture, then fold in the Cranberries, Pecans and Chocolate Chips.

Roll tablespoons of dough into balls with your hands and place them on the prepared trays. Squish the dough balls down with a fork.

WP_20131221_14_08_59_Pro WP_20131221_14_11_26_Pro

Cook for 13-15 minutes. When ready the cookies will be tinged a pale gold. They will still be soft so leave to cool on the sheet for about 5 minutes. Then move to a wire rack to cool fully.

WP_20131221_14_32_59_Pro

Note We had a debate over how big a table spoon sized ball should be and hubby went for a very literal size, and they came out a little smaller than we imagined, and didn’t quite look how they looked in the piccy in Nigella’s book. We only cooked them for 13 minutes, rather than the suggested 15 minutes and they turned out lovely. I was initially worried they were a little overdone, but they taste absolutely fine! We ended up with 36 I think, so could have made them slightly bigger!

The other good thing with Nigella’s recipes is that she gives tips about freezing them! She says these can be frozen for about 3 months, which is very handy as we are planning to take these to my brother in law’s house on boxing day. So they have been baked and are now in the freezer ready to get out the night before… fingers crossed we remember!

WP_20131223_15_31_39_Pro


WP_20131223_15_01_19_ProI just made the yummy roulade too, and tomorrow will be making the Red Velvet, amongst  a whole load of other Christmas Preparations! I am finally getting into the spirit of it all, can’t believe it is Christmas Eve Eve already! How are your Christmas preparations coming along?

Tasty Tuesdays on HonestMum.com

Christmas preparations and child-proofing the tree!

Our tree

Our tree

Well it’s that time of year again! But I have to say I have been surprisingly organised this year. Compared to most years where we are buying pressies on credit cards and getting presents and wrapping paper last minute, this year we have put aside some money each month,  and bought all of our presents and wrapping paper etc. pretty far in advance! Not sure what has got into me!

It’s quite nice being pretty organised, much less stressful, but there’s something about the stress and last minute shopping that gets you in the christmassy mood, and I haven’t got that feeling yet to be honest. But I haven’t wrapped any presents yet so this week my task is to use Monkey’s afternoon naps for Christmas films and present wrapping, hopefully that will get me more in the mood! I’ve just finished writing all of the Christmas Cards (today’s job) so need to deliver those.

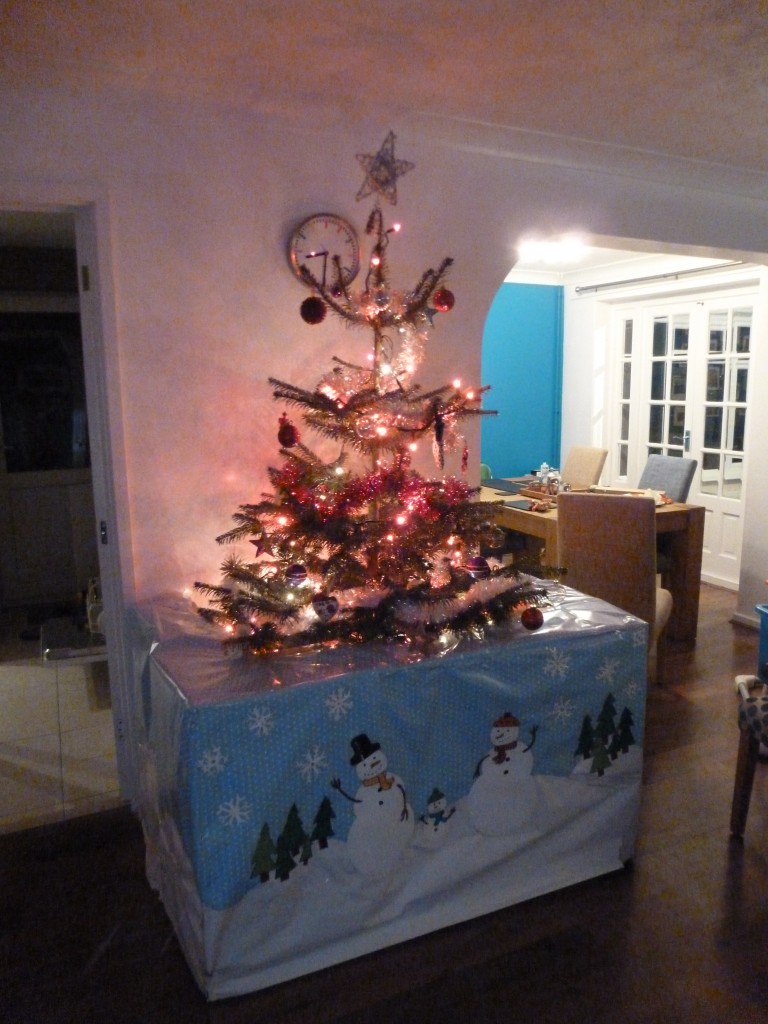
We are also all decorated, and we were slightly worried about how Monkey would get on with the tree.  Apparently when his uncle was his age he kept pulling the tree over and pulling all the decorations off! Monkey is generally pretty good but still we wanted to try and make things as safe as possible, but we still wanted to have a big real Christmas tree, because we just love them!

For me, one of the most important things at home is that we have a safe enough environment for our main living area, so that a) Monkey can have a bit of a free reign without being told off all the time and b) I can leave him alone for a few minutes at a time without having to worry about what he is up to. There is door-gates on the kitchen and hall doors so that he can’t get up to any mischief if I have to pop upstairs or to the loo etc. So it is important to me that Christmas is no different, and while he needs to learn that certain things are off limits or shouldn’t be touched/pulled etc. I also want it to be safe for him so I don’t have to worry about him being on his own for a few minutes.

So we took a few precautions. We  have tied the top of the tree to the curtain pole with some tinsel, just in case, and we made sure that all the decorations at his level are soft, home-made, or polystyrene inside so that there is no broken glass baubles to worry about! To be honest though he has been pretty good. Occasionally he stops and stares at it and he has tried to pull a few of the decorations off, but after a few remonstrations he is leaving pretty much alone, which is good! Some bits get knocked off sometimes but they are all soft ones so it doesn’t matter.

WP_20131216_15_27_44_Pro WP_20131216_15_28_01_Pro

Last year was a different ballgame entirely, seeing as he was only 6/7 months old at the time and was spending most of his time careering round the house in his walker, we had to get creative in order to protect the tree! After weighing up lots of different options, we decided to make a sort of tree guard, using a big old cardboard box. We obviously wanted it to look nice so I got a bit crafty and made a nice wintry scene. It was slightly odd I’ll admit, and looked like we had a tree in a box, but it did the job and made sure that the tree was safe. For Christmas Day we took it off as he was never going to be in the living room by himself and there was too many bodies for him to be running about in his walker.

Last year's tree and tree guard!

Last year’s tree and tree guard!

Monkey in his walker last year

Monkey in his walker last year


How are your Christmas Preparations? Do you childproof your decorations or Christmas trees?

Cute Crochet Christmas Decoration

As part of keeping myself busy, I have been doing some very lovely and cute Christmas Crochet. Only small things that give me a lot of satisfaction for not too many man hours. I wanted to do a lovely decoration for our Christmas tree, my mother in law makes lovely decorations every year and as I have got into crochet this year I have been inspired to make one or two of my own. On browsing the internet for inspiration, I came across these very cute decorations, but I could not find the pattern for them anywhere.

Cute Crochet Father Christmas

Cute Crochet Father Christmas

First attempt

First attempt

I was a bit disappointed but carried on looking for other options, but really couldn’t find anything I liked as much. So, after making the lovely reindeer and penguin that I did find patterns for, I decided to be brave and have a go at making a pattern up. My first attempt went ok but wasn’t great and not really the look I was going for, so I had another go and Eureka! I love him, and am really proud of the way he turned out 🙂 So I decided to share this cute pattern with the rest of the world. So any crocheters out there that fancy having a go at making this cutey Santa, the pattern is below.

WP_20131208_11_43_01_Pro

Our Christmas Tree

WP_20131208_11_42_40_Pro

Some the patterns I have been using lately have been in American terms so this one is too, but basically all you need to know for this pattern is that an SC is a UK DC.

HAT and HEAD
With White, ch 2
Rnd 1: Work 6 sc in first chain.
Rnd 2: 2 sc in each sc around – 12 sc.
Rnds 3-4: Sc in each sc around.
Rnd 5: Sc2tog around – 6 sc. STUFF BOBBLE OF HAT
Rnd 6: With Red, sc in each sc around – 6 sc.
Rnd 7: *2 sc in next sc, sc in next sc; rep from * around – 9 sc.
Rnd 8: Sc in each sc around – 9 sc.
Rnd 9: *2 sc in next sc, sc in each of next 2 sc; rep from * around – 12 sc.
Rnd 10: Sc in each sc around – 12 sc.
Rnd 11: *2 sc in next sc, sc in each of next 3 sc; rep from * around – 15 sc.
Rnd 12:  sc in each sc around – 15 sc.
Rnd 13: *2 sc in next sc, sc in each of next 4 sc; rep from * around – 18 sc.
Rnd 14:  sc in each sc around – 18 sc.
Rnd 15: *2 sc in next sc, sc in each of next 5 sc; rep from * around – 21 sc.
Rnd 16:  sc in each sc around – 21 sc.
Rnd 17: *2 sc in next sc, sc in each of next 6 sc; rep from * around – 24 sc.
Rnd 18:  sc in each sc around – 24 sc.
Rnd 19: *2 sc in next sc, sc in each of next 7 sc; rep from * around – 27 sc.
Rnd 20:  sc in each sc around – 27 sc.
Rnd 21: *2 sc in next sc, sc in each of next 8 sc; rep from * around – 30 sc.
Rnd 22: In White, in back loops only *2sc in next sc, sc in next sc; rep from * around – 44 sc.
Rnd 23: *2sc in next sc, sc in each of next 10 sc; rep from * around – 48sc.
Rnd 24:  sc in each sc around – 48 sc.
Rnd 25: sc2tog around – 24 sc.
Rnd 26:  sc in each sc around – 24 sc. PARTIALLY STUFF HAT


Rnd 27: *2 sc in next sc, sc in each of next 3 sc; rep from * around – 30 sc.
Rnd 28: *2 sc in next sc, sc in each of next 4 sc; rep from * around – 36 sc.
Rnds 29-33: Sc in each sc around. Fasten off A.
Rnd 34: With B, sc in each sc around – 36 sc.
Rnd 35: *Sc2tog, sc in each of next 4 sc; rep from * around – 30 sc.
Rnd 36: *Sc2tog, sc in each of next 3 sc; rep from * around – 24 sc. FULLY STUFF ENTIRE DECORATION
Rnd 37: *Sc2tog, sc in each of next 2 sc; rep from * around – 18 sc.
Rnd 38: *Sc2tog, sc in next sc; rep from * around – 9 sc.
Rnd 37: Sc2tog, around until near enough to close.


Beard
Row 1: With White, ch 15
Row 2:  Starting in first ch from hook, Sc in every chain, at the end, ch 2, turn then
Row 3: Sc in every sc, at the end, ch 2 then turn
Row 4: Sc in every sc, at the end, ch 2 then turn
Row 5: Sc in every sc but skip the last sc, slip stitch into chain at end, ch 1 then turn
Row 6: Skip first Sc, sc in every sc but skip the last sc, slip stitch into chain at end, ch 1 then turn
Row 7: Skip first Sc, sc in every sc but skip the last sc, slip stitch into chain at end, Sign off


Hair
Row 1: With White, ch 15
Row 2:  Starting in first ch from hook, Sc in every chain, at the end, ch 2, turn then
Row 3: Sc in every sc, at the end, ch 2 then turn
Row 4: Sc in every sc, at the end, ch 2 then turn
Row 5: Sc in every sc, at the end, ch 2 then turn
Row 6: Sc in every sc but skip the last sc, slip stitch into chain at end, ch 1 then turn
Row 7: Skip first Sc, sc in every sc but skip the last sc, slip stitch into chain at end, sign off


Nose
With Red, ch 2

Rnd 1: Work 4 sc in first chain.
Rnd 2: sc in each sc around – 4 sc.
Rnd 3: Sc in each sc around. Sign off

Sew it all together! I Sewed on the hair first, then when I sewed on the beard, I tried to give it a bit of a peak in the middle so that it looks like he is smiling! Then sew on the nose and finally use a bit of black yarn to sew some smiling eyes. Enjoy!
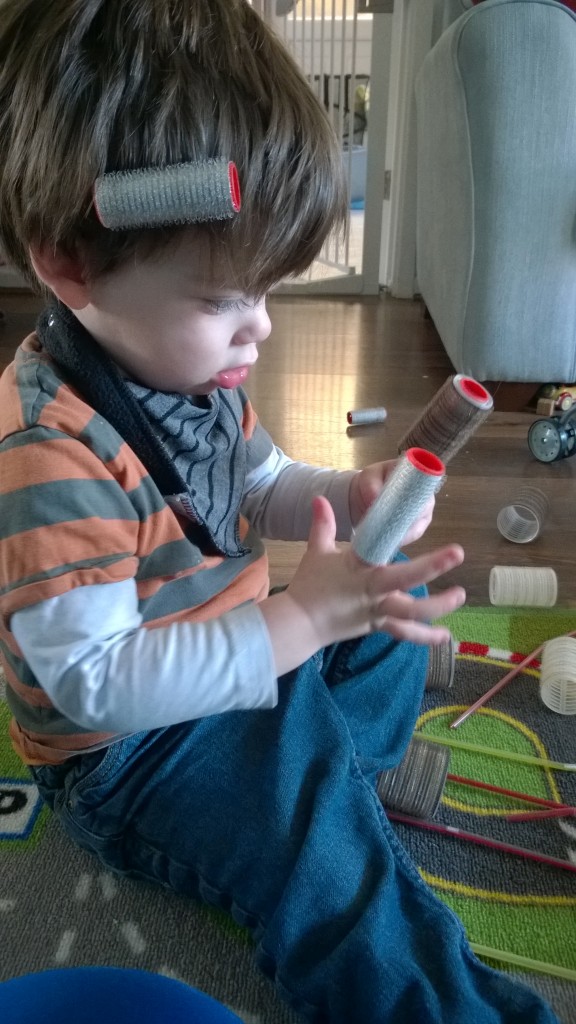
If you do have a go yourself, please share a picture or a link so I can see them too!


Gloop – a very messy playtime idea! 18 months old

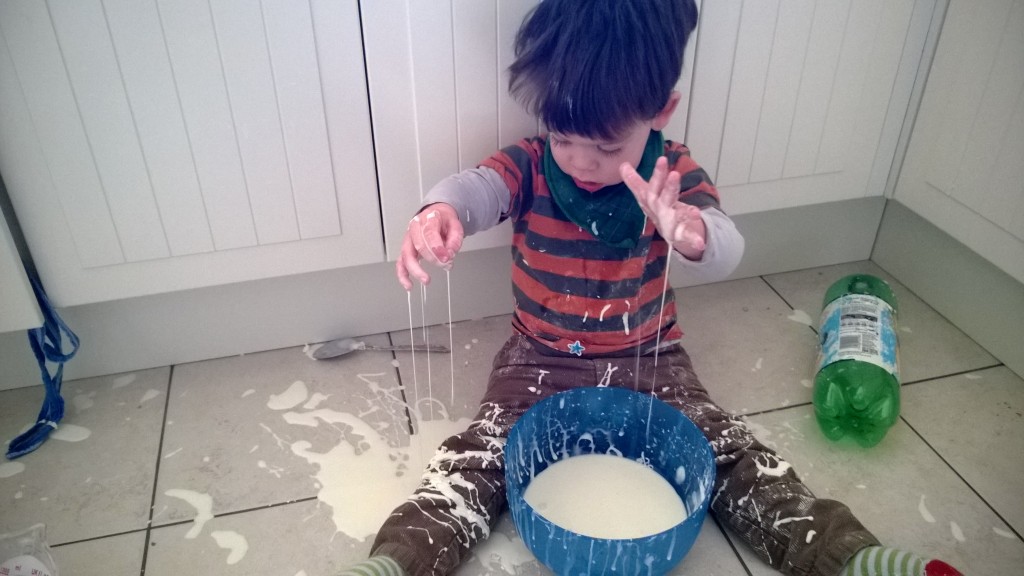
With it being so cold and blustery outside at the moment I have been trying very hard to keep Monkey entertained without leaving the house… and without boredom creeping in. We have his trains, duplo, car and garage, crayons, play doh, puzzles, books, stacking rings, shape sorter, kitchen with tea set, honestly the list is endless and yet within about half an hour he seems to be bored of all of these things and driving me round the bend by throwing everything around the room! I have actually decided it is time to put some toys away for a week or two, then we can rotate some in and out, we shall see if that works.

WP_20131205_12_40_17_Pro

In a bid to occupy him for more than a few minutes I decided to give Gloop a try. I have read about this quite a few times but been a bit wary of giving it a try as I know what Monkey is like and I was concerned about the mess. But this week I decided we should go for it, so set off to the kitchen.


What is Gloop?
If you haven’t heard of it before, basically when you mix Cornflour and Water together, at a certain consistency it becomes a very weird texture, whereby it is solid when you are holding it and squeezing it around, but if you stop moving, it turns back to liquid. You can see in this short video what I mean.


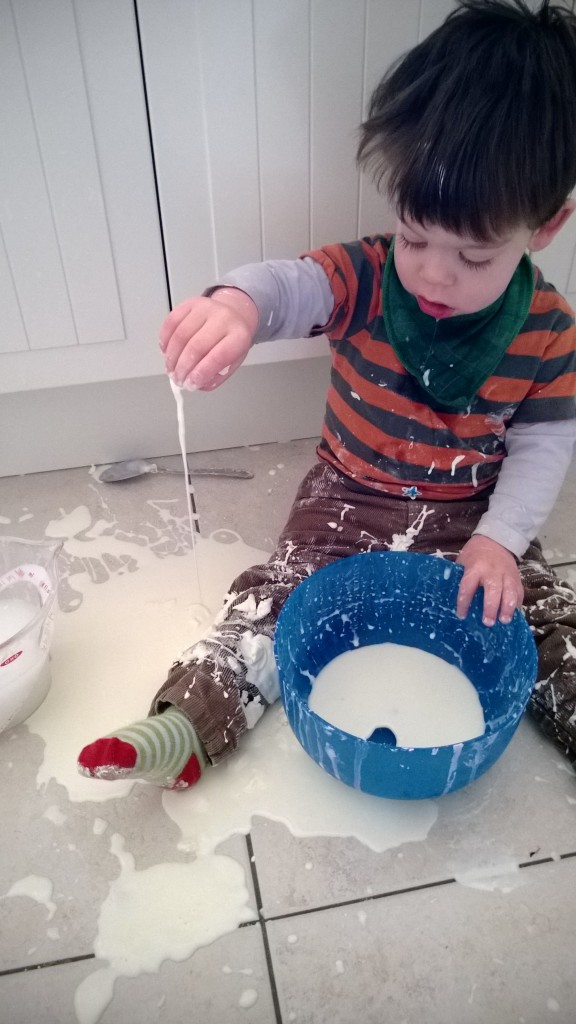
Monkey really enjoyed himself, but oh my goodness the mess! I should have thought about it before, but whenever Monkey has something stuck on his hands, food, stickers, anything, he gets a bit frantic and shakes his hands all over the place in a bid to get it off. Well you can imagine what he was like with the gloop, so it went everywhere!!

WP_20131205_12_41_11_Pro

He also decided it was really fun to pour it all over his trousers. Then he decided he wanted to grab me so both our clothes were actually covered – thankfully being just cornflour and water it came out easily. I have read before where people use food colouring too to make it the sea or something, but I am very glad that at this age I didn’t go with the food colouring option – I may wait till he is a bit older before I try that!

WP_20131205_12_43_48_Pro

My big mistake of the day was to have a jug of water with us. The idea was so he could dip his hands in to wash off some gloop (and therefore limit the amount of gloop flying around the kitchen when he shakes his hands about) but in reality all he wanted to do was tip the water all over the floor and then stamp in the puddles left. D’oh! Completely my fault as I should have known but I still got a bit cross.

He very much enjoyed himself though, and it certainly kept him occupied for a while which was the main thing!
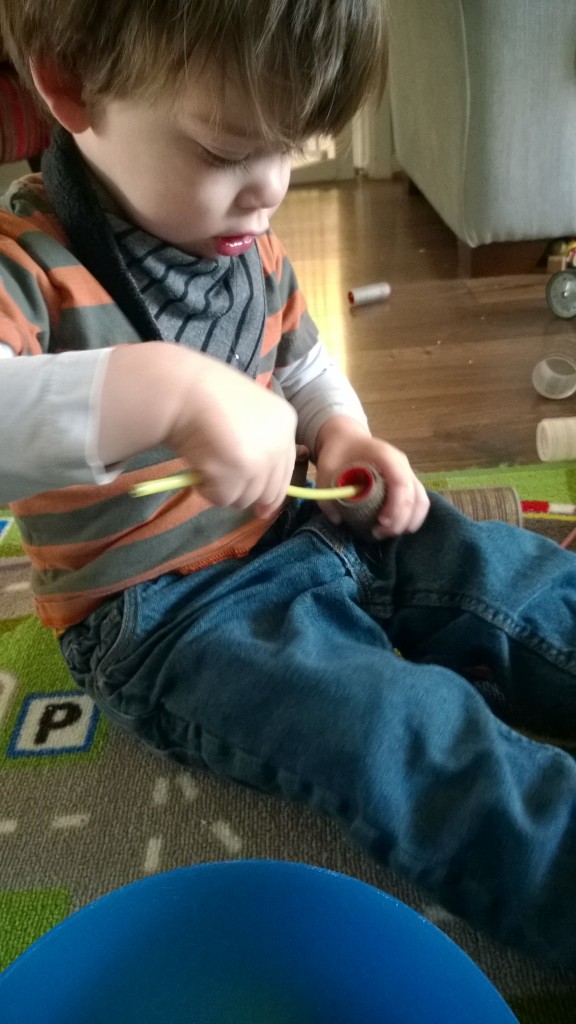
WP_20131205_12_49_30_Pro

Have you ever tried gloop? Was your house as messy afterwards as mine?


Playing with a Pringles tube and much happier mealtimes 16-17 months

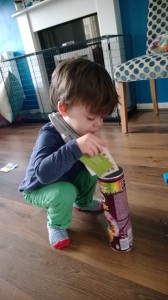
This was another idea I got from Pinterest actually, but again I cannot find the place where I found it initially. So annoying as I don’t want to take credit for other people’s ideas! Oh well though anyway, the idea is that if you take a Pringles tube, (or any other tube of crisps, with a lid) and cut a rectangular slot through the lid so that business cards etc. can be posted though. This helps with fine motor skills apparently! Monkey loves it though anyway, he loves it putting the cards in the slot, and he really loves shaking the tin around afterwards!

WP_20131001_17_10_57_Pro WP_20131001_17_13_05_Pro WP_20131001_17_13_21_Pro

He pretty soon discovered how to take the lid off the tube and that it was much easier to get the cards in… and lots of other things.

WP_20131015_10_21_34_Pro WP_20131015_10_25_01_Pro WP_20131015_10_24_26_Pro


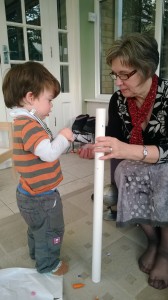
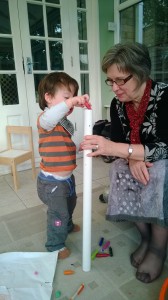
He basically loves this tube, but he also loves posting thing everywhere. He has a tunnel that granddad made for the brio train set, which he loves posting things through, and he spent ages posting crayons down an old wrapping paper tube with his Nanny the other day!

WP_20131015_10_19_11_Pro WP_20131017_17_05_47_Pro WP_20131017_17_05_24_Pro

He also loves to post things under the sofa, behind cushions, under my legs, behind my back, through the bars of the door-gates, through the fire guard… you get the idea! The good thing about the Pringles tube though is that it is handily arm sized so he can get things out again, some of his other posting favourites lead to a lot more frustration, so I try to give him the Pringles tube whenever he is in a posting mood hehe!

In other news we have had a whole week of Monkey eating his dinner! Woohoo!!! I know that these things can change at a drop of the hat  but please, please, pleeeeease let him be growing out of that phase! Even if not though I have enjoyed this week as it has made it so much less stressful that he has eaten his meals. Don’t get me wrong I have had to put in a lot of effort to get this to happen but at least it has paid off, so I am v happy 🙂