Beating Boredom with Baking Blog 3 – Paul Hollywood’s Chocolate and Peppermint Roulade

I haven’t written a baking  blog for a while as I have been on a bit of a diet. I have done pretty well with the diet, but I have really missed the baking. I just find it really therapeutic. Even on days when I am shattered and can’t be bothers, following the recipe is so soothing and then taking it out of the oven, decorating, ah the feeling of satisfaction is amazing.

WP_20131205_15_28_12_Pro

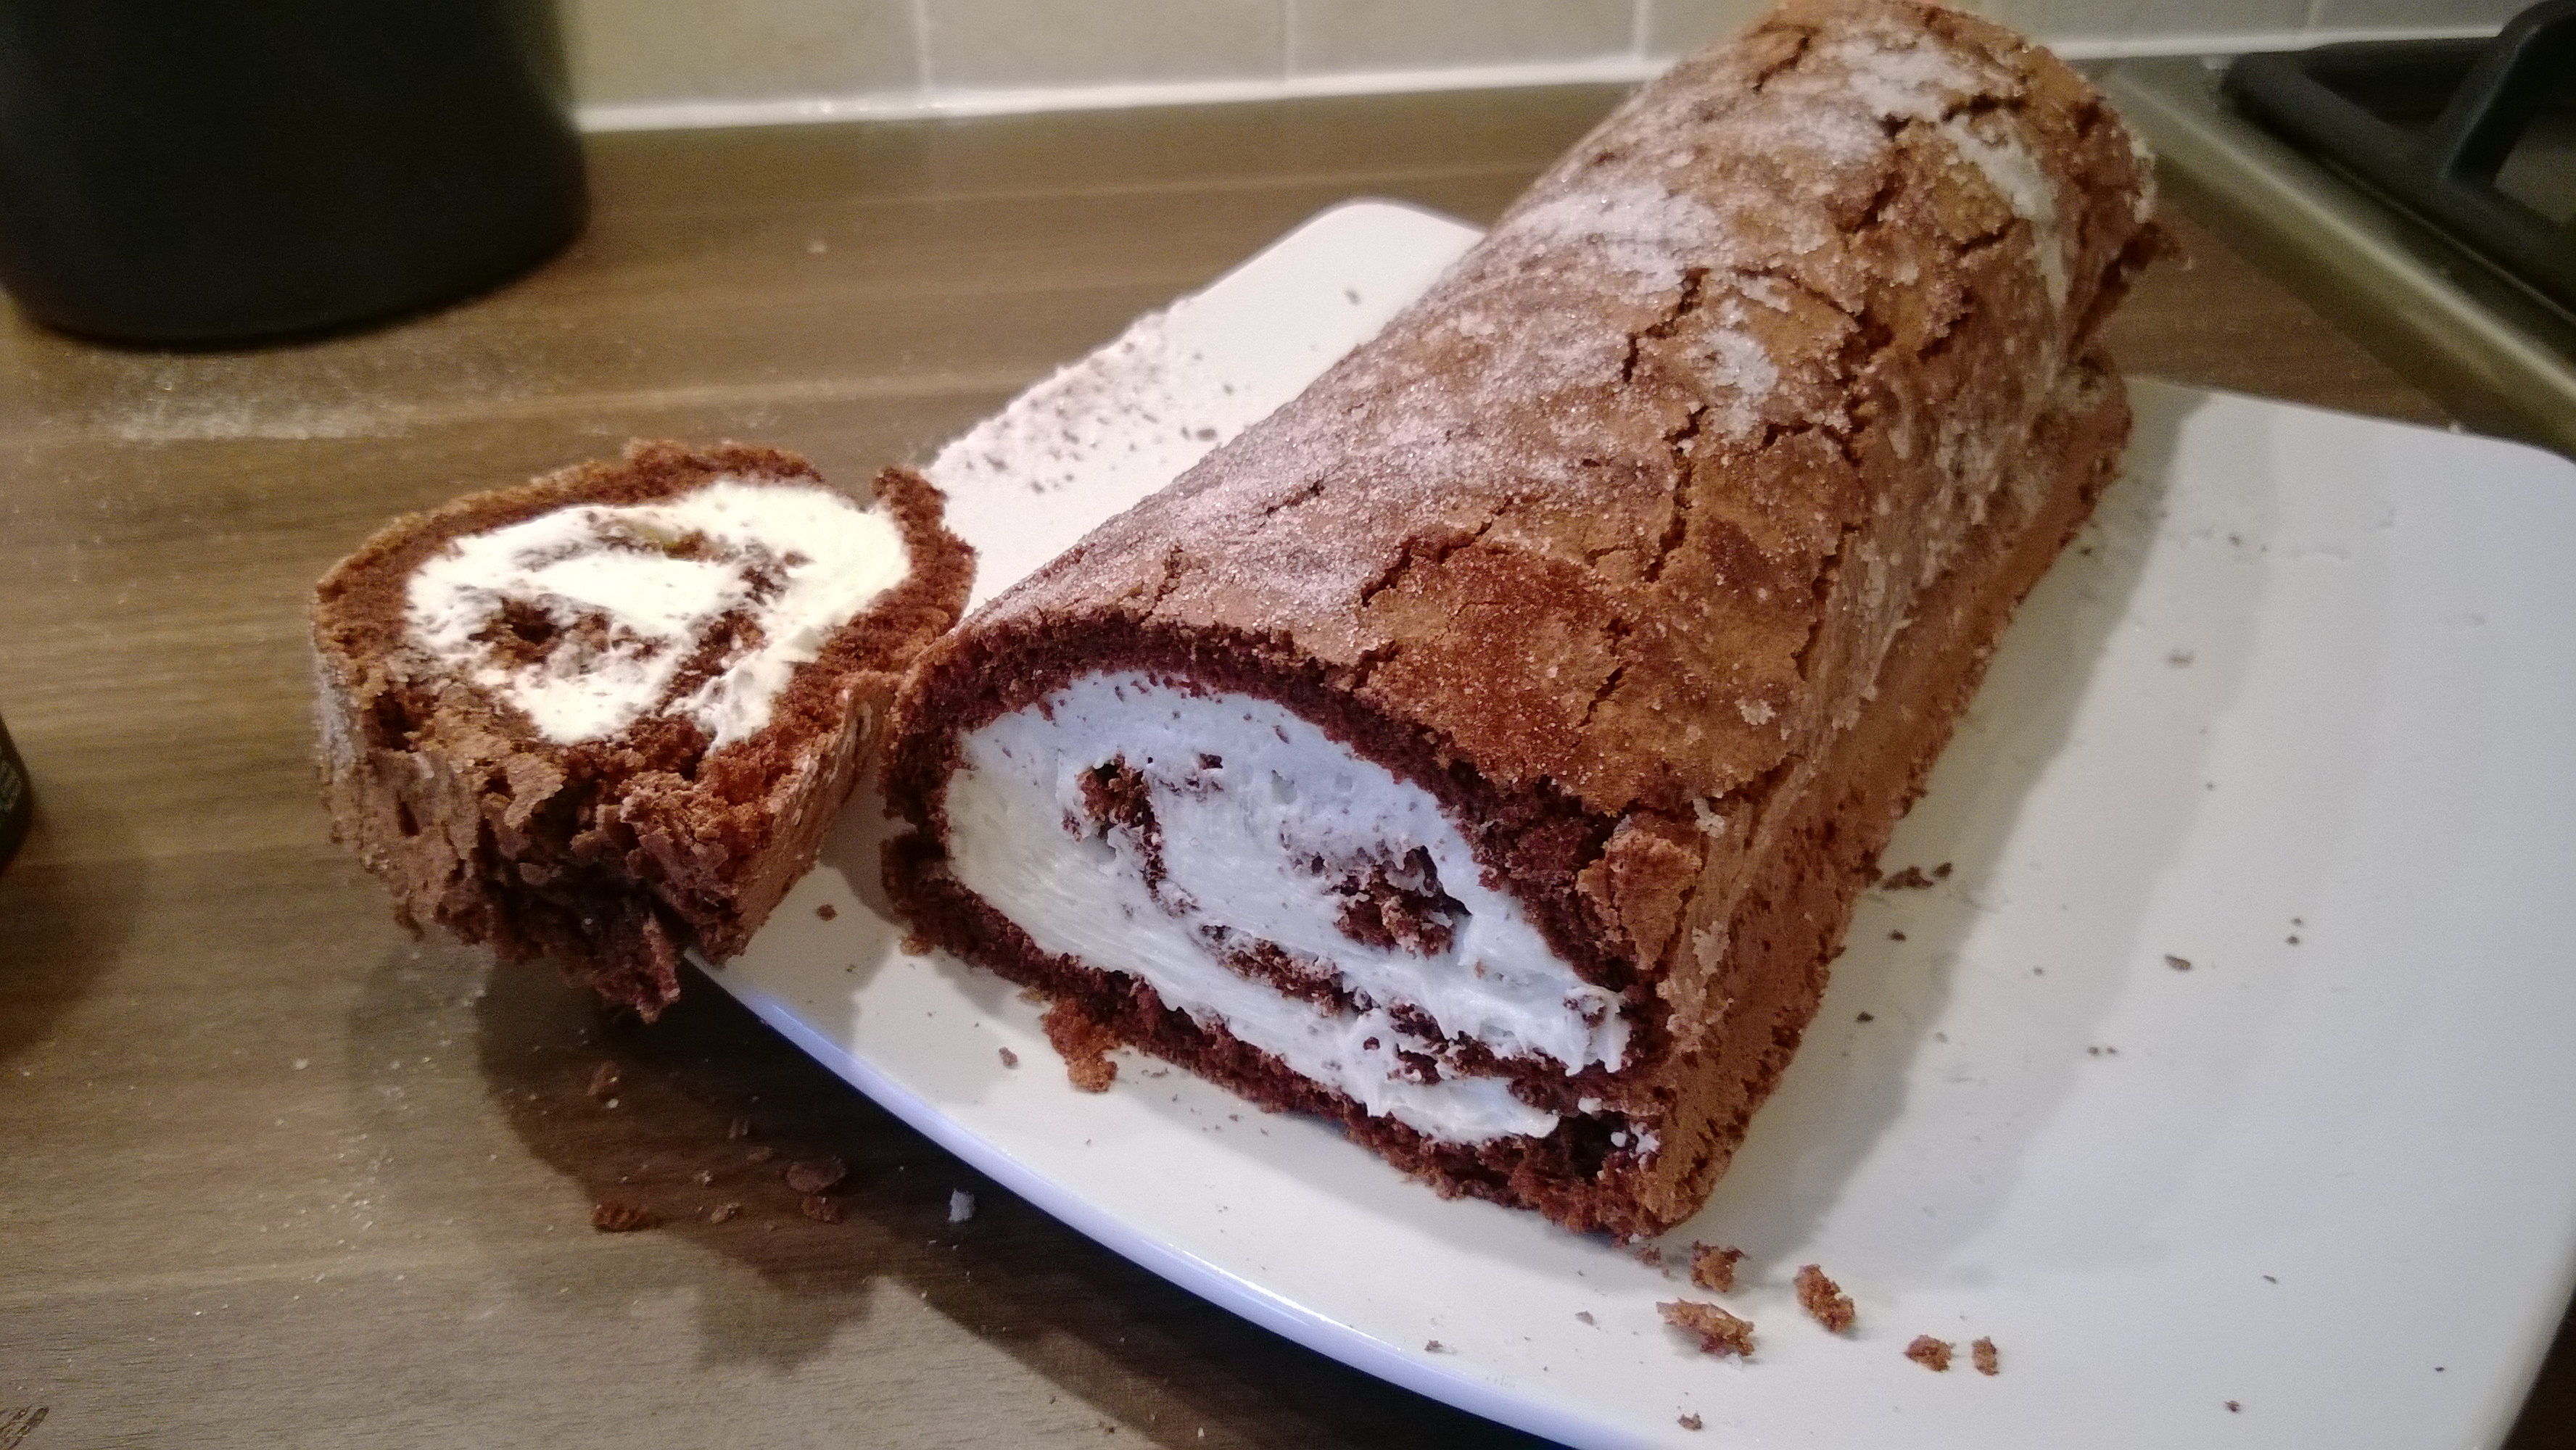
A few weeks ago I caught an episode of Paul Hollywood’s Pies and Puds during Monkey’s nap and just thought that this Roulade sounded delish, so here is the recipe:

Ingredients

  • 125g/4½oz dark chocolate ( I Used Bourneville – 39% Cocoa Solids :))
  • 4 free-range eggs, separated
  • 125g/4½oz caster sugar, plus extra for dusting
  • 2 tbsp cocoa powder, sifted (I use Green and Blacks)

For the filling

  • 325g/11½oz icing sugar, sifted ( I didn’t sift and it seemed fine :))
  • 100g/3½oz butter, softened
  • 2 tbsp milk
  • 3-4 drops peppermint flavour oil (I used about 4 drops of just peppermint flavouring as I couldn’t get oil, and it was very yummy)
  • 2 tbsp dark chocolate chips

Preparation method

  1. Line a 24x35cm/9½x14in Swiss roll tin with greaseproof paper and preheat the oven to 180C/350F/Gas 4.
  2. Melt the chocolate in a heat-proof bowl set over a pan of simmering water.
  3. Whisk the egg yolks with the sugar in a bowl. Add the cocoa powder, stir to combine until the mixture has thickened, is pale and increased in volume.
  4. Whisk the egg whites in a separate bowl until stiff.
  5. Pour the melted chocolate into the egg yolk and sugar mixture. Stir until the chocolate is fully incorporated.
  6. Gently fold in the egg whites.
  7. Pour the mixture into the prepared tin. Tilt the tin so that the mixture spreads into the corners.
  8. Bake for 18-20 minutes, or until firm and springy to touch.
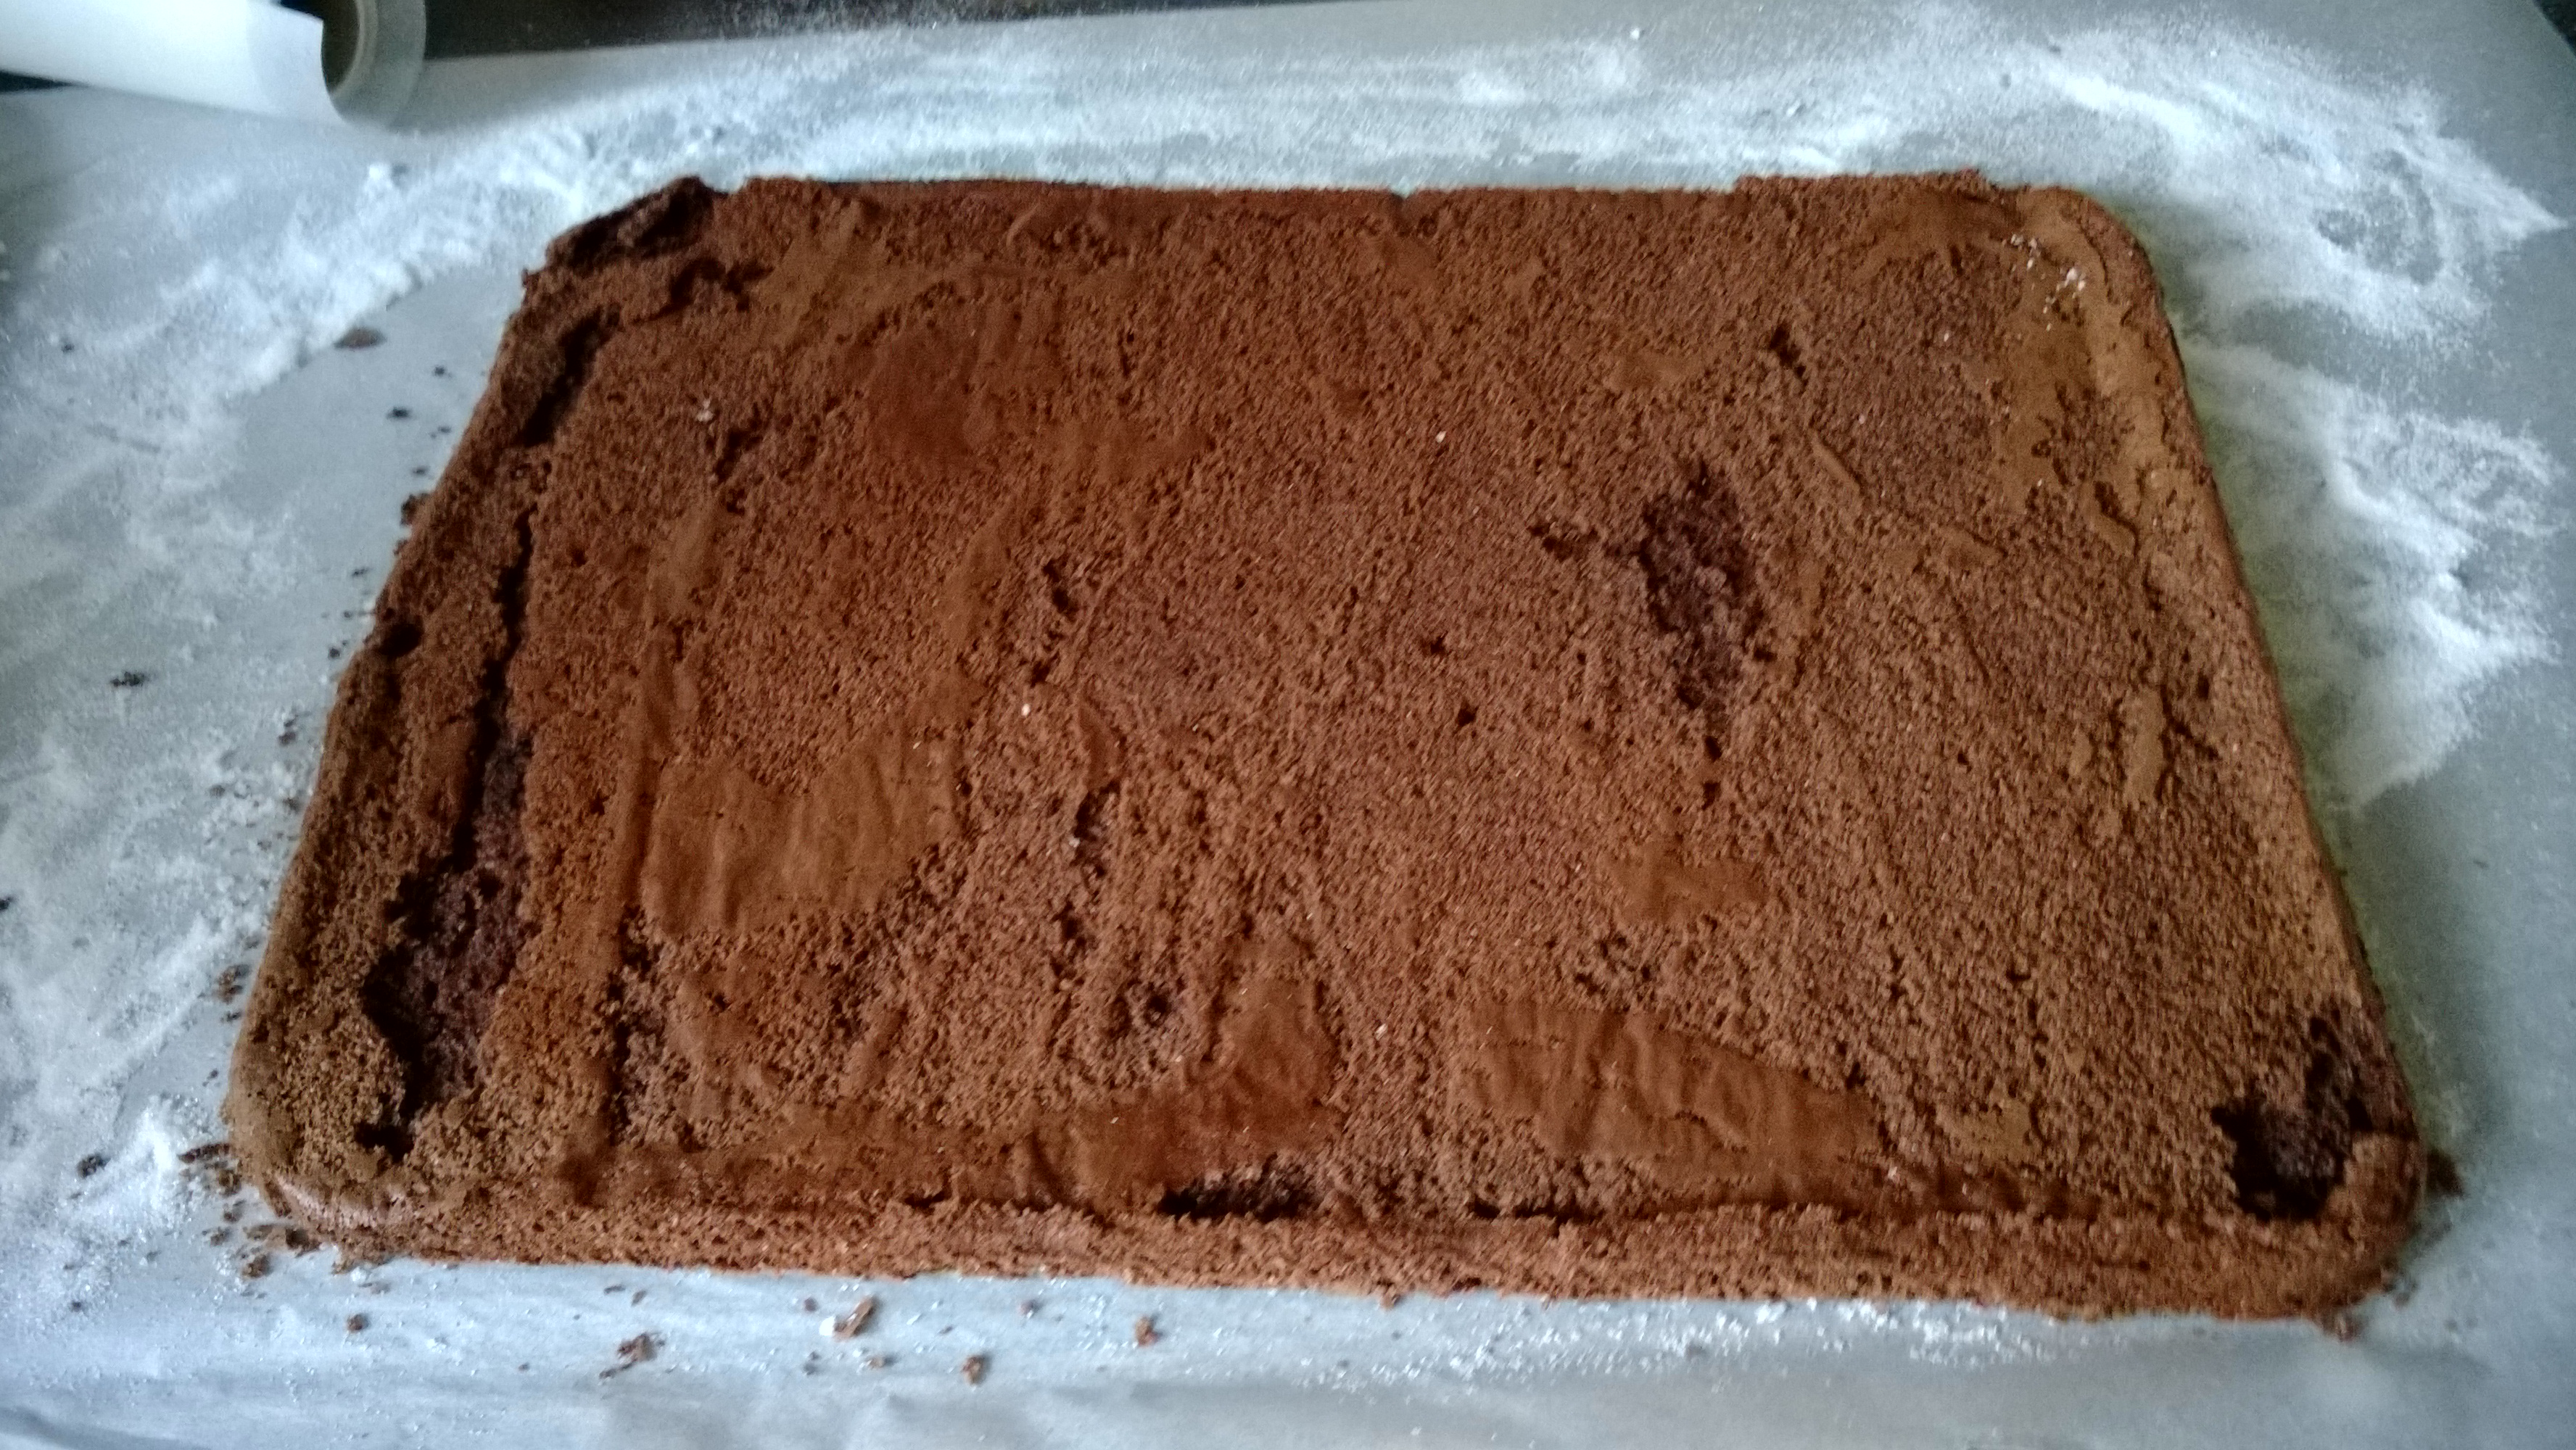
  9. Once cooked, turn the roulade out onto a piece of greaseproof paper dusted with caster sugar.
  10. Gently remove the lining paper and cover with a damp tea towel. Leave to cool completely.
  11. For the filling, gradually add the icing sugar to the softened butter. Beat until all the icing sugar is incorporated. Add the edible peppermint oil to the milk, and then stir into the buttercream.
  12. Spread the filling onto the cooled roulade, leaving a 1.5cm/¾in gap at each edge. Sprinkle over the chocolate chips.
  13. Using the greaseproof paper to help you, roll up the roulade from one of the short ends. Don’t worry if it cracks a little. Transfer onto a serving plate Tip – From watching Paul on the telly, at the top end, fold the edge down completely about 2 cm in, so that it breaks. This makes rolling the rest much easier apparently!

I have never whisked egg whites before, never made meringues or anything so was a bit wary of how this would go, but actually it went pretty well! I’d watched enough of  the Great British Bake Off this year and had seen them whisking eggs, and gently folding it into cake mixtures to know roughly what to do and what not to do. I.e. Be gentle with the folding so you don’t lose any of the air you have just whisked in!

We don’t have a Swiss Roll tin either but I measured one our big baking trays and it was nearly the right depth for a swiss roll tin (2cm) so decided to try it and see if it worked, and it seemed just the right depth actually, which is good as it means we don’t have to buy a new tin.

WP_20131205_14_39_33_Pro


WP_20131205_15_27_28_Pro


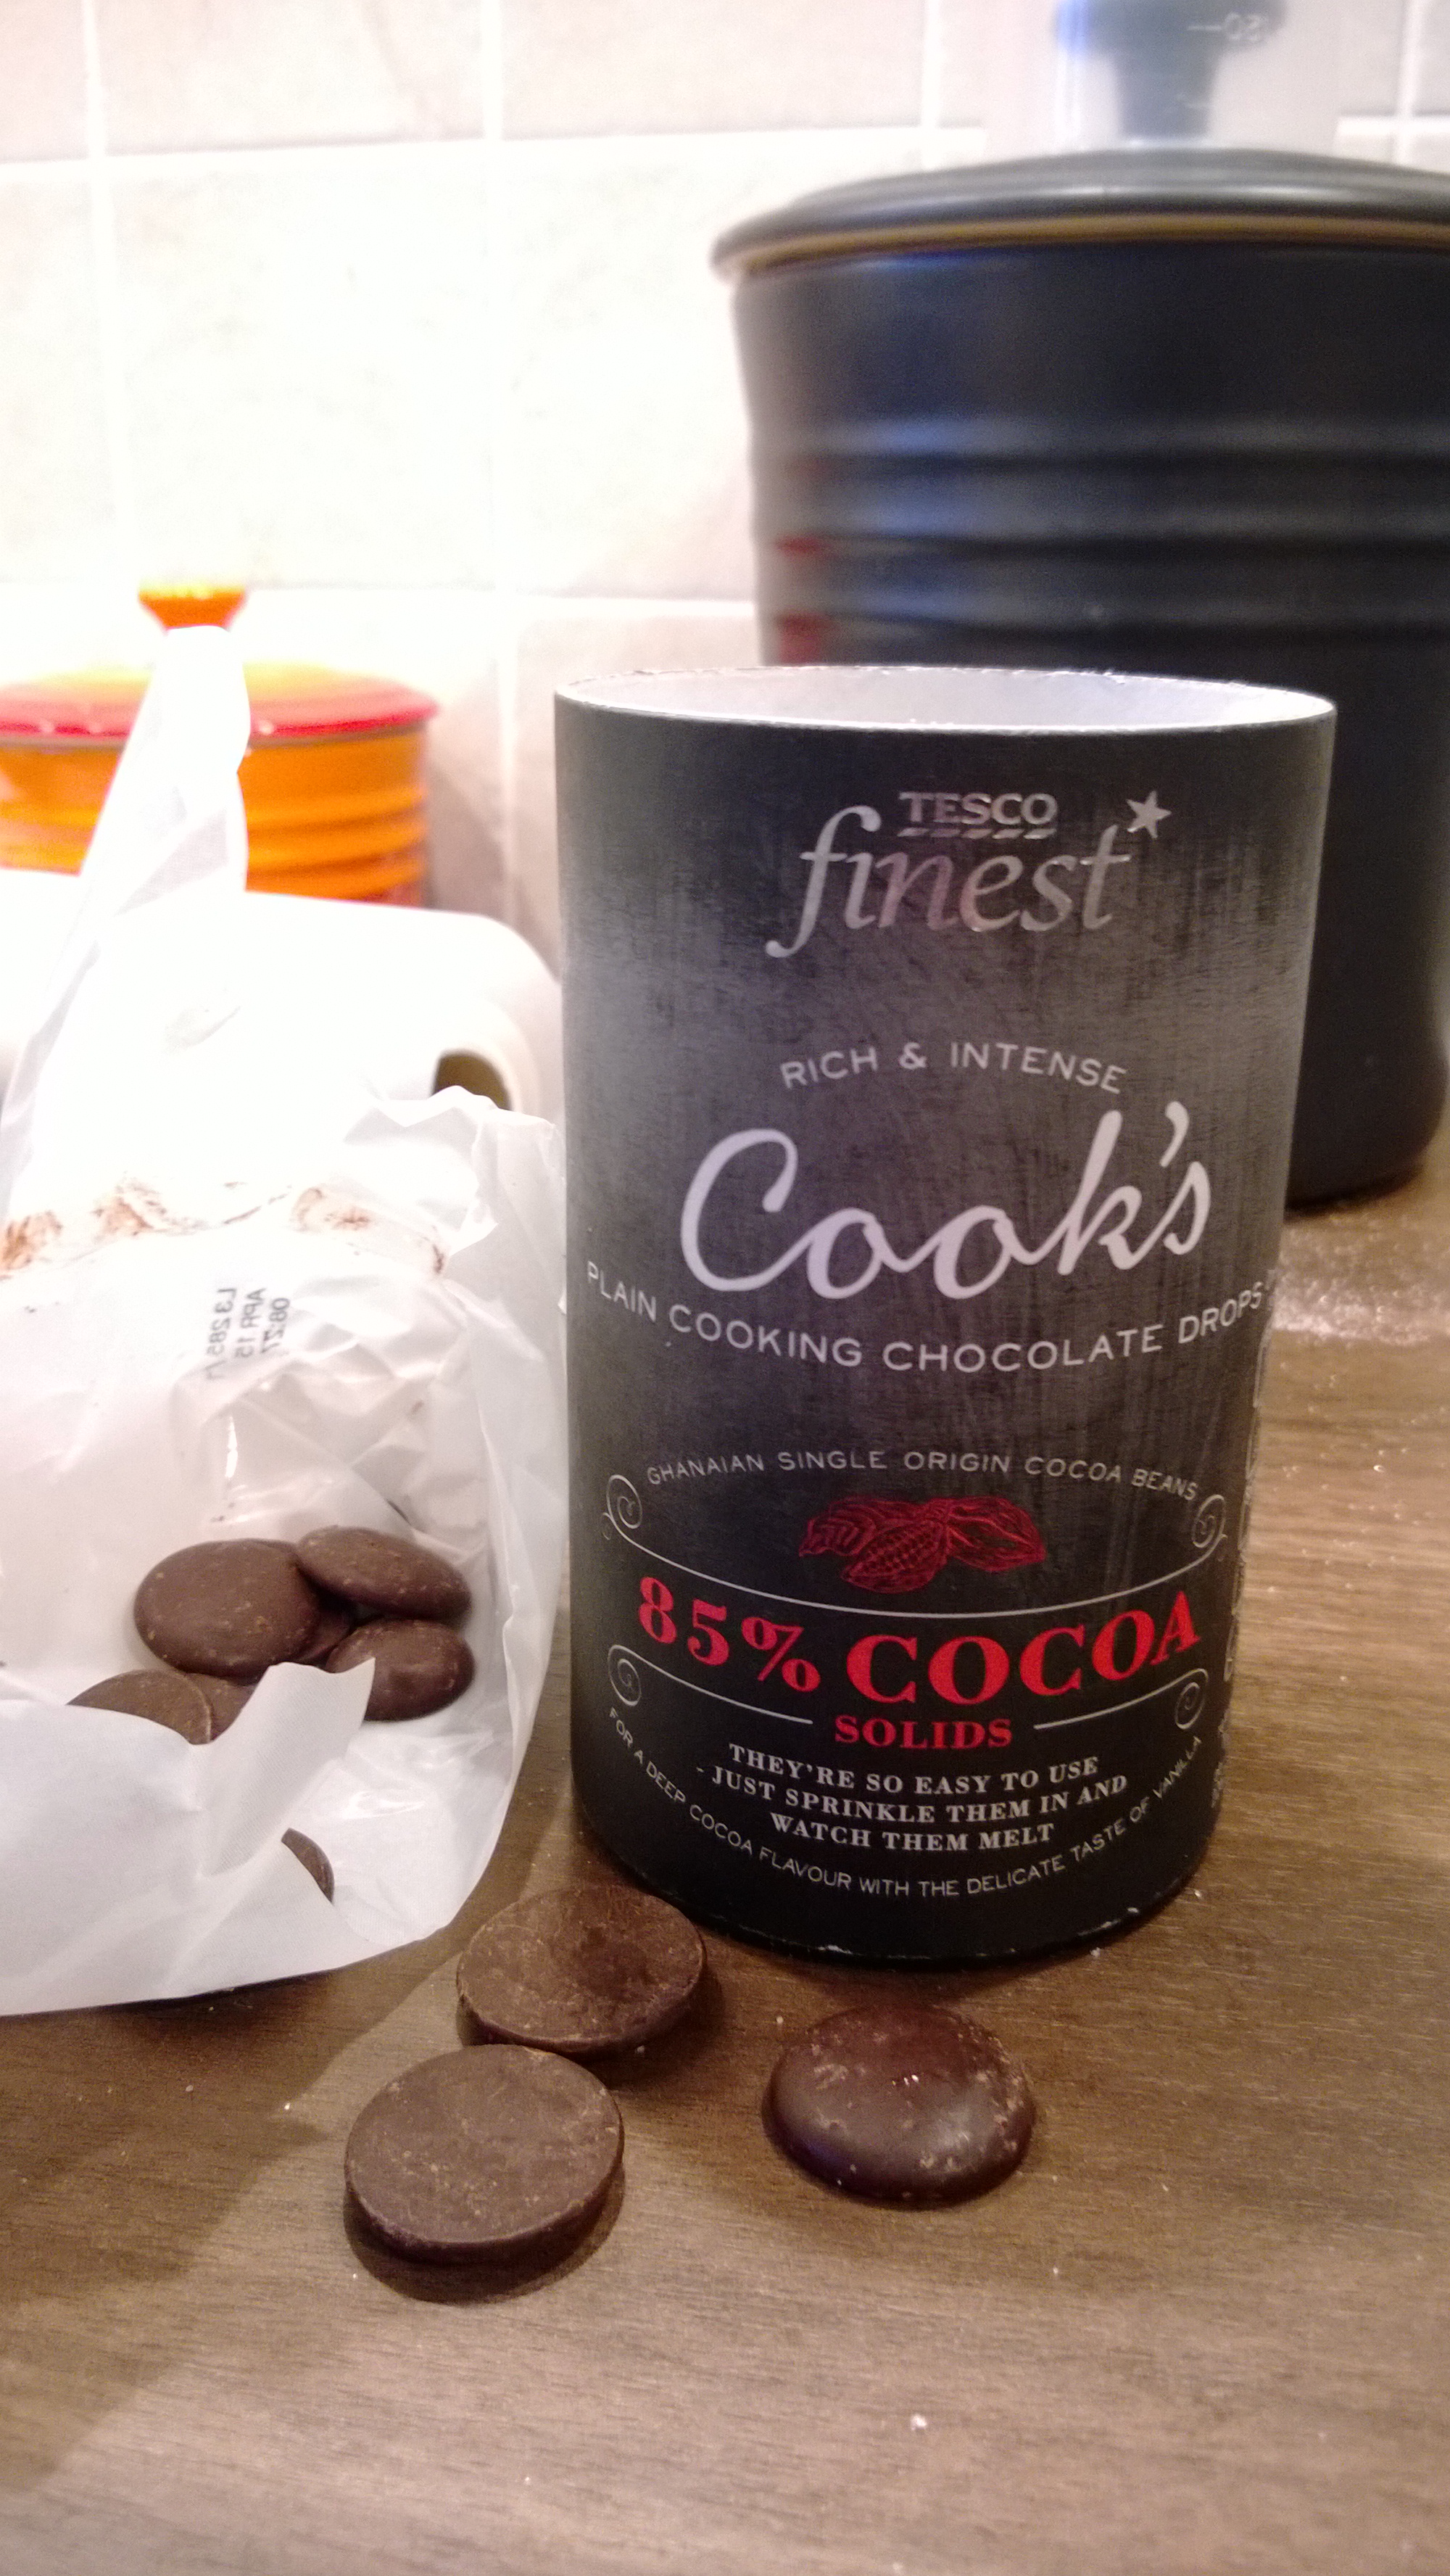
I had one big fail, which was that I stupidly bought chocolate drops instead of chocolate chips. Chocolate drops are basically chocolate buttons so are far too big and intense hits of chocolate.


But on the whole it went really well! Hubby and Monkey love it, and my lovely Mother In Law, who is a brilliant baker said that it was possibly the nicest thing she had ever tasted – really high praise! My good friend and neighbour also said it was yummy and looked like a bought one :).  When I first saw it on TV I thought it would make a lovely Yule Log and after the success of this one I will definitely make it for Christmas! Though next time I will try it with chocolate chips or small shards of chocolate, though honestly I think it tastes lovely even without the addition of the dark chocolate in the cream!

WP_20131205_15_28_12_Pro
Tasty Tuesdays on HonestMum.com

Beating Boredom with Baking Blog 2 – Buddy Valastro’s Red Velvet Cake

If anyone has ever watched Cake Boss, or The Next Great Baker, then you will know who Buddy Valstro is, and what Red Velvet cake is. He is an amazing and hugely successful baker from New Jersey who runs a family baking business. One of his most popular cakes is his red velvet cake. Here in the UK it is not a well known cake at all. Most people have never even heard of a Red Velvet cake, let alone tried one so whenever they have mentioned it on the show I have been a little intrigued to say the least.

A couple of months ago at a restaurant hubby and I tried our first ever slice of red velvet cake, and Oh My God it tasted amazing! Right then and there we vowed that we would try and make it at home. But you know how it is, life gets busy. I had looked up a few recipes online and it seemed a little complicated so it got put on the back burner. I hadn’t watched any of his programmes for ages, but caught an episode recently and thought ooooh, red velvet, hmmmm and decided to give it a try.

I found quite a few different versions of the recipe online but thought my best bet was probably to go with the recipe of Buddy Valastro himself, which I found here.

One slight problem is that his measurements are all in American measures, cups, which leaves me a little blank. So with a little help from hubby and this handy conversion site, I converted the ingredients into more familiar measurements, which are as follows:

Ingredients

315g Plain Flour
25g Cocoa Powder (I use Green & Blacks)
½ tsp Salt
115g Unsalted Butter
300g Normal Sugar
2 Large Eggs
Strong red food colouring (more on this later)
1 tsp Vanilla extract
240ml buttermilk
2 tsp white wine vinegar
1 tsp Bicarbonate Soda

It is worth mentioning a couple of things at this point.

1 – The food colouring, the first time I used a tube of Dr Oetker red gel food colouring, as it was what we had and I had seen it recommended on a few websites, but honestly the cake was more of a chocolate brown than red. The second time I used 1/2 a pot of gel food colouring which I got at my local Hobbycraft shop. The brand is Wilton and it is called icing colouring. Much better result though like I say I did use half a pot of it and it is strong stuff! I don’t think that normal liquid food colouring that we have in the UK is strong enough to make the cake red after baking it.

2 – The recipe calls for distilled white vinegar, but I couldn’t find that so bought white wine vinegar which works fine

3 – Buddy’s recipe uses baking soda, which is an American term, I used Baking Powder the first time, without really thinking, and the cake turned out way too dense! So I used Bicarbonate soda the second time and it was light and fluffy, so definitely use Bicarbonate soda.

Method

Preheat the oven to 170°. Grease 2 sandwich tins, ours are 8″ I think and they worked fine. Line the bottom of the tins with greaseproof paper.

Sift the flour, cocoa and salt into a bowl.
In a larger bowl, using a hand mixer, beat the butter at a low temperature until creamy.
Add Sugar and blend on a medium speed until fluffy. Add the eggs one at a time, mixing well after each.
Add the food colouring and vanilla .

On a low speed, beat in the flour mixture in thirds, alternating with the buttermilk, beginning and ending with the flour mix. So 1/3 flour, 1/2 buttermilk, 1/3 flour, 1/2 buttermilk, 1/3 flour. Mixing well in between each.

In a small bowl, stir together the vinegar and bicarbonate soda. Stir into batter.
Divide the batter between the tins and spread evenly.

Bake until a toothpick inserted into the centre comes out clean. The recipe says 25-30 mins, it took nearer to 40 mins in my oven, though I would check it at around 25 mins.

Cool in pans for 10 minutes, then run a knife around the edges and turn onto racks. Remove the paper and flip cakes.

Here are the pictures of my cakes, the first one, with the baking powder, just didn’t rise and was really dense. It was also much browner. The second time with the bicarb and better food colouring, it rose much better and was a much better colour.

WP_002380 WP_20130924_15_11_58_Pro

Now for the yummy Cream Cheese Frosting

450g Full Fat Cream Cheese
115g Unsalted Butter
400g Icing Sugar
1 tsp Vanilla Extract
Pinch of salt

Beat the cream cheese and butter at a medium speed until smooth. 
Add Sugar, vanilla and Salt. Stir the icing sugar in a bit before beating, to avoid sugar clouds, then beat on a low speed to start, and then a medium0high speed until the mixture is fluffy.

Once the cakes have completely cooled, cut each layer in half using a serrated knife. (Buddy’s recipe mentioned freezing them but I didn’t have room in our freezer so didn’t do that). Use the frosting between each layer. Roughly frost cake all over once, then put it in the fridge for 20 minutes, before continuing frosting with another layer. I’m not that good with the frosting but this definitely helped! Use some of the crumbs from the tins as decoration et oila!

WP_20130924_16_55_10_Pro WP_20130924_17_43_41_Pro

The first cake I made still tasted fine  but the second one was muuuch better. Hubby says it’s his favourite cake in the whole world, and Monkey loves it too. It is really sweet though so you don’t need big slices of it.

Yummy Red Velvet Cake

Yummy Red Velvet Cake

Maybe if you did Freeze it as Buddy’s recipe suggests, you may get less crumbs in the frosting layers? I have no idea though may be worth a try. Happy baking!

Tasty Tuesdays on HonestMum.com

Link up your recipe of the week

Beating Boredom with Baking Blog 1 – Mary Berry’s Chocolate Fudge Cake

Boredom isn’t quite the right word for it, and Monkey and I keep ourselves very busy, but with the constant routine of mealtimes, playtimes, baby groups, naps, housework, sometimes I feel as if my brain is stagnating with the mundaneness. Sounds all a bit harsh and I am loving being at home with my little man, but I do need pursuits for myself to keep my brain going. Hence the baking!

We are watching Great British Bake-Off so maybe that has something to do with my sudden re-interest in baking, but I had a craving for a nice chocolate cake before that although I’m not sure why. Thanks to my husband’s tutelage I have now mastered the basic baking skills required for making a nice sponge cake, I also make cookies and flapjacks and things, but one thing I had never tried before was a good chocolate cake.

There are many many recipes out there and I was looking for a nice simple one that would give the tastiest chocolate cake possible. We have a few cookbooks in the house but I settled on a Mary Berry one. After a few failed attempts at some of her other recipes in the past (the pinwheel biscuits tasted really dull and we definitely prefer our flapjack recipe to hers) hubby was definitely a bit wary of this recipe book but her Chocolate Fudge Cake sounded too delicious not to try so off I went.

The cake recipe is as follows:

50g cocoa powder (I used Green & Blacks)
6 tbsp boiling water
3 large eggs
50 ml milk
175g self-raising flour
1 heaped tsp baking powder
100g soft butter
275g caster sugar
For Icing and Filling:
150g Plain Chocolate (Approx. 39% cocoa solids DO NOT USE A 70% COCOA SOLIDS CHOCOLATE, see below)
150ml double cream
Method:
 1.Pre-heat the oven to 180°C/gas mark 4. Grease two eight inch sandwich tins and line the bases with baking parchment.
2. Measure the cocoa into a bowl, add the boiling water and mix until smooth. Add the remaining ingredients and mix until smooth.
3. Divide the cake mixture between the prepared tins and level the surface
4. Bake in the pre-heated oven for about 25-30 mins until well risen and the tops of the cakes spring back when lightly pressed.
For the Icing and Filling:
1.Measure the chocolate and cream together in a bowl. Stand the bowl in a pan of simmering water and stir until just melted – do not get too hot.
2. Remove the bowl from the heat ad allow to cool until it has nearly set.
3. Spread onto cake as a filling and then the remaining for the icing.

I have to say right off that miraculously the cake baked perfectly first time round! I couldn’t quite believe it! The icing/filling however… not quite so.

Now it does say in the recipe that the chocolate should be 39% cocoa solids. I read this, but in my local shop they had 2 types of plain chocolate, one which didn’t say anything, and one which was 74% cocoa solids. I thought this was probably fine so bought that one. When I got home however I had another look at Mary Berry’s book and in the early pages (which I never normally read) she does explain why it is important not to use a chocolate with too high a percentage of cocoa solids. Something about the fat separating. This concerned for all of ooh, 2 seconds and then I thought, ahh it’lll be fine so went on with my baking.

What I was mindful of though was how bitter it would be using a plain chocolate that dark, so was prepared to add some sugar. when I had melted the chocolate and cream together I tasted it and sure enough it was a little bitter, so I added some sugar and extra cream to sweeten it. It tasted lovely, so all good I thought. Until I left it to cool. Then it started to go a bit gloopy and sure enouuh it separated. Soon there was a deep layer of oil on the surface of the bowl. Boooo! I tried to dab some off with kitchen roll (fail) then drained some of it down the sink. It did still taste nice which, according to hubby, was the most important thing.

I slapped it on the cake and actually it wasn’t too bad, tasted really good actually, I just knew that it wasn’t right.

Look what I made today... Mmmmm...... WP_002259

So a few days later, armed with some chocolate which was 43% cocoa solids (the lowest I could find) I tried again and it was definitely nicer. It was less greasy and it definitely set better as it cooled. Hubby says he liked both but my mum did admit she thought it tasted nicer the second time round.

WP_002306

So the moral of the story is – use the right type of chocolate! It is a seriously lovely cake though and such an easy recipe, so way to go Mary Berry! 🙂

Oh, one more note, the full recipe also mentions spreading apricot jam onto the cake before putting the icing/filling on, but I know Hubby would not like the apricot jam so I left it out, and it doesn’t feel like we are missing anything! 🙂

Tasty Tuesdays on HonestMum.com