If anyone has ever watched Cake Boss, or The Next Great Baker, then you will know who Buddy Valstro is, and what Red Velvet cake is. He is an amazing and hugely successful baker from New Jersey who runs a family baking business. One of his most popular cakes is his red velvet cake. Here in the UK it is not a well known cake at all. Most people have never even heard of a Red Velvet cake, let alone tried one so whenever they have mentioned it on the show I have been a little intrigued to say the least.
A couple of months ago at a restaurant hubby and I tried our first ever slice of red velvet cake, and Oh My God it tasted amazing! Right then and there we vowed that we would try and make it at home. But you know how it is, life gets busy. I had looked up a few recipes online and it seemed a little complicated so it got put on the back burner. I hadn’t watched any of his programmes for ages, but caught an episode recently and thought ooooh, red velvet, hmmmm and decided to give it a try.
I found quite a few different versions of the recipe online but thought my best bet was probably to go with the recipe of Buddy Valastro himself, which I found here.
One slight problem is that his measurements are all in American measures, cups, which leaves me a little blank. So with a little help from hubby and this handy conversion site, I converted the ingredients into more familiar measurements, which are as follows:
Ingredients
315g Plain Flour
25g Cocoa Powder (I use Green & Blacks)
½ tsp Salt
115g Unsalted Butter
300g Normal Sugar
2 Large Eggs
Strong red food colouring (more on this later)
1 tsp Vanilla extract
240ml buttermilk
2 tsp white wine vinegar
1 tsp Bicarbonate Soda
It is worth mentioning a couple of things at this point.
1 – The food colouring, the first time I used a tube of Dr Oetker red gel food colouring, as it was what we had and I had seen it recommended on a few websites, but honestly the cake was more of a chocolate brown than red. The second time I used 1/2 a pot of gel food colouring which I got at my local Hobbycraft shop. The brand is Wilton and it is called icing colouring. Much better result though like I say I did use half a pot of it and it is strong stuff! I don’t think that normal liquid food colouring that we have in the UK is strong enough to make the cake red after baking it.
2 – The recipe calls for distilled white vinegar, but I couldn’t find that so bought white wine vinegar which works fine
3 – Buddy’s recipe uses baking soda, which is an American term, I used Baking Powder the first time, without really thinking, and the cake turned out way too dense! So I used Bicarbonate soda the second time and it was light and fluffy, so definitely use Bicarbonate soda.
Method
Preheat the oven to 170°. Grease 2 sandwich tins, ours are 8″ I think and they worked fine. Line the bottom of the tins with greaseproof paper.
Sift the flour, cocoa and salt into a bowl.
In a larger bowl, using a hand mixer, beat the butter at a low temperature until creamy.
Add Sugar and blend on a medium speed until fluffy. Add the eggs one at a time, mixing well after each.
Add the food colouring and vanilla .
On a low speed, beat in the flour mixture in thirds, alternating with the buttermilk, beginning and ending with the flour mix. So 1/3 flour, 1/2 buttermilk, 1/3 flour, 1/2 buttermilk, 1/3 flour. Mixing well in between each.
In a small bowl, stir together the vinegar and bicarbonate soda. Stir into batter.
Divide the batter between the tins and spread evenly.
Bake until a toothpick inserted into the centre comes out clean. The recipe says 25-30 mins, it took nearer to 40 mins in my oven, though I would check it at around 25 mins.
Cool in pans for 10 minutes, then run a knife around the edges and turn onto racks. Remove the paper and flip cakes.
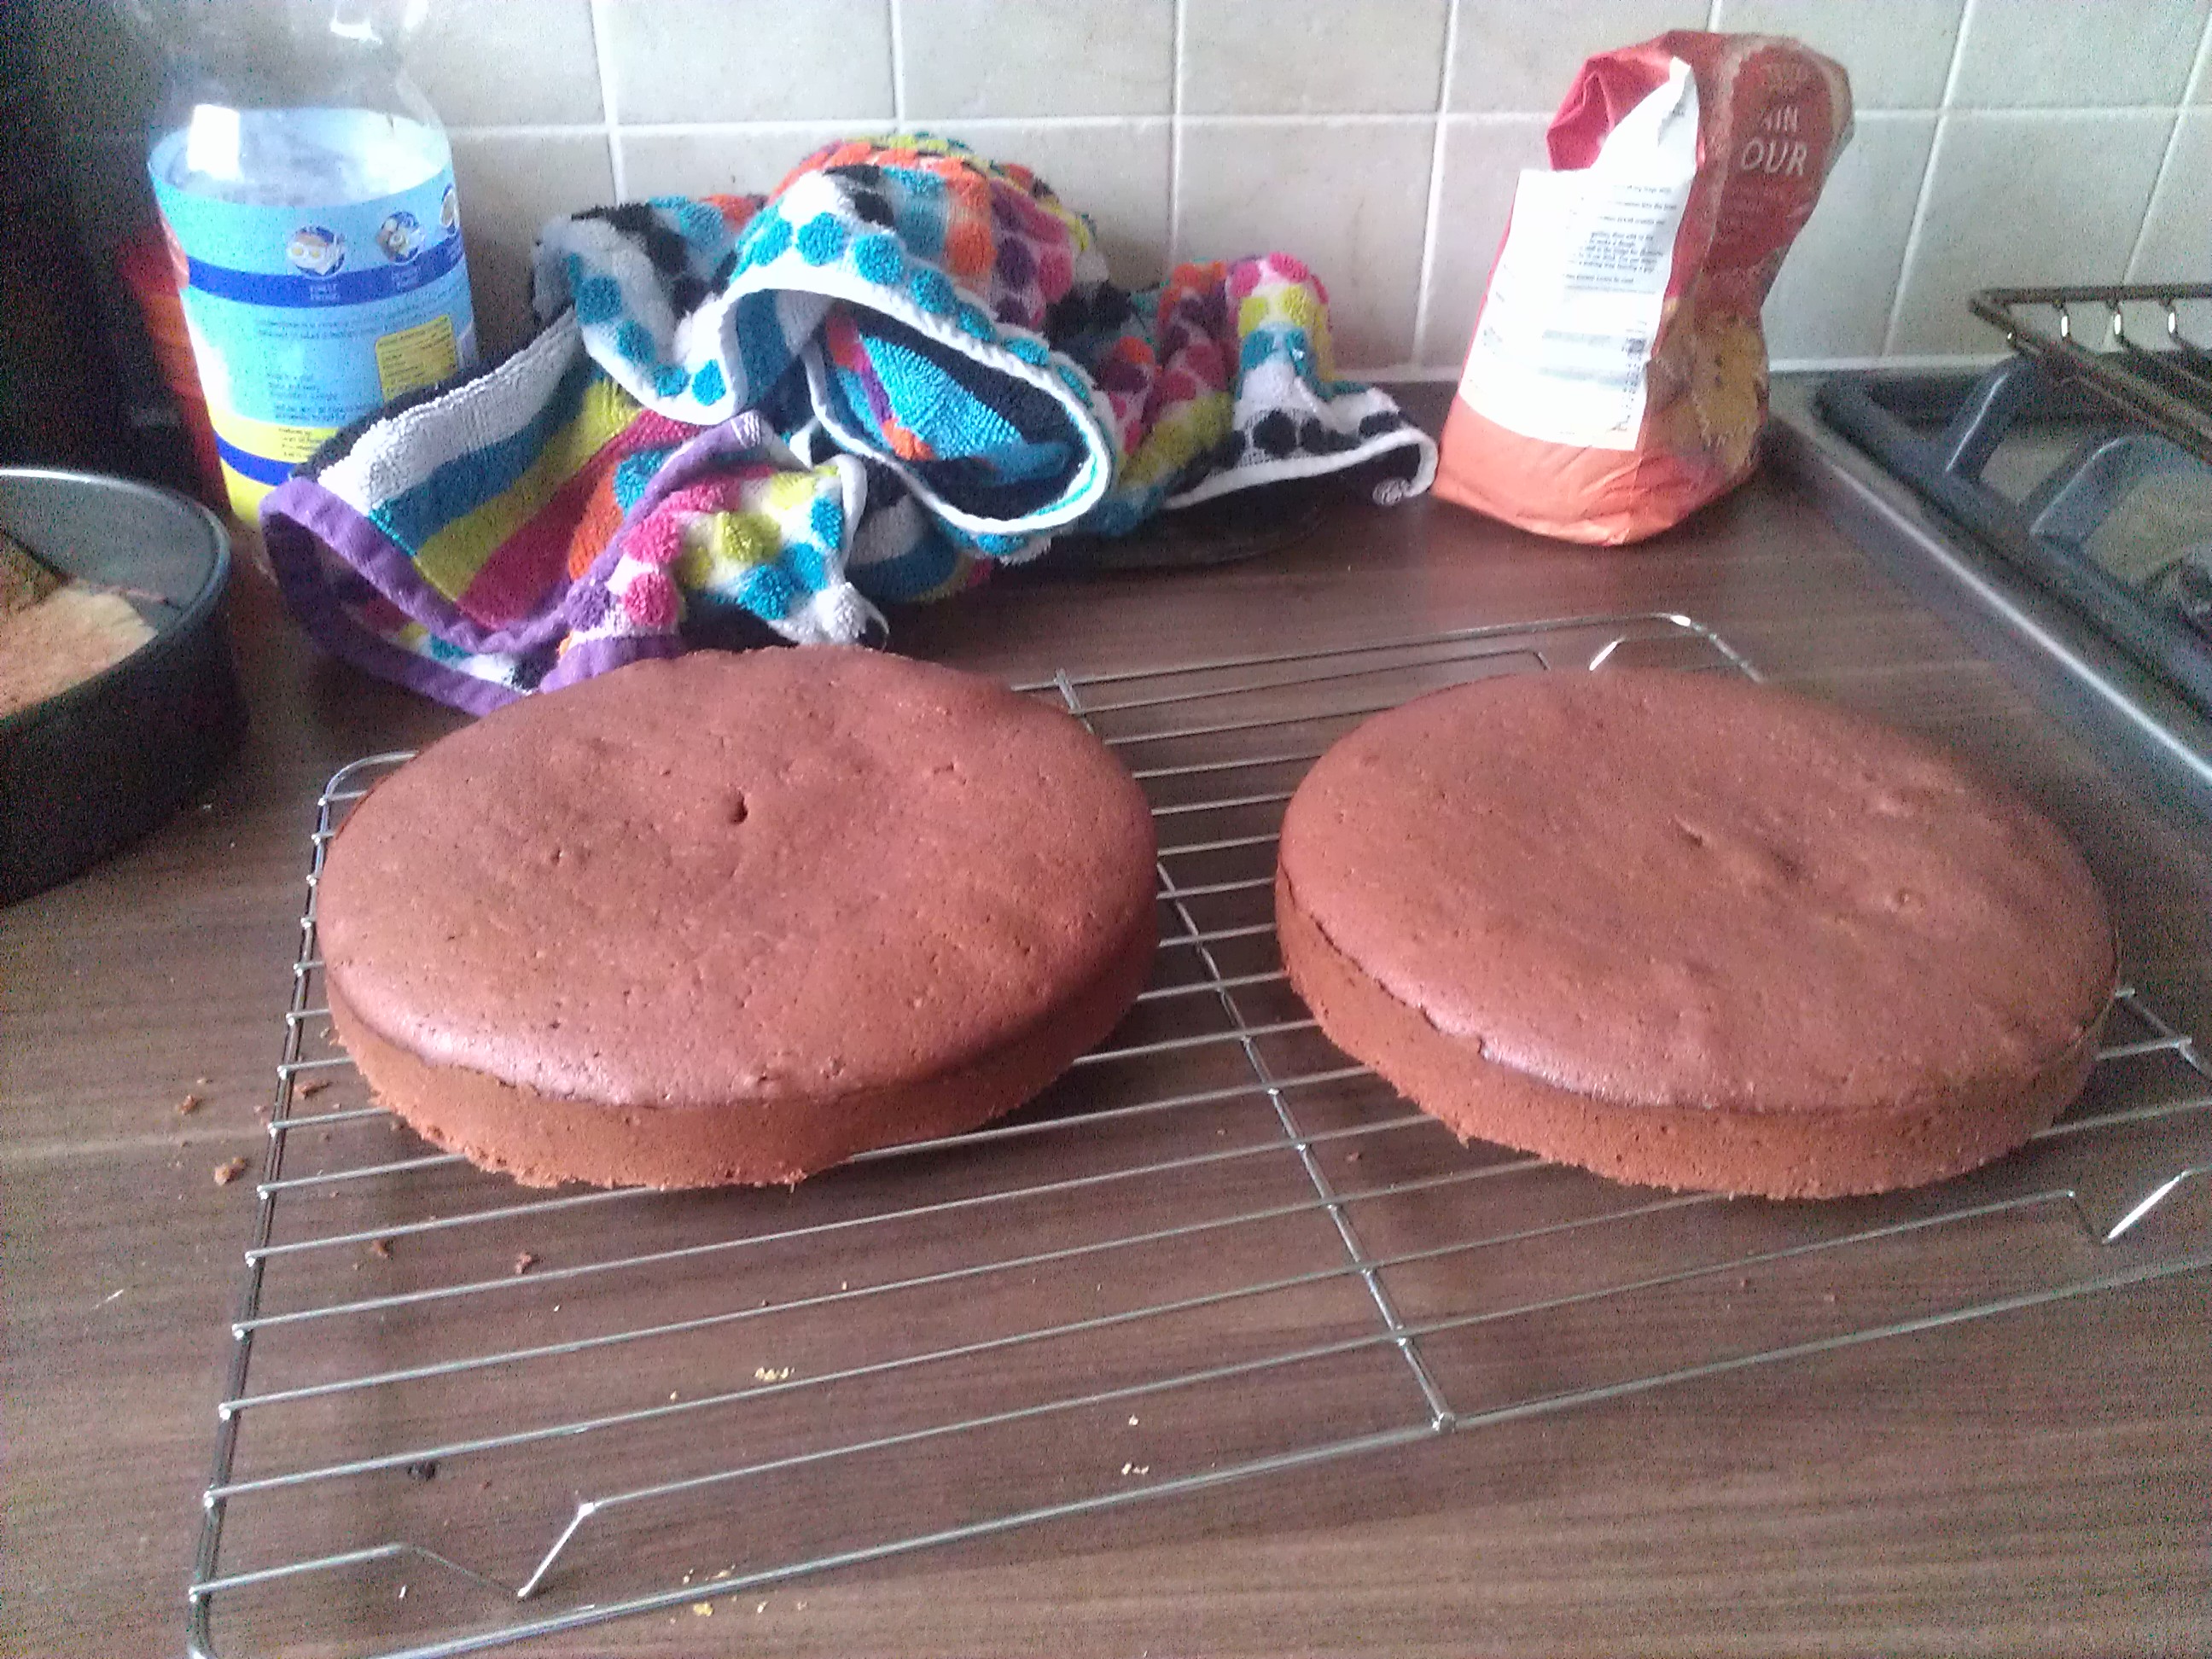
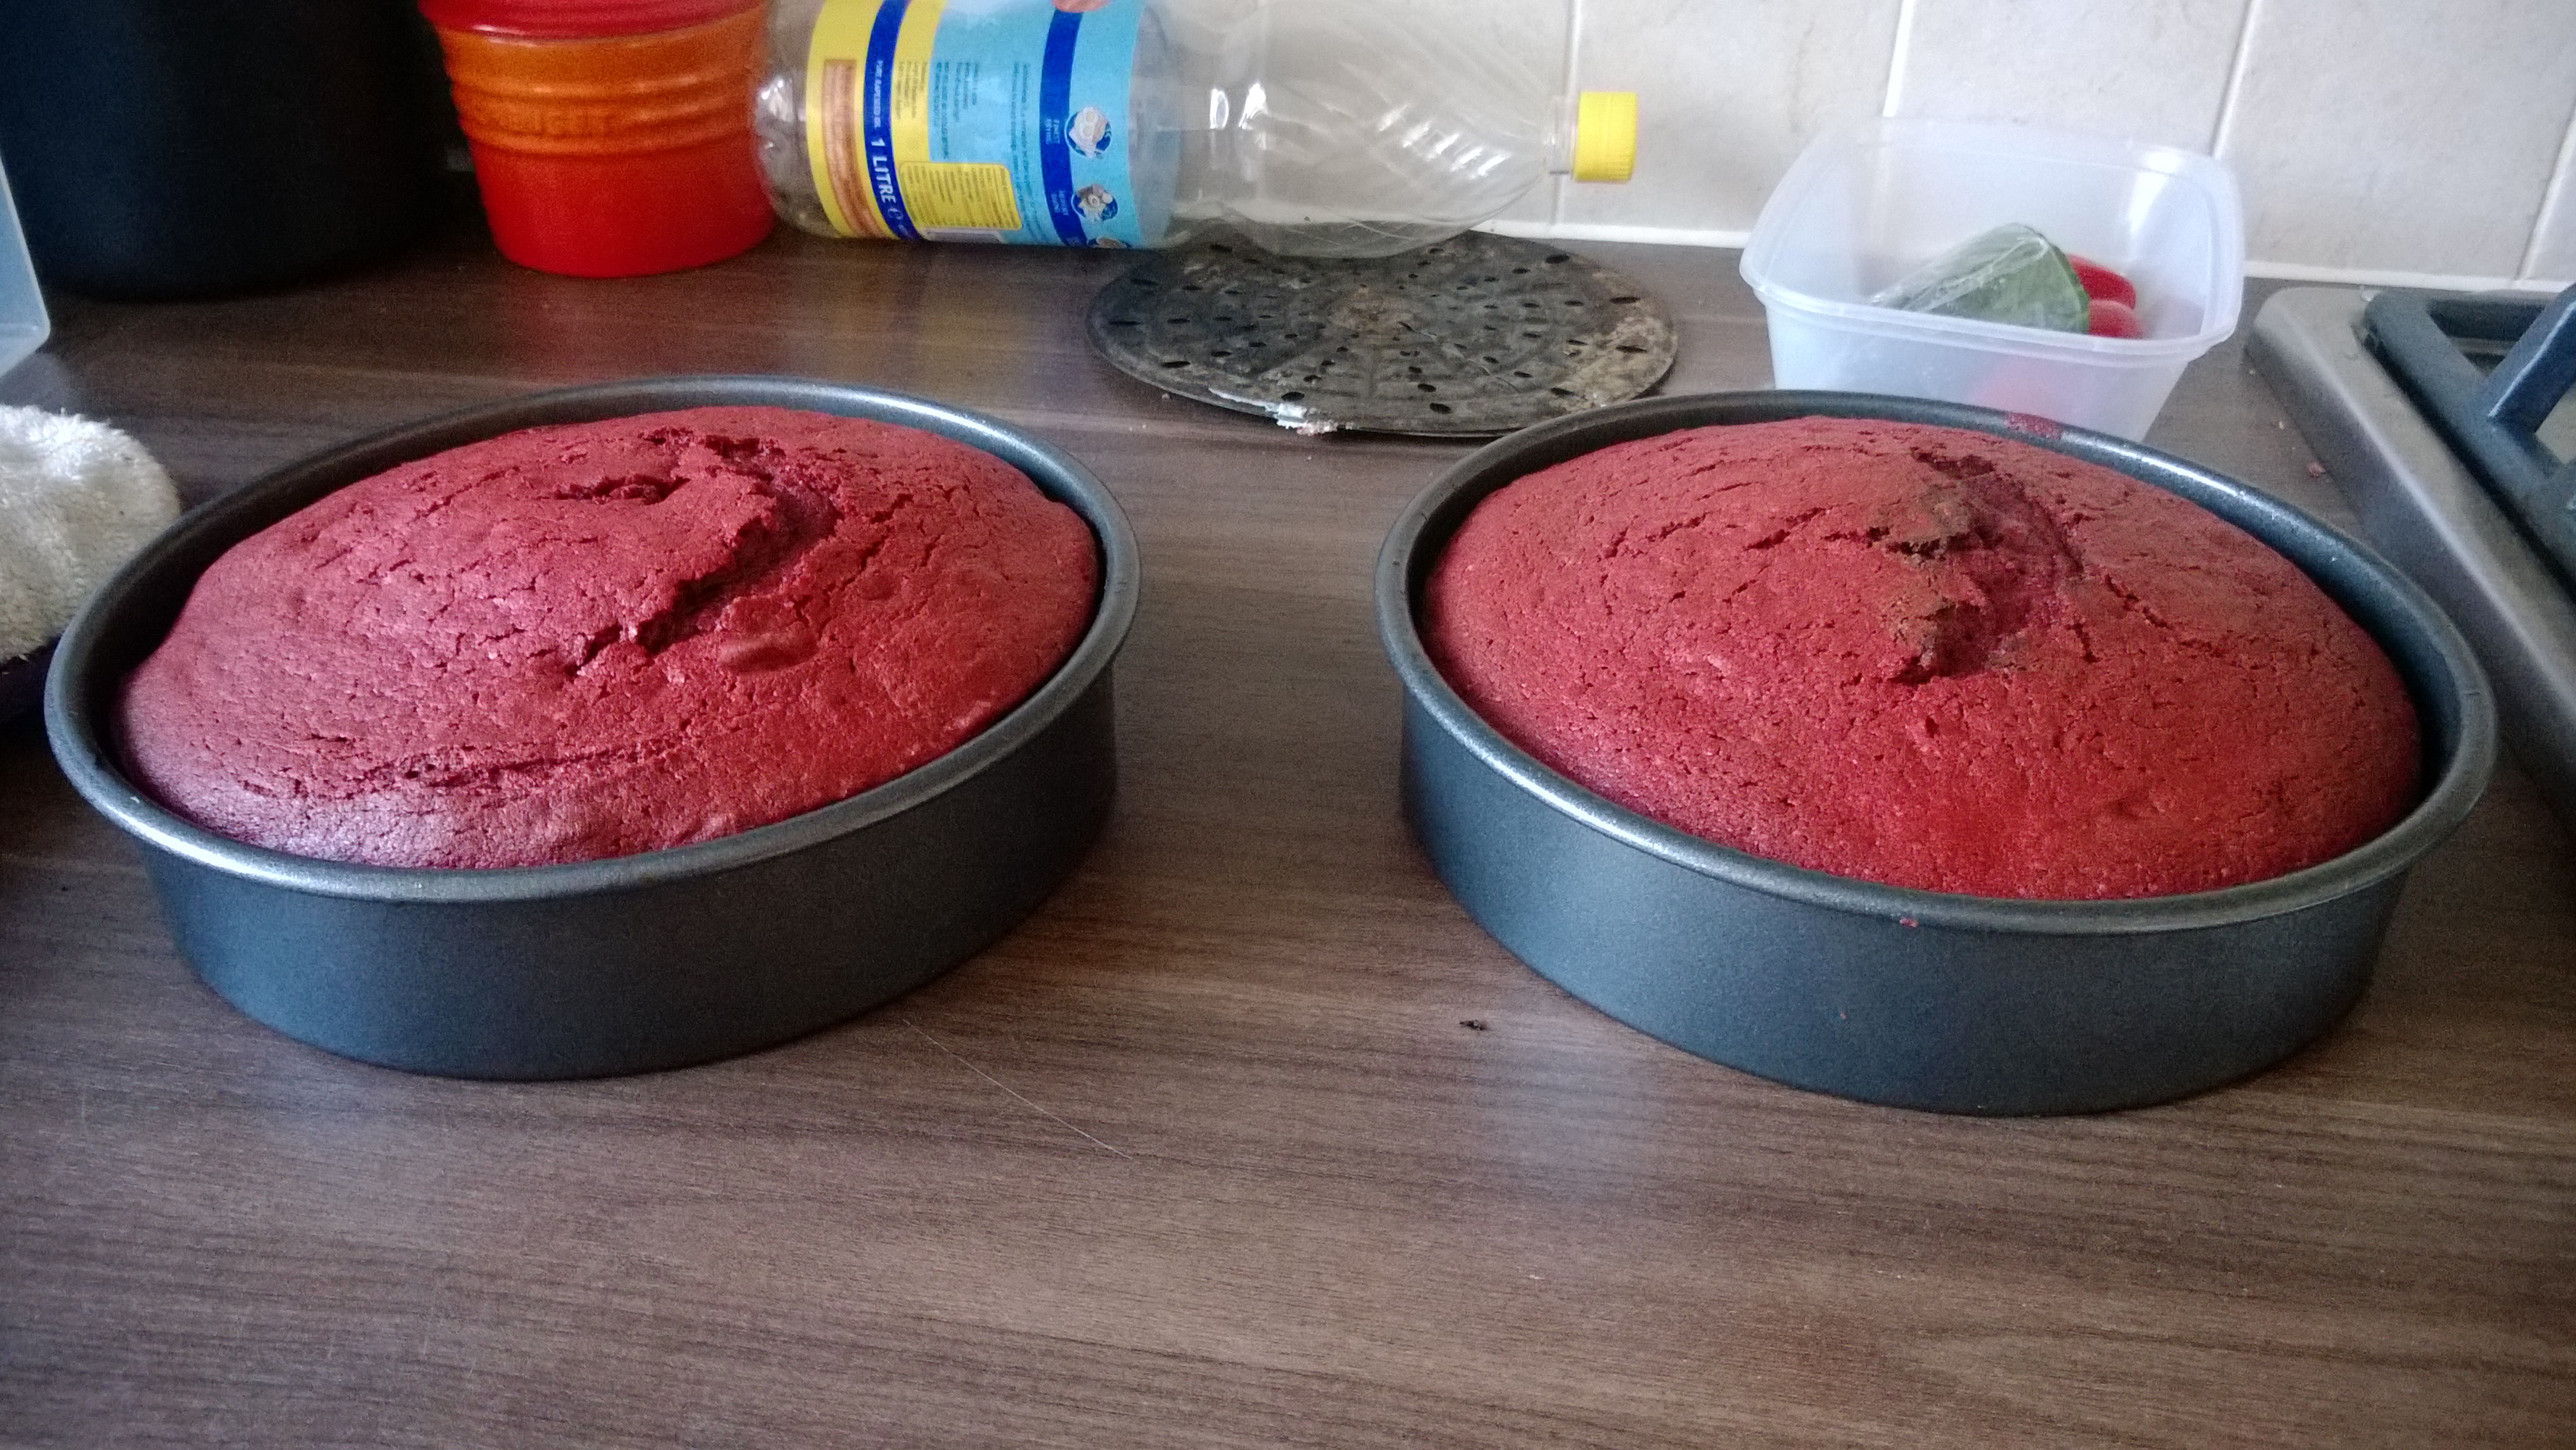
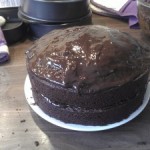
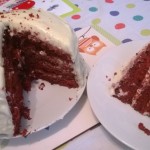
Here are the pictures of my cakes, the first one, with the baking powder, just didn’t rise and was really dense. It was also much browner. The second time with the bicarb and better food colouring, it rose much better and was a much better colour.
Now for the yummy Cream Cheese Frosting
450g Full Fat Cream Cheese
115g Unsalted Butter
400g Icing Sugar
1 tsp Vanilla Extract
Pinch of salt
Beat the cream cheese and butter at a medium speed until smooth.
Add Sugar, vanilla and Salt. Stir the icing sugar in a bit before beating, to avoid sugar clouds, then beat on a low speed to start, and then a medium0high speed until the mixture is fluffy.
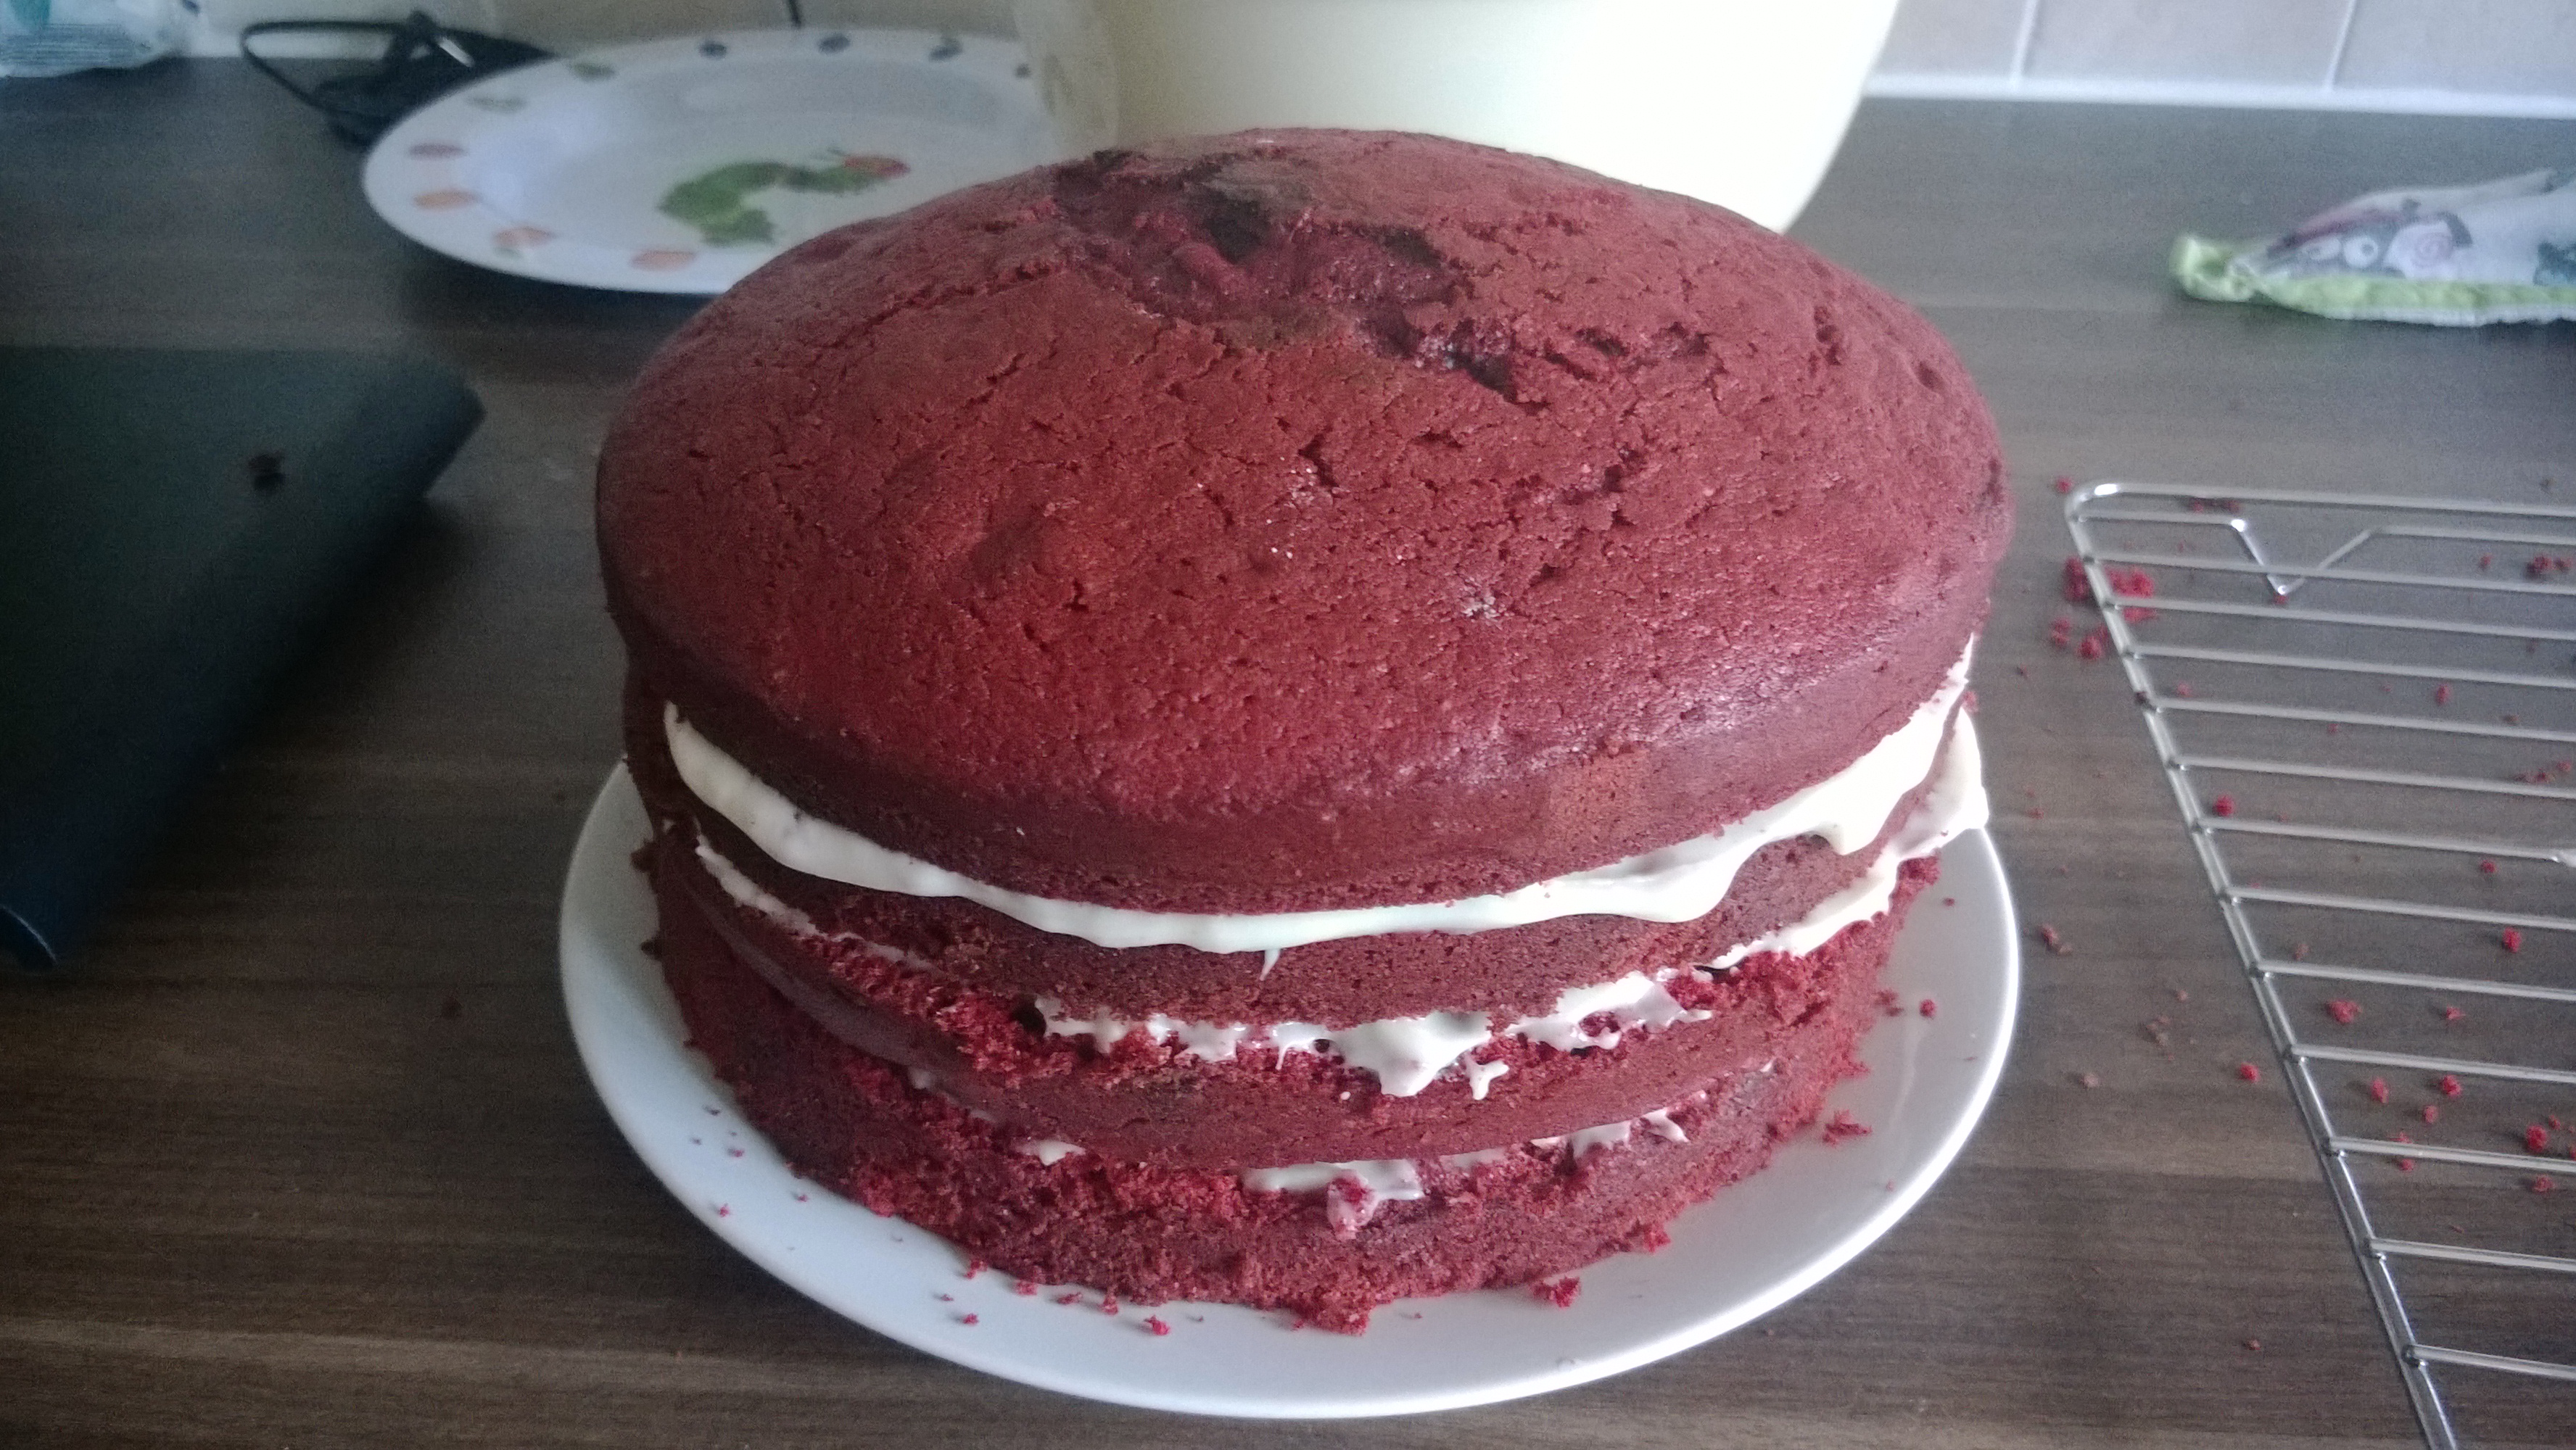
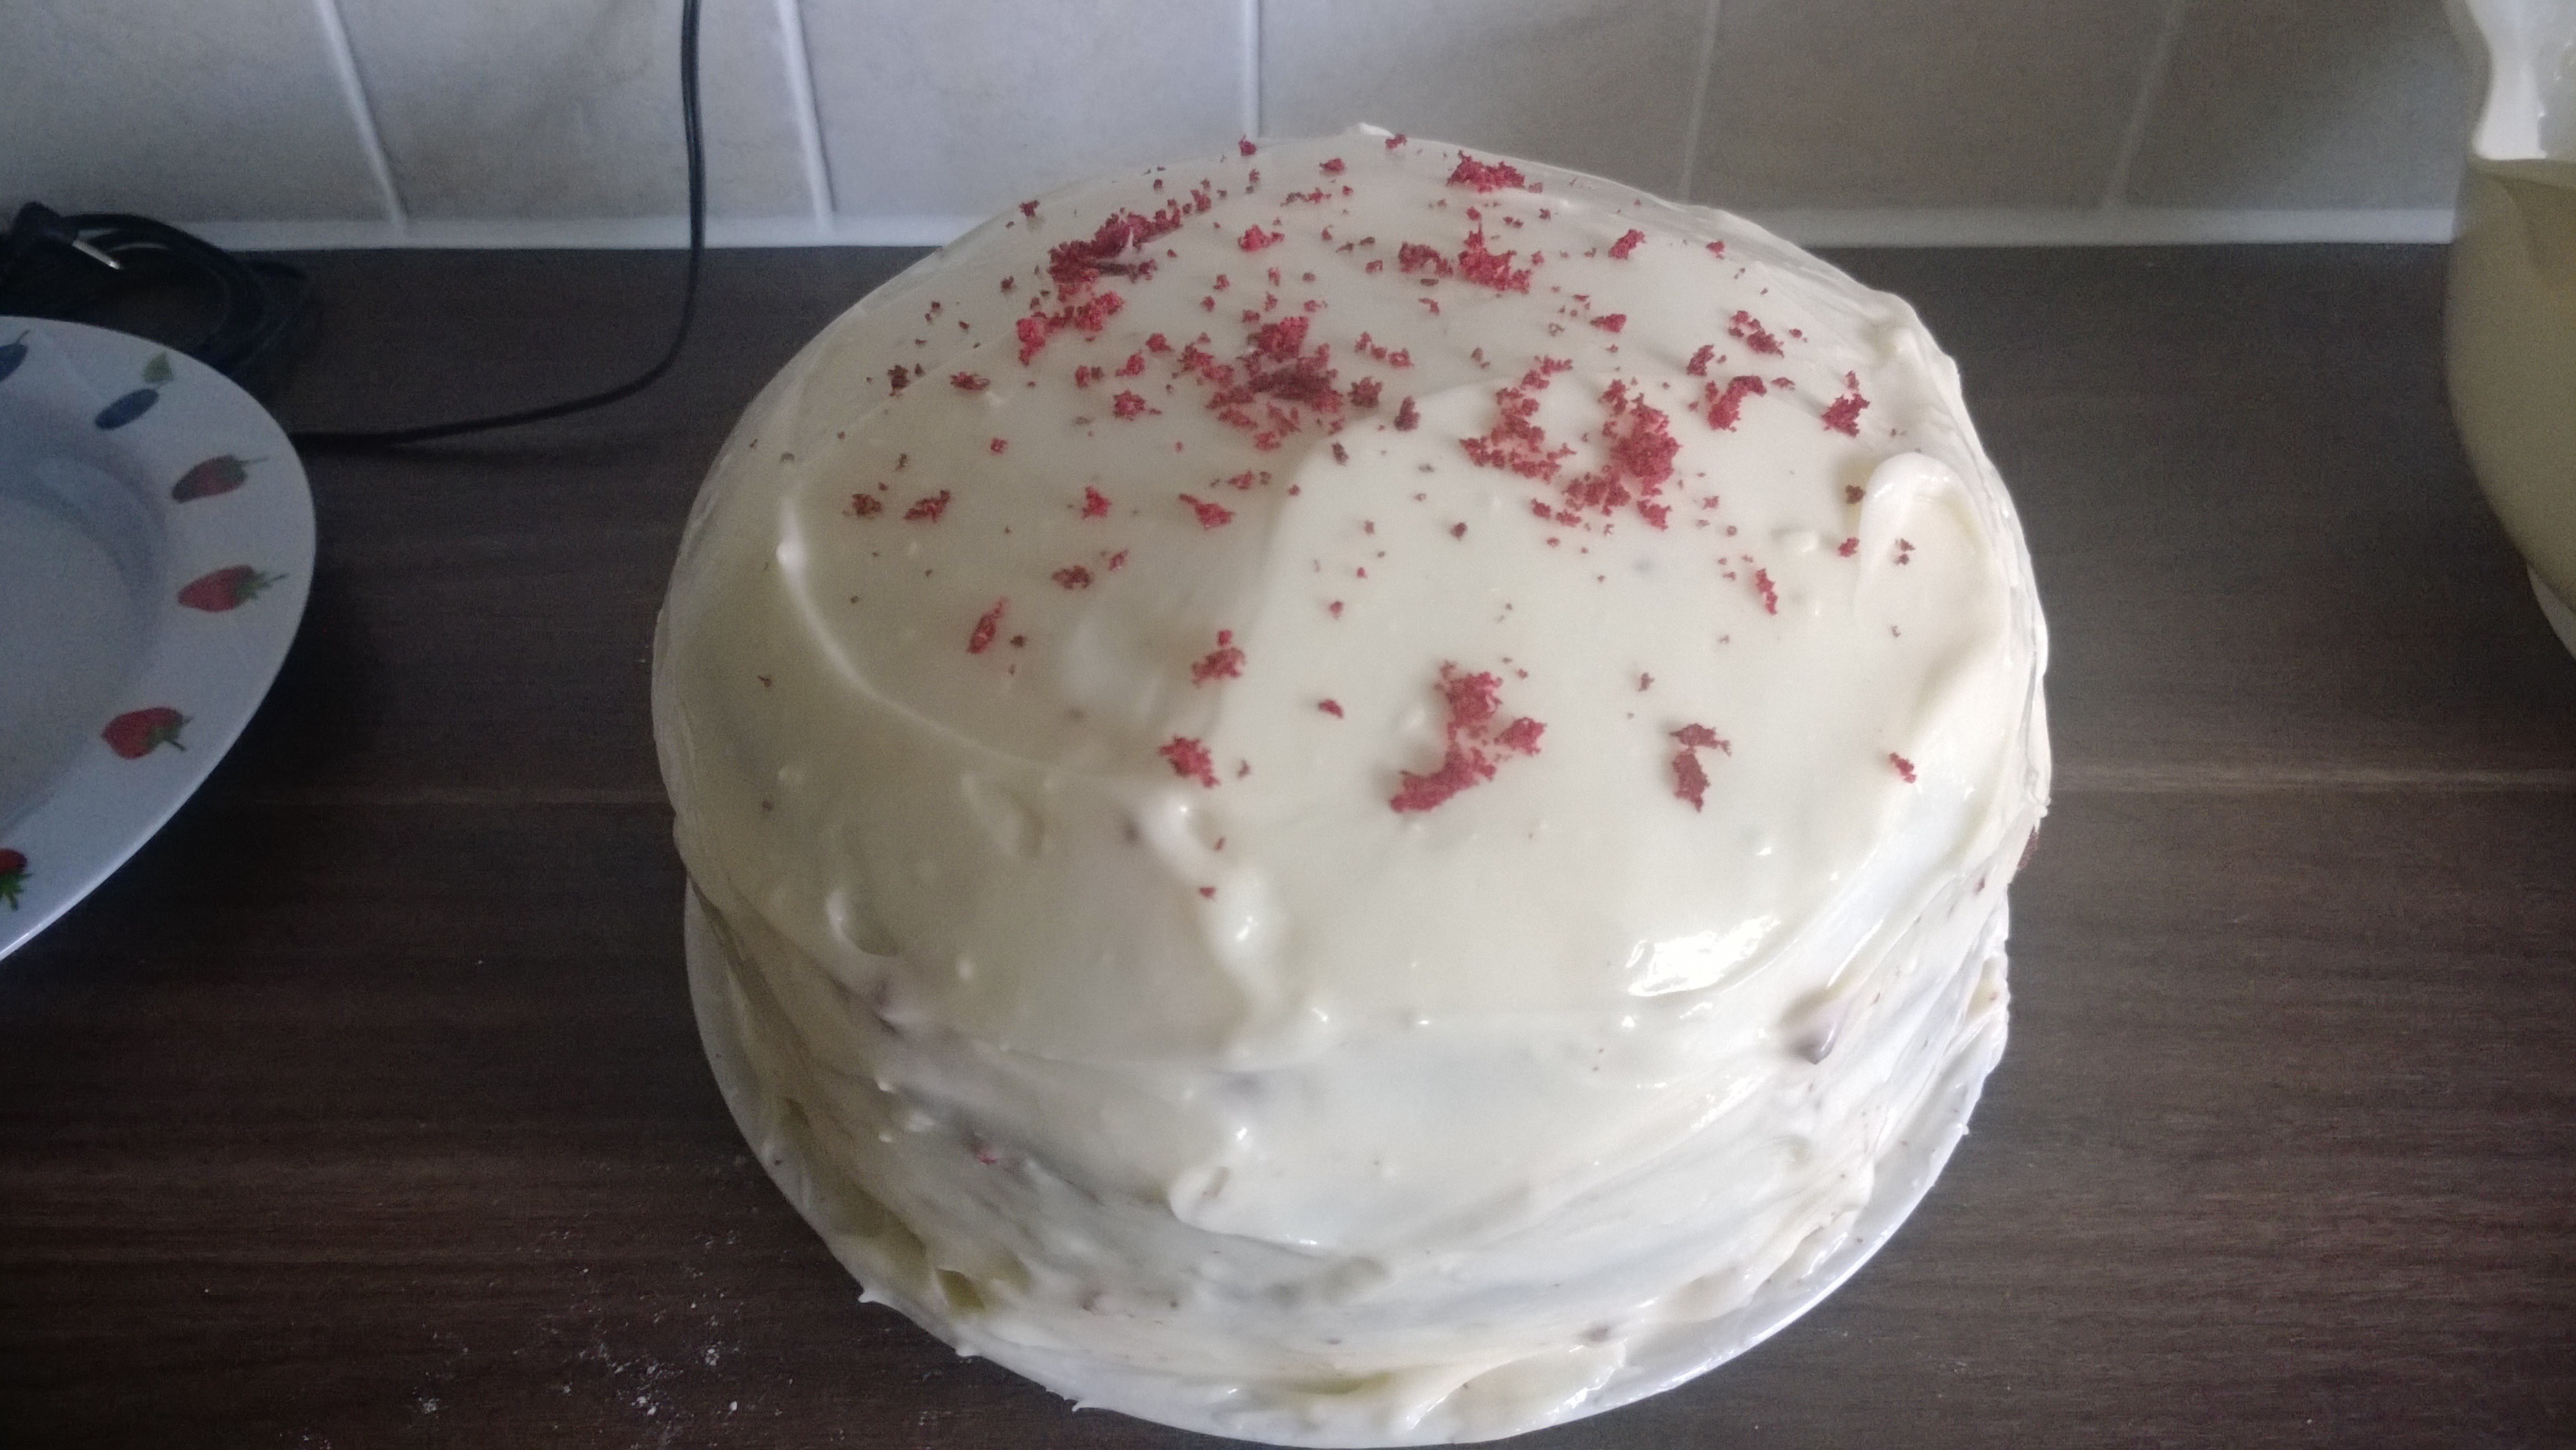
Once the cakes have completely cooled, cut each layer in half using a serrated knife. (Buddy’s recipe mentioned freezing them but I didn’t have room in our freezer so didn’t do that). Use the frosting between each layer. Roughly frost cake all over once, then put it in the fridge for 20 minutes, before continuing frosting with another layer. I’m not that good with the frosting but this definitely helped! Use some of the crumbs from the tins as decoration et oila!
The first cake I made still tasted fine but the second one was muuuch better. Hubby says it’s his favourite cake in the whole world, and Monkey loves it too. It is really sweet though so you don’t need big slices of it.
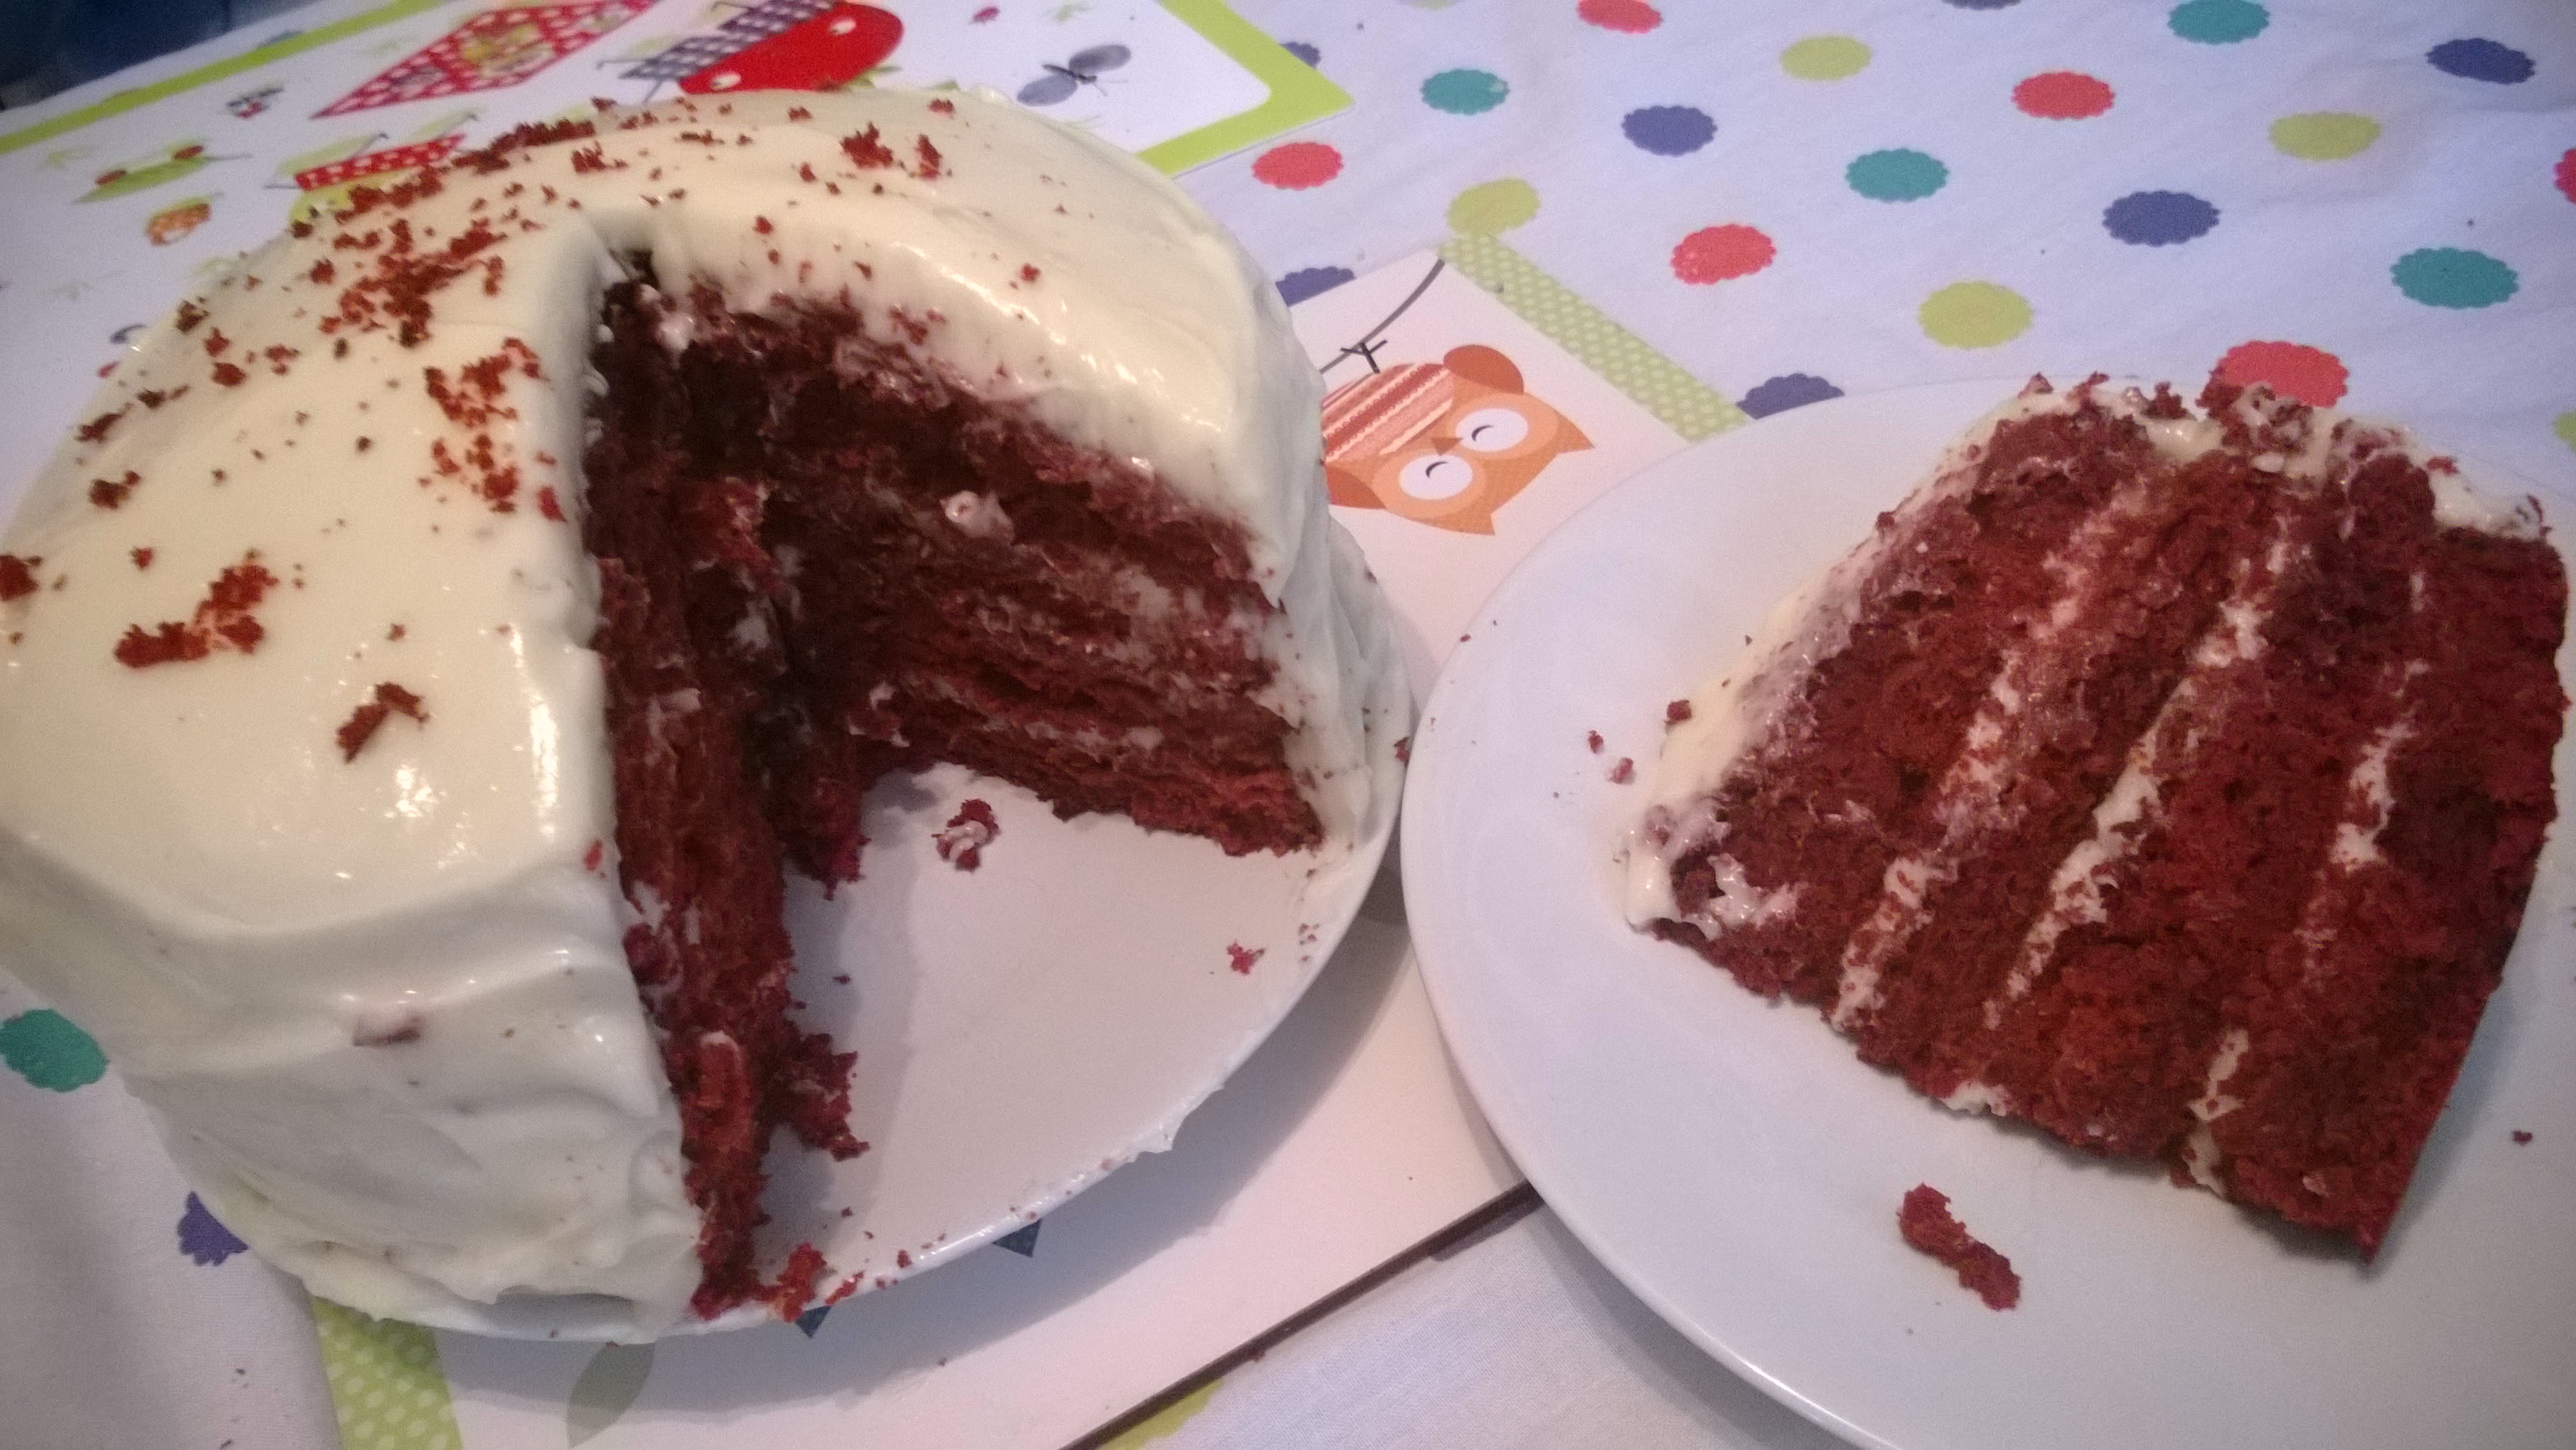
Yummy Red Velvet Cake
Maybe if you did Freeze it as Buddy’s recipe suggests, you may get less crumbs in the frosting layers? I have no idea though may be worth a try. Happy baking!


I tried a slice too for the first time in London last month – delicious! Kicking myself as I went the The Cake Show back in Nov and almost bought some red velvet flavouring and dye. Aah wish I had it now! Cake looks great #TastyTuesdays
It’s amazing isn’t it? It’s surprising it’s not more popular over here really. Ah that’s a shame – I get the food colouring paste from the local Hobbycraft shop – you should give it a go! 🙂
Oh that looks amazing, really awesome! I made red devil cupcakes a few years ago and was amazed at how easy it was to make, although I didn’t use the correct frosting and I think it made a big difference to the cake. I’m pinning this to make in the future.
Nipping over from #TastyTuesdays.
Thank you, it is lovely and definitely easier than I thought it would be. Great, you should definitely give it a go! xx
I have never tried a red velvet cake but I’m so tempted. THis one looks amazing.
Thank you should definitely give it a try, you won’t be disappointed! 🙂
I love red velvet cake, always thought it was really hard to make, but this recipe looks doable. Your red velvet cake looks yummy. #Tastytuesdays
Yeah it is not as complicated as I thought it was either, so you should definitely give it a go! 🙂 xx
This looks lovely #TastyTuesdays
Thank you! 🙂
Could see this being a big hit for Valentine’s Day and I love the cream cheese frosting, takes the edge off some of that sweetness! #TastyTuesdays.
Oh that is genius – it would definitely be a good one for Valentine’s day! 🙂
Over from Tasty Tuesday, that looks so good, the recipe seems so easy to follow too. You can buy distilled vinegar in Waitose Sarsons do it and Tesco also 49p I read somewhere that cider vinegar is good as its milder. Yum, thanks for sharing #TastyTuesdays
Ooh thanks for the tip, it was certainly easier than I thought it would be and definitely worth a try! 🙂
Tasted my first red velvet cake this weekend! DELICIOUS! Looking forward to trying out your recipe 🙂
Oh, that looks lovely 🙂 We can get red velvet cake mixes here, haven’t tried one… Might just make my own now that I’ve seen yours 🙂 #TastyTuesdays
It’s really tasty and not too complicated so think you should definitely give it a go! 🙂 Xx
I am going to do this. It looks really good and I have never made a red velvet cake before.
x
You definitely should do it, it tastes amazing! xx
Oh wow, utterly beautiful! Thanks so much for linking up to #tastytuesdays
Thank you and no problem 🙂
Your cake looks amazing #recipeoftheweek and #tastytuesdays
thanks 🙂
Red velvet cake is just so amazing, isn’t it? I’m making mini velvets tomorrow, which is good because your post has given me serious cravings! Thanks so much for joining in with #recipeoftheweek. I’ve pinned and tweeted this post and there’s a fresh linky live now. I hope you’ll pop over and join in again this week, if you haven’t already!
Ooh yummy, you’re making me want to bake some now too haha No problem and thank you! I am already linked up 🙂 xx
Pingback: I’ve been invited to meet Buddy Valastro! | Becoming a Stay at Home Mum
Pingback: A Cake Decorating Masterclass with Cake Boss Buddy Valastro | Becoming a Stay at Home Mum
Pingback: Christmas Baking has begun! Nigella's White Chocolate and Cranberry Cookies | Becoming a Stay at Home Mum