Christmas Baking has begun! Nigella’s White Chocolate and Cranberry Cookies

WP_20131223_15_31_39_Pro

Baking is a big part of Christmas don’t you think? It’s a good opportunity to indulge in some of your favourite sweet treats, and a good excuse to make them for others. That’s one of the things I love most about baking, watching others enjoy something I made. Not sure what that says about me! I know some people have whole baking days and I would love to, but with Monkey around there’s no way to do that at the moment, and he’s not quite at an age to help me bake, so this year baking is confined to his nap times.

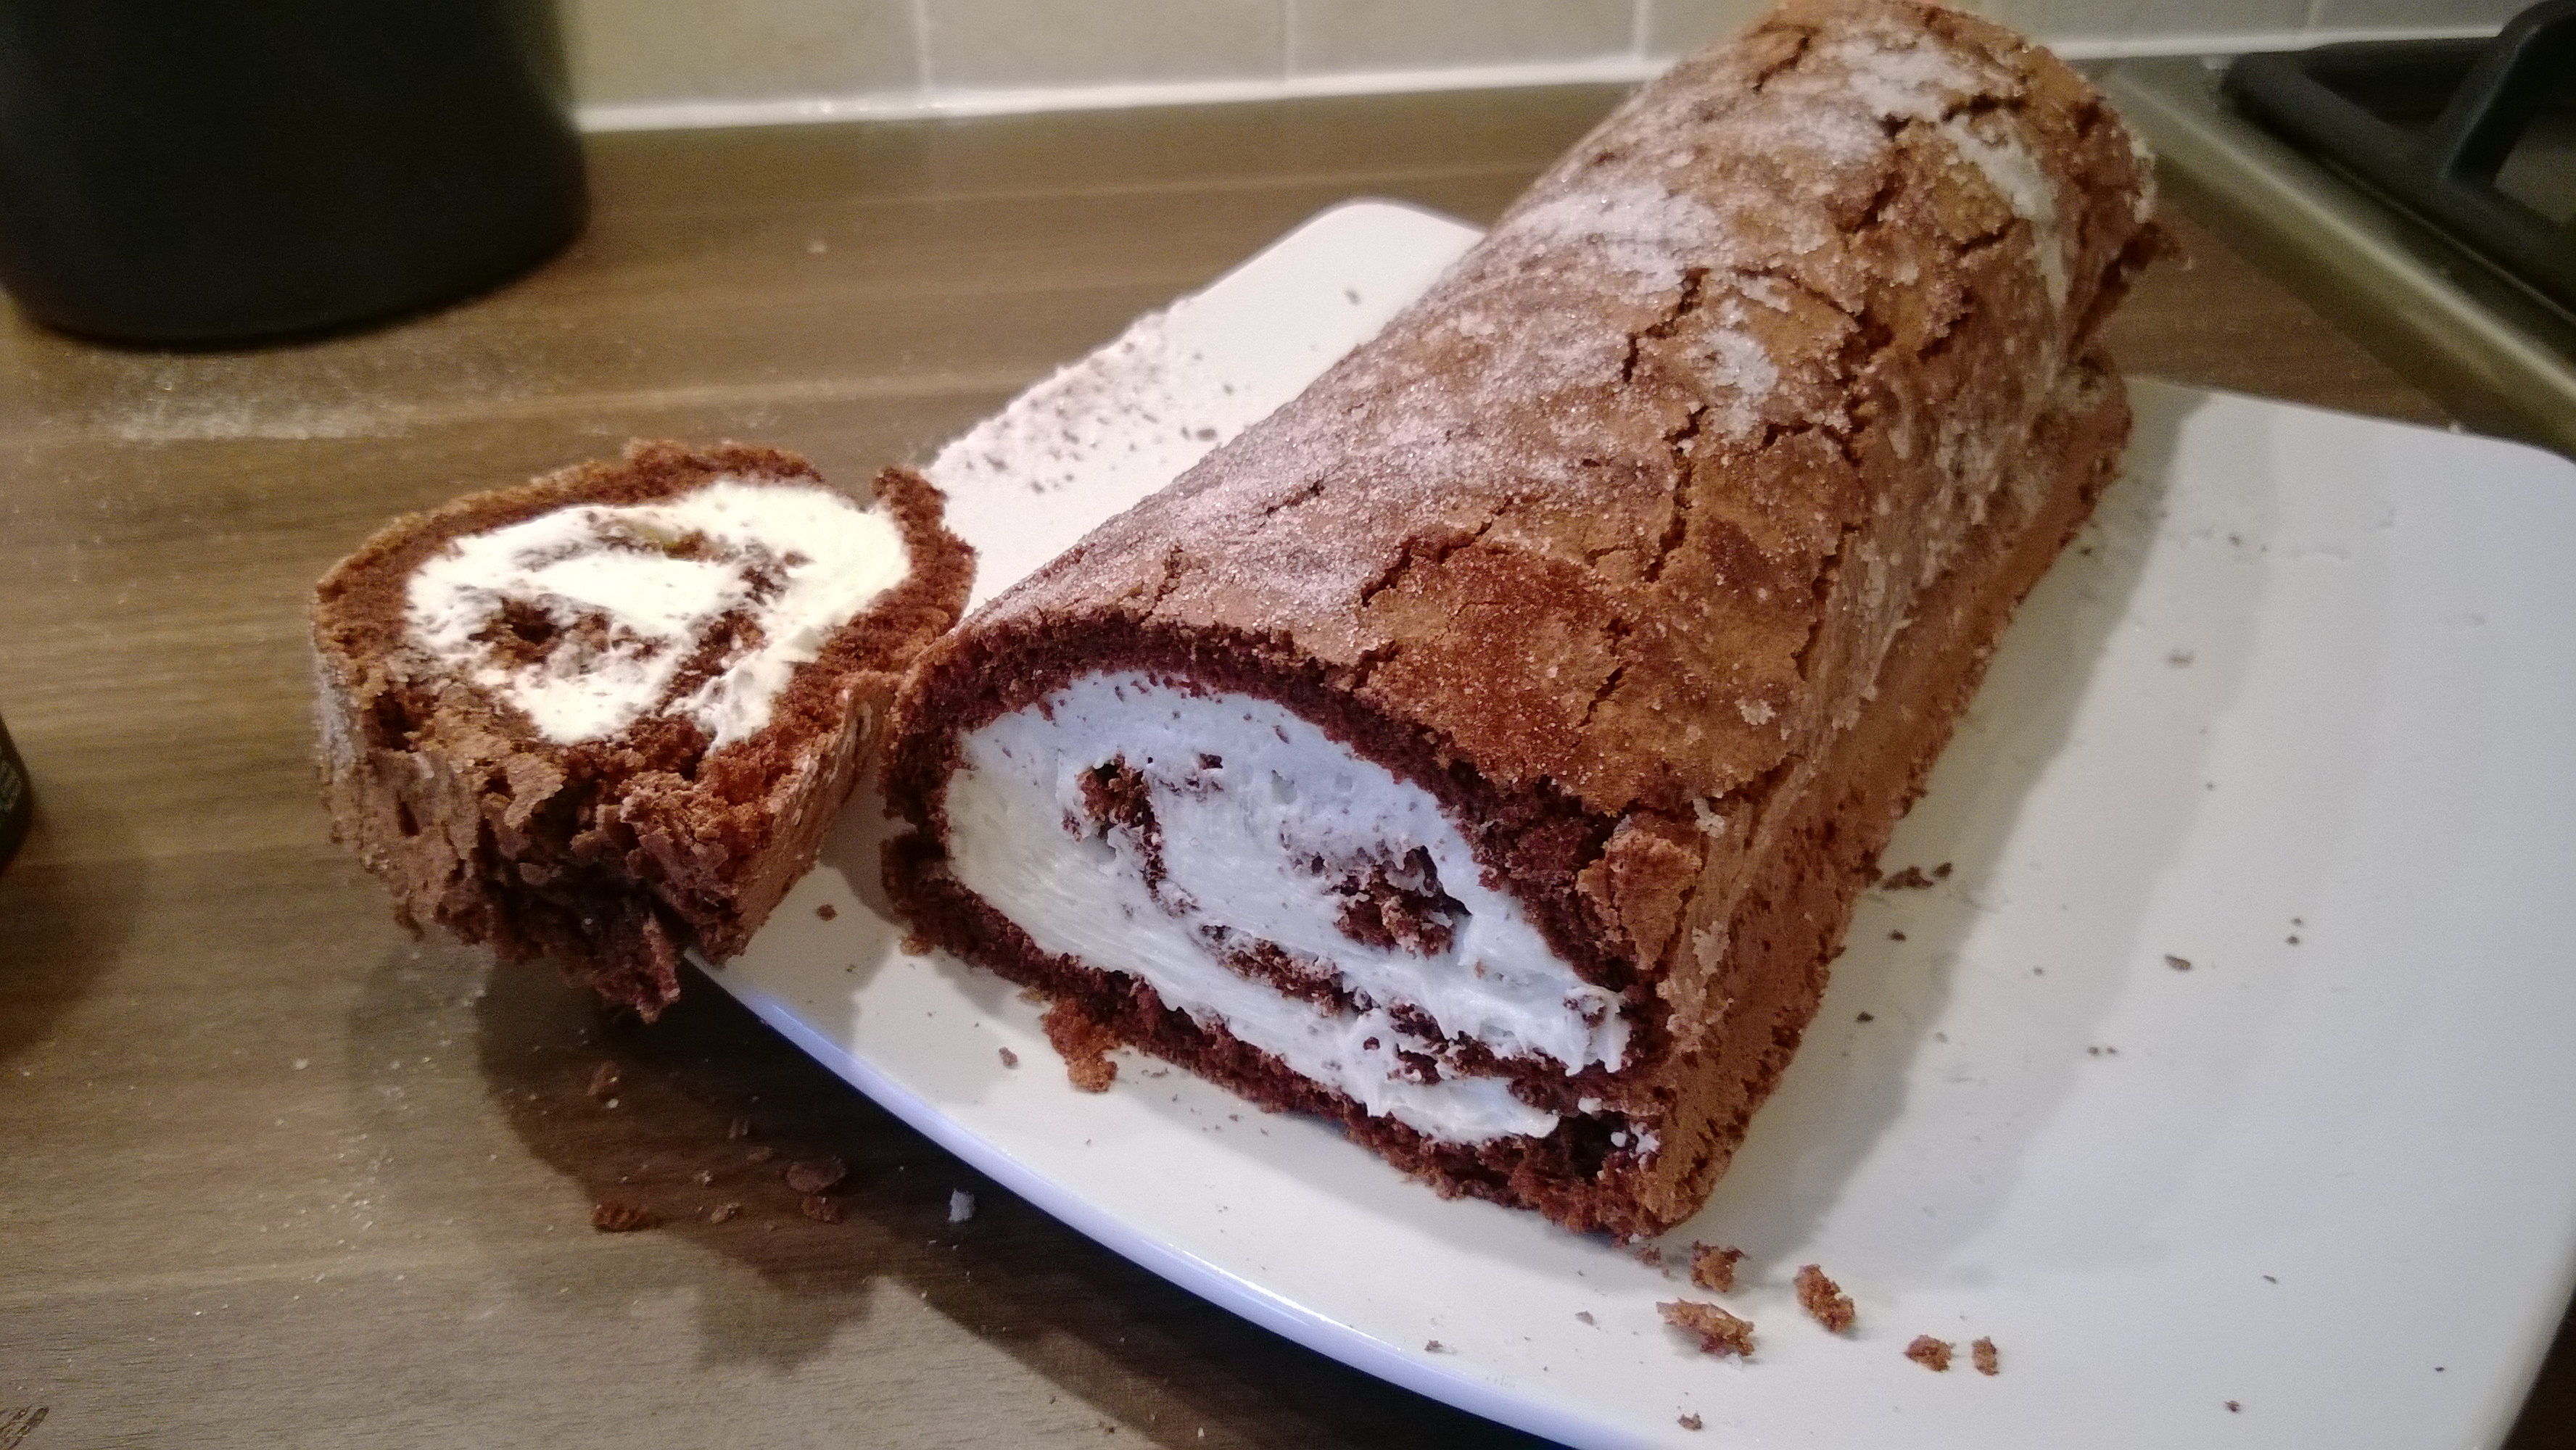
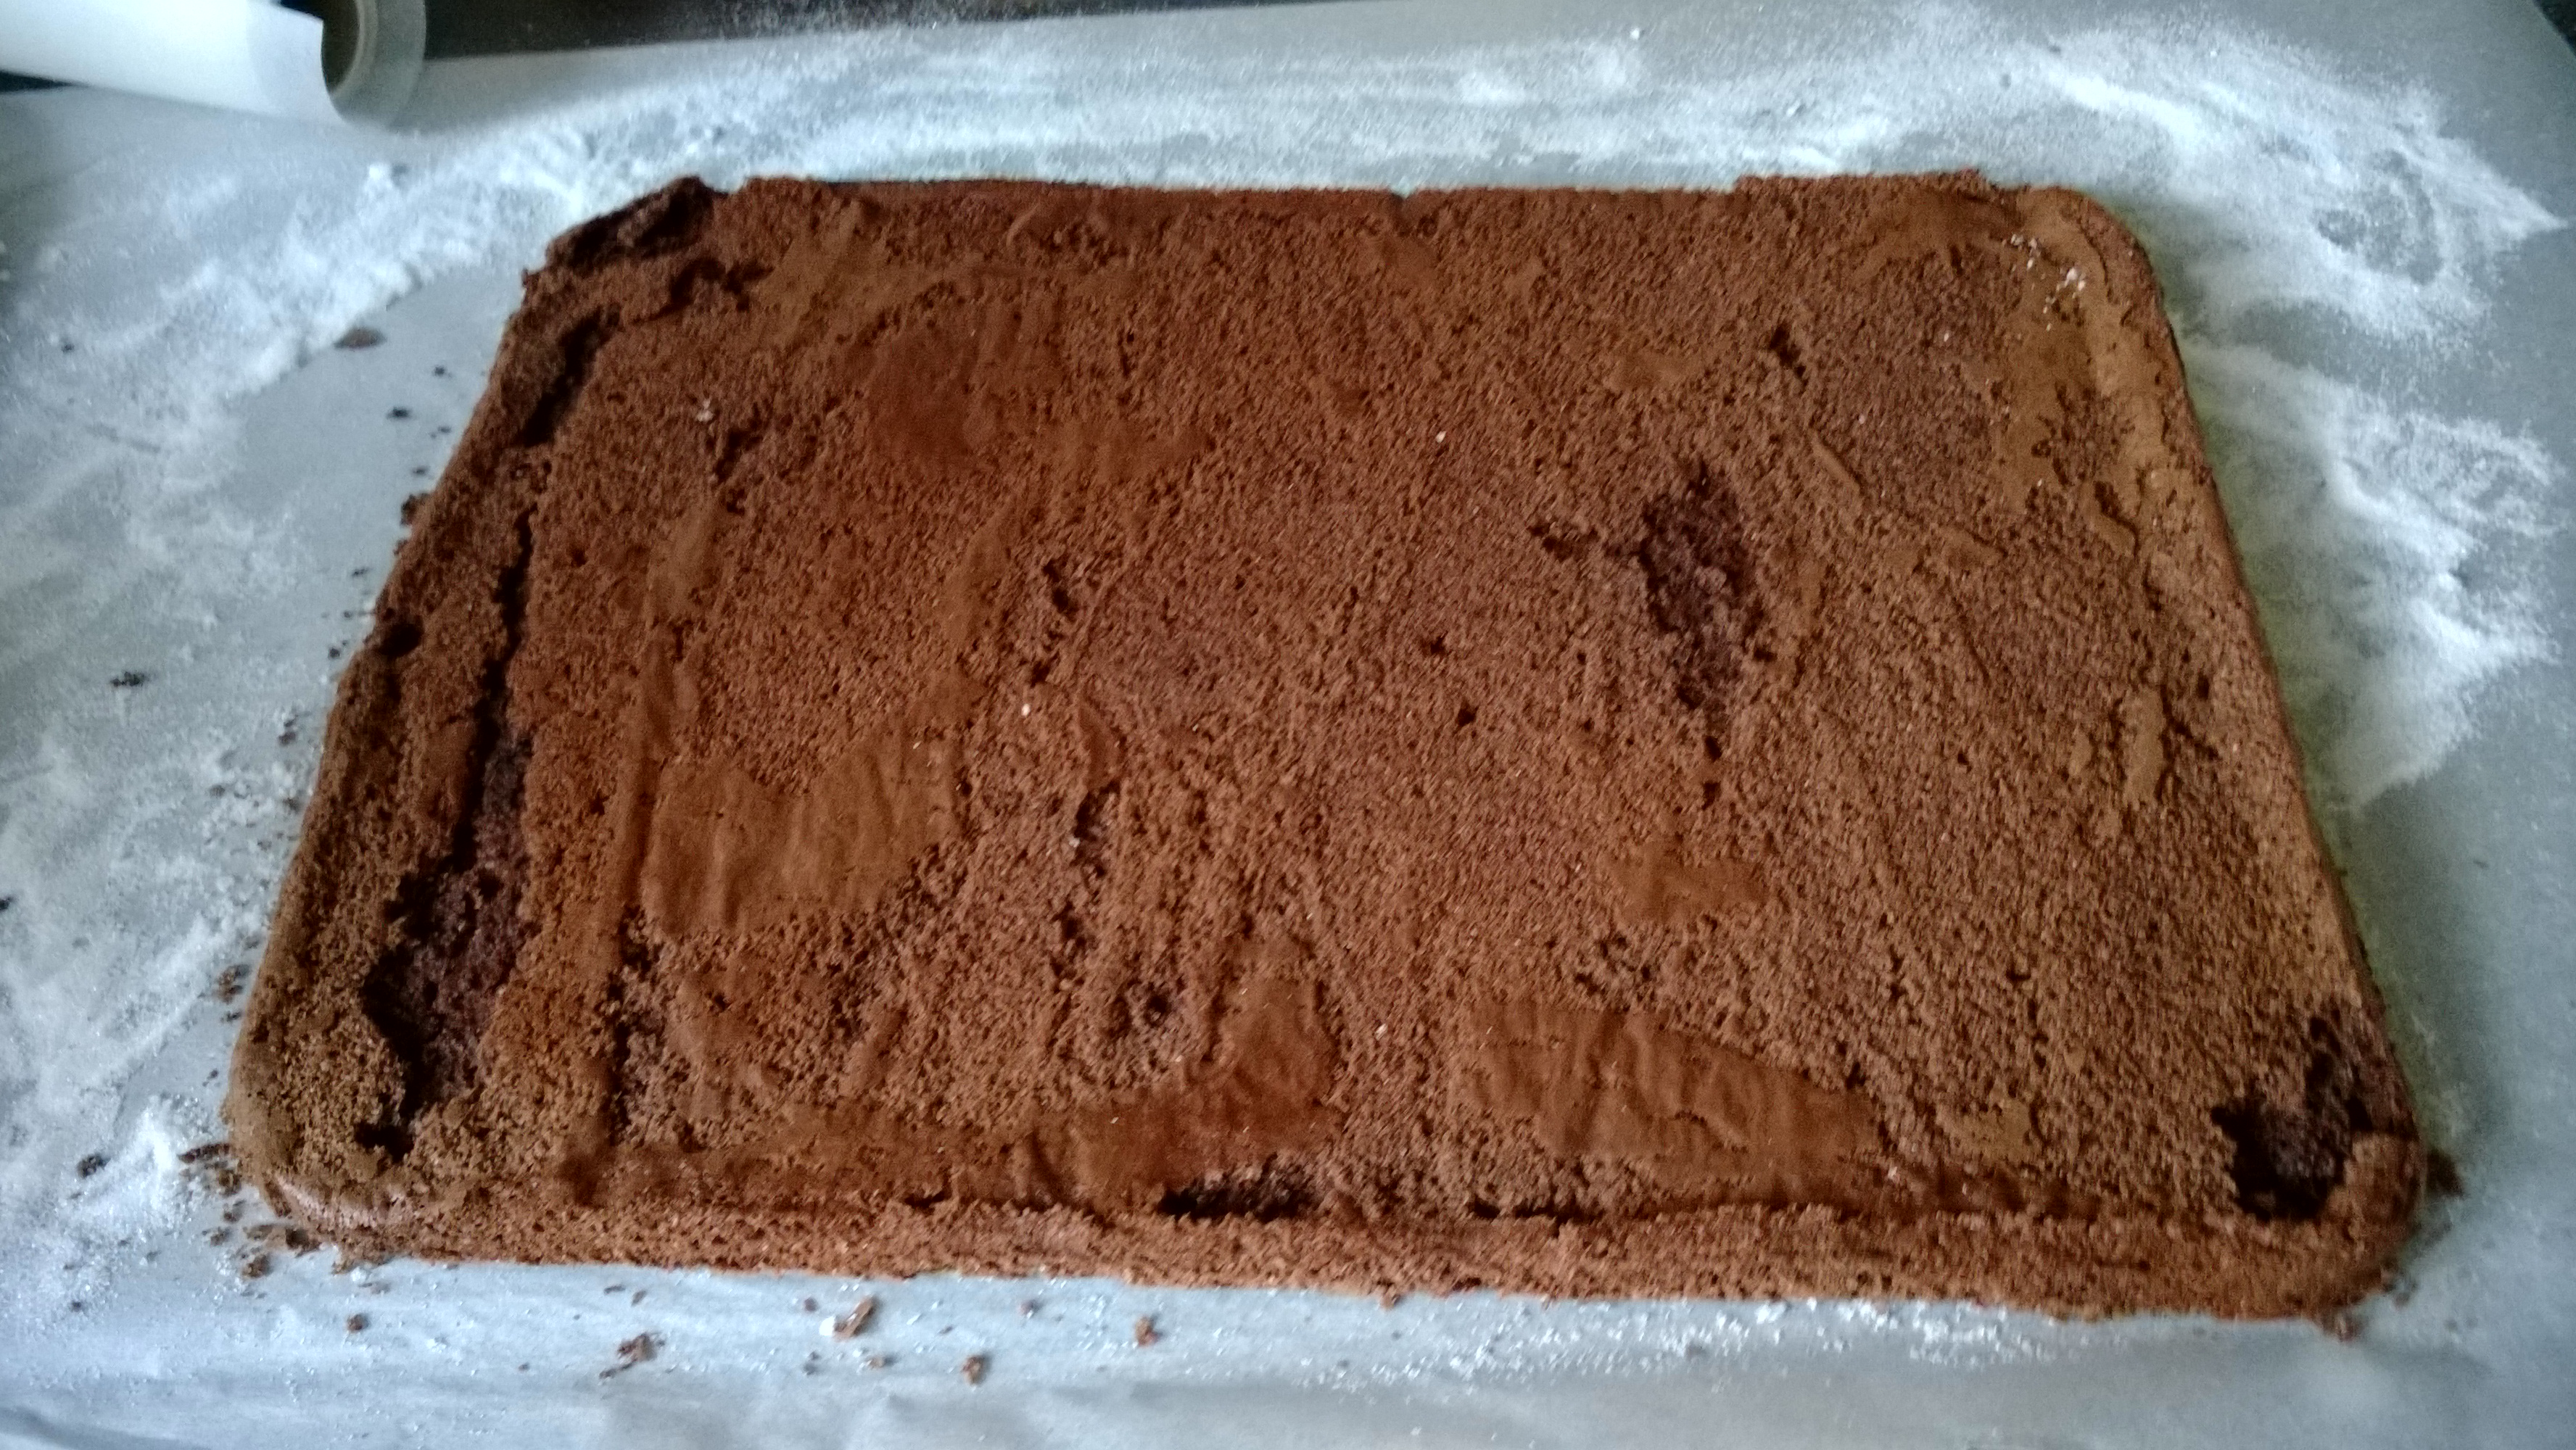
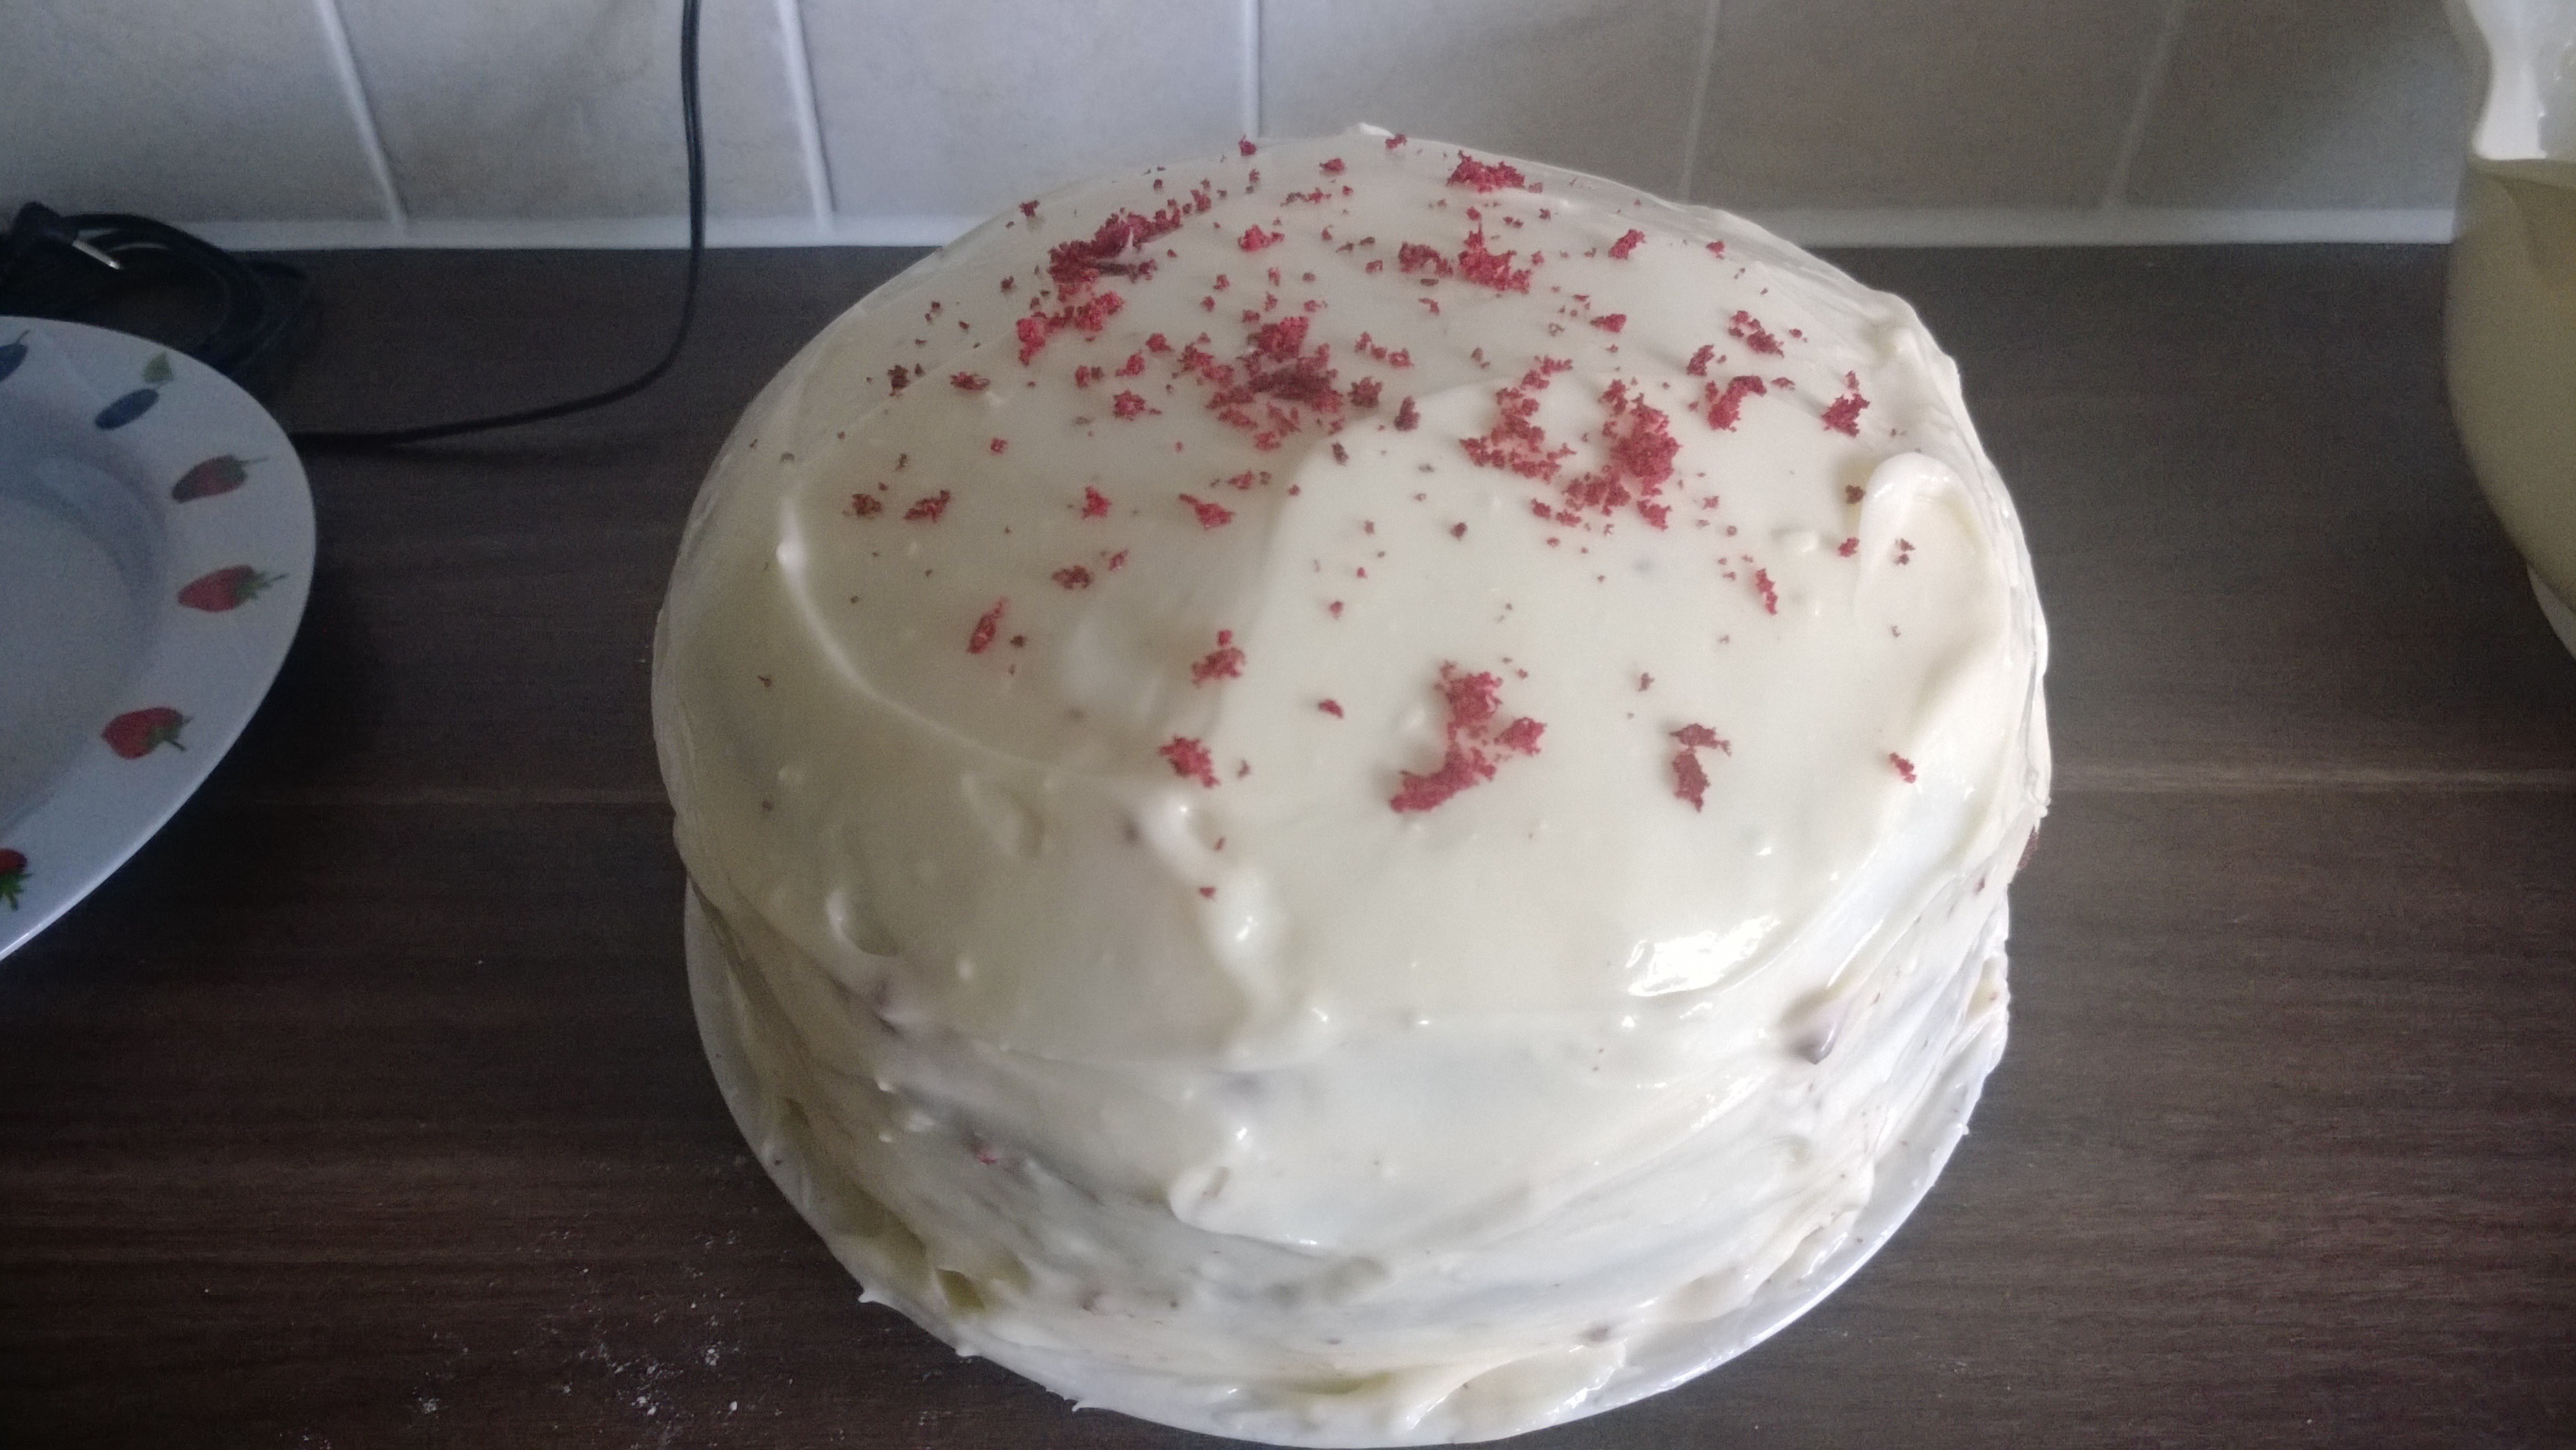
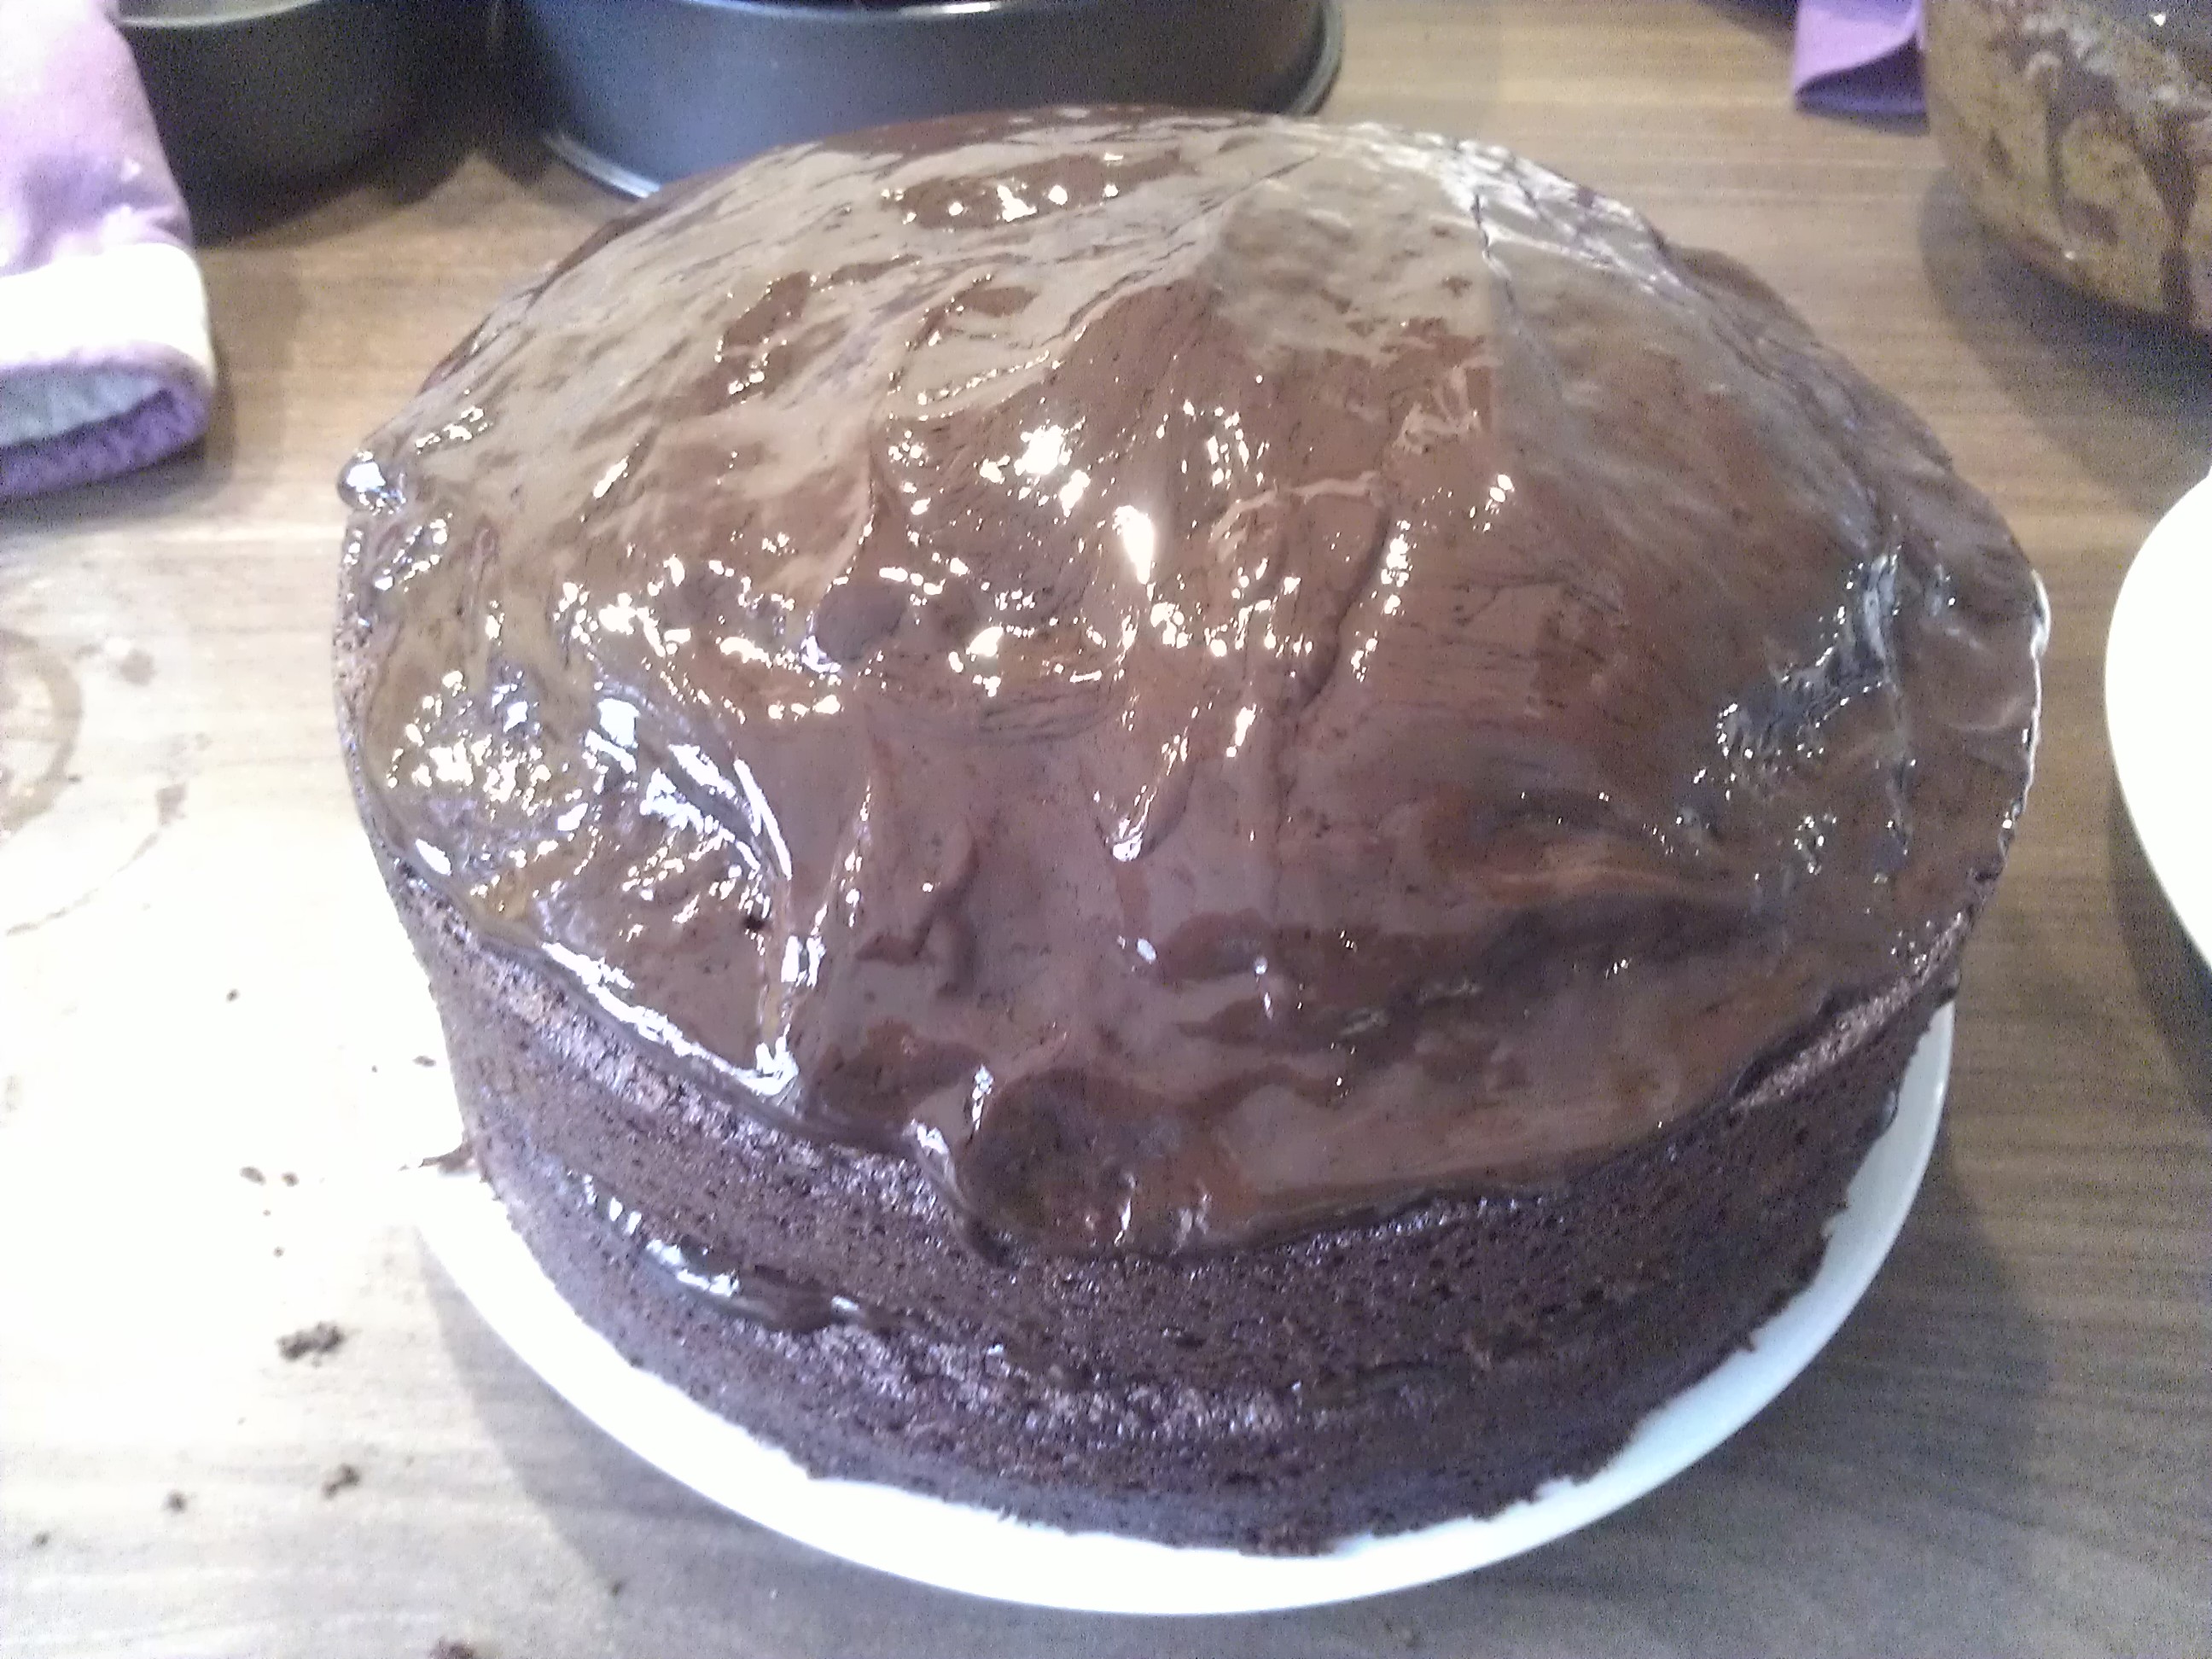
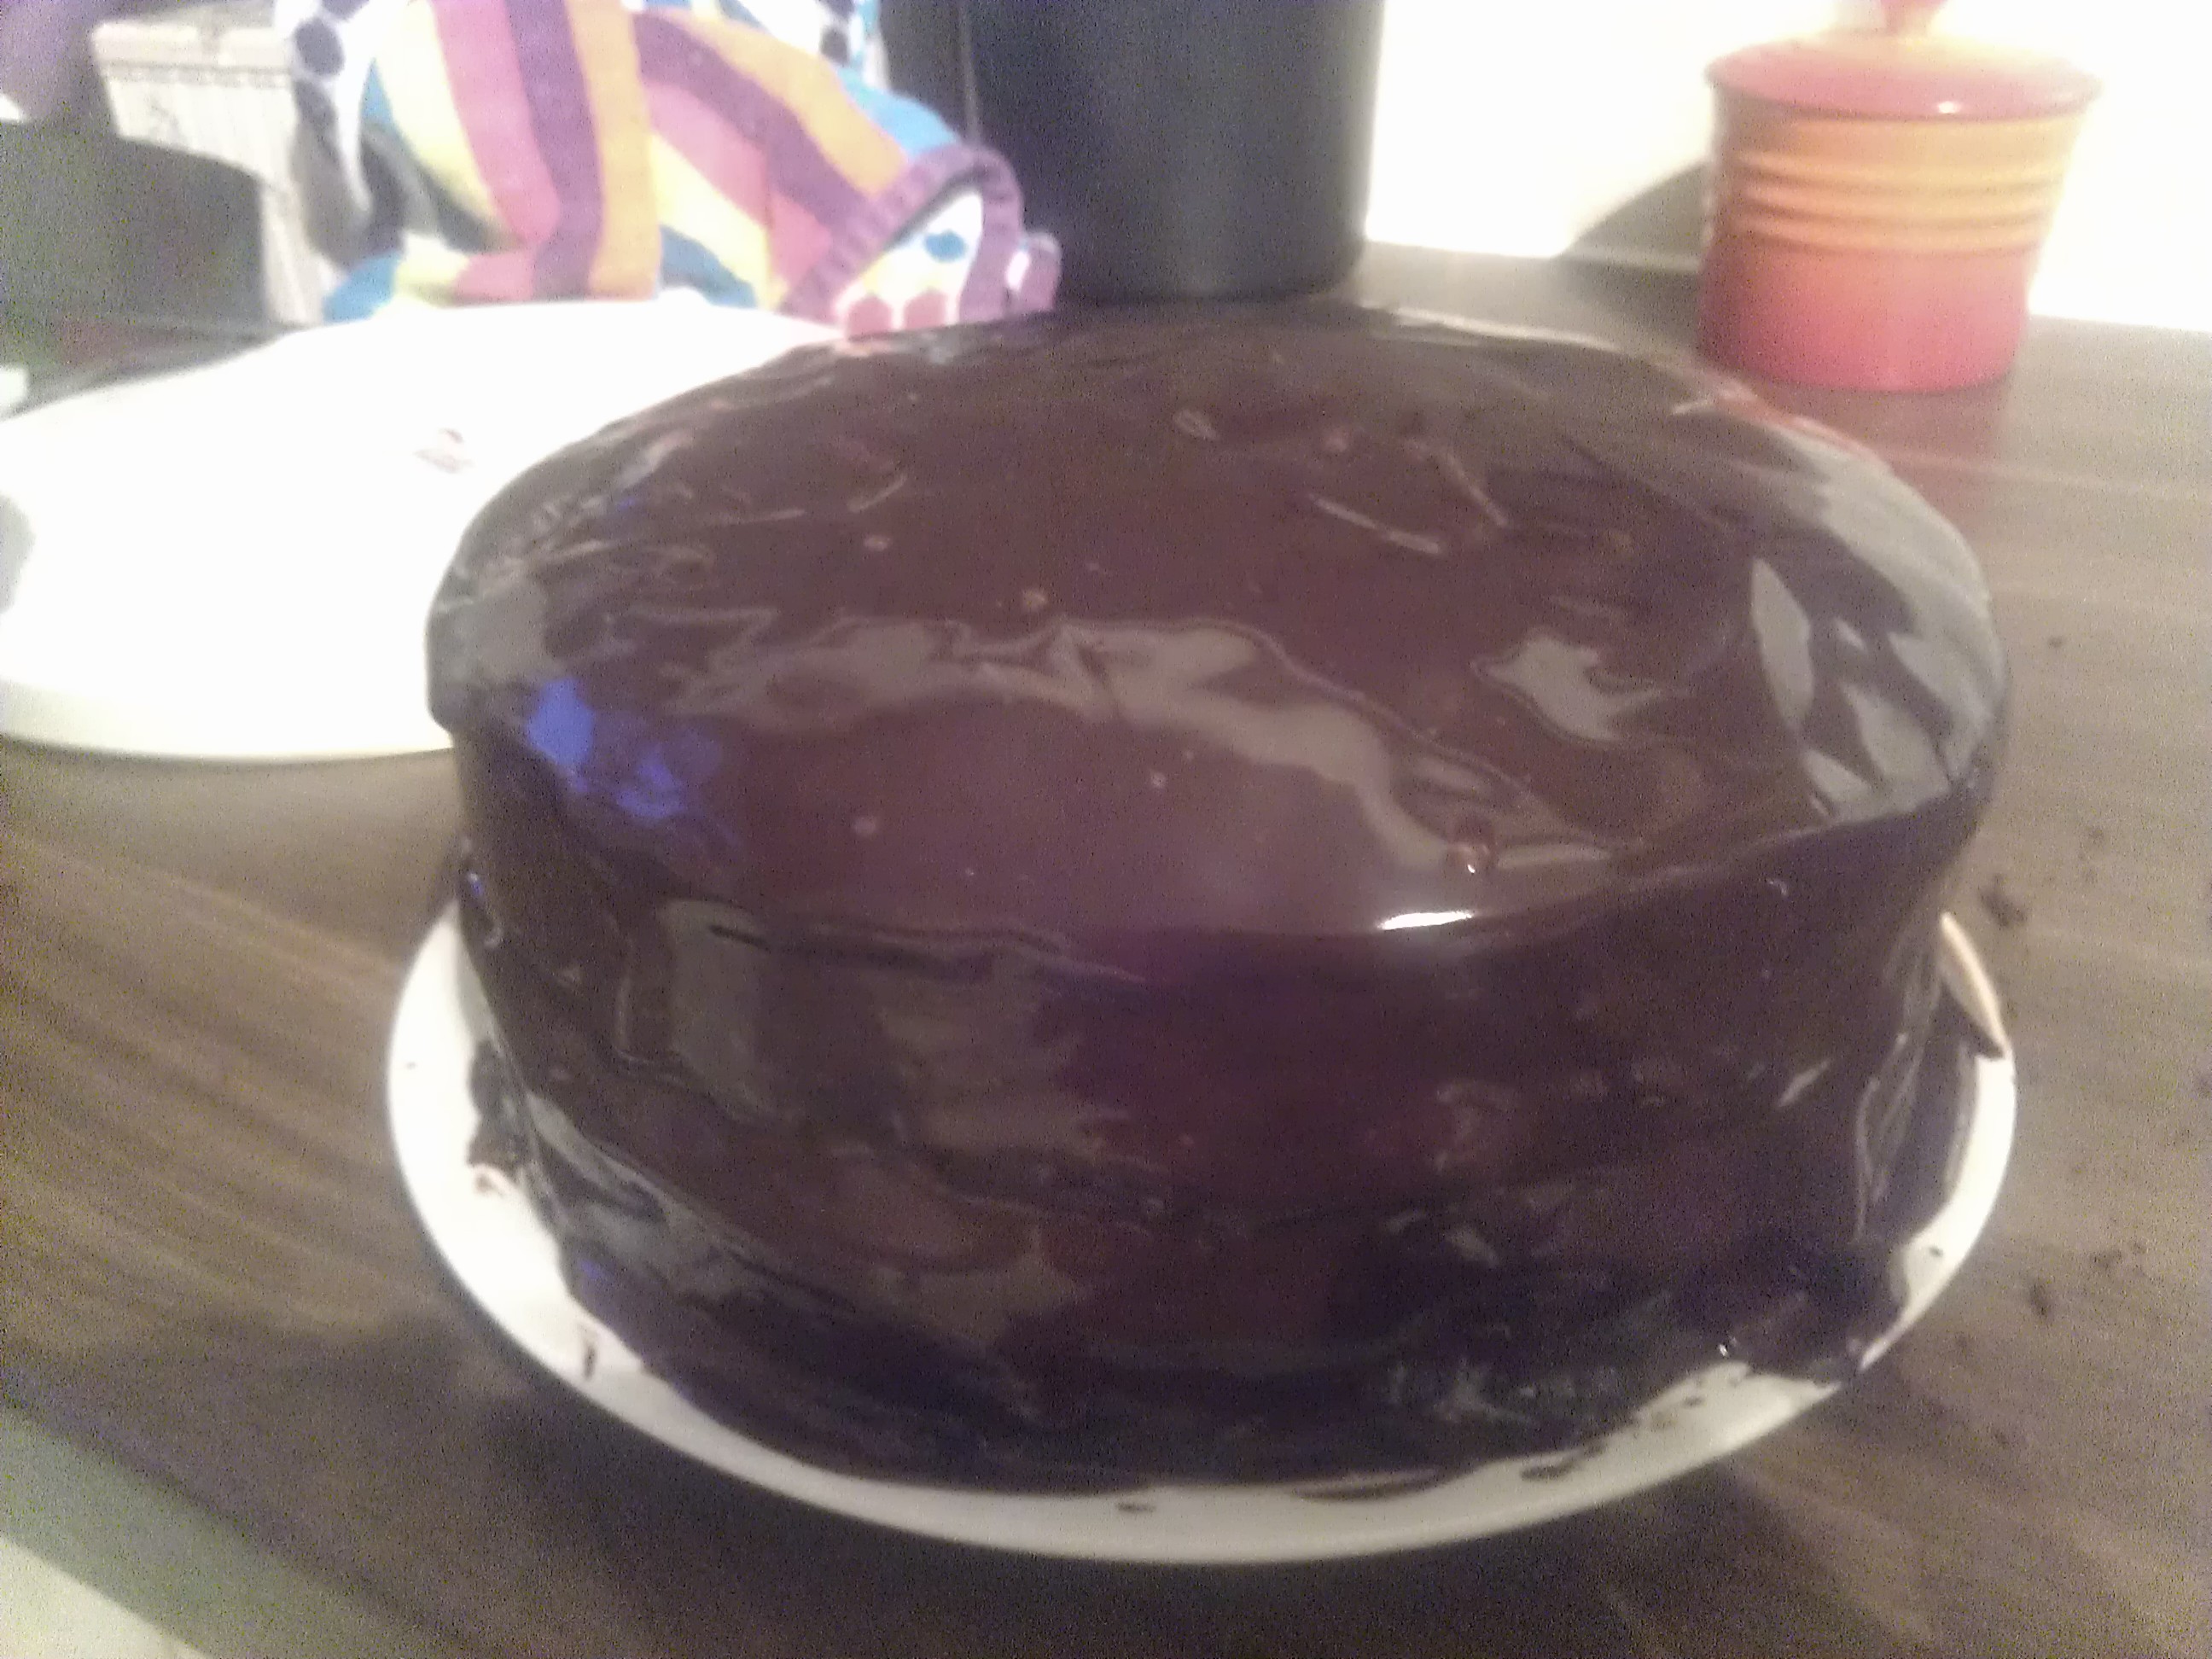
We are baking a couple of our faves this Christmas, the Red Velvet, and the Chocolate Roulade, some chocolate brownie (recipe to follow), and we are also trying a new recipe! I know there is a lot about Nigella in the media at the moment and I am not going to weigh in on that minefield! Whatever went on in her home and marriage, there is no denying she is one heck of a cook and has some great recipes. This is no exception.

WP_20131221_13_57_16_ProIngredients
150g Plain Flour
1/2 teaspoon Baking Powder
1/2 teaspoon Salt
75g Rolled Oats
125g Soft Butter
75g Dark Brown Sugar
100g Caster Sugar
1 Egg
1 teaspoon Vanilla Extract
75g Dried Cranberries
50g Pecans (The recipe says roughly chopped but we whizzed in a processor to get them as small as possible! :))
150g White Chocolate Chips

Method

Preheat oven to 180C and line two big baking sheets with baking parchment (makes approx. 30 cookies)

Measure the Flour, Baking Powder, Salt and Oats into a bowl

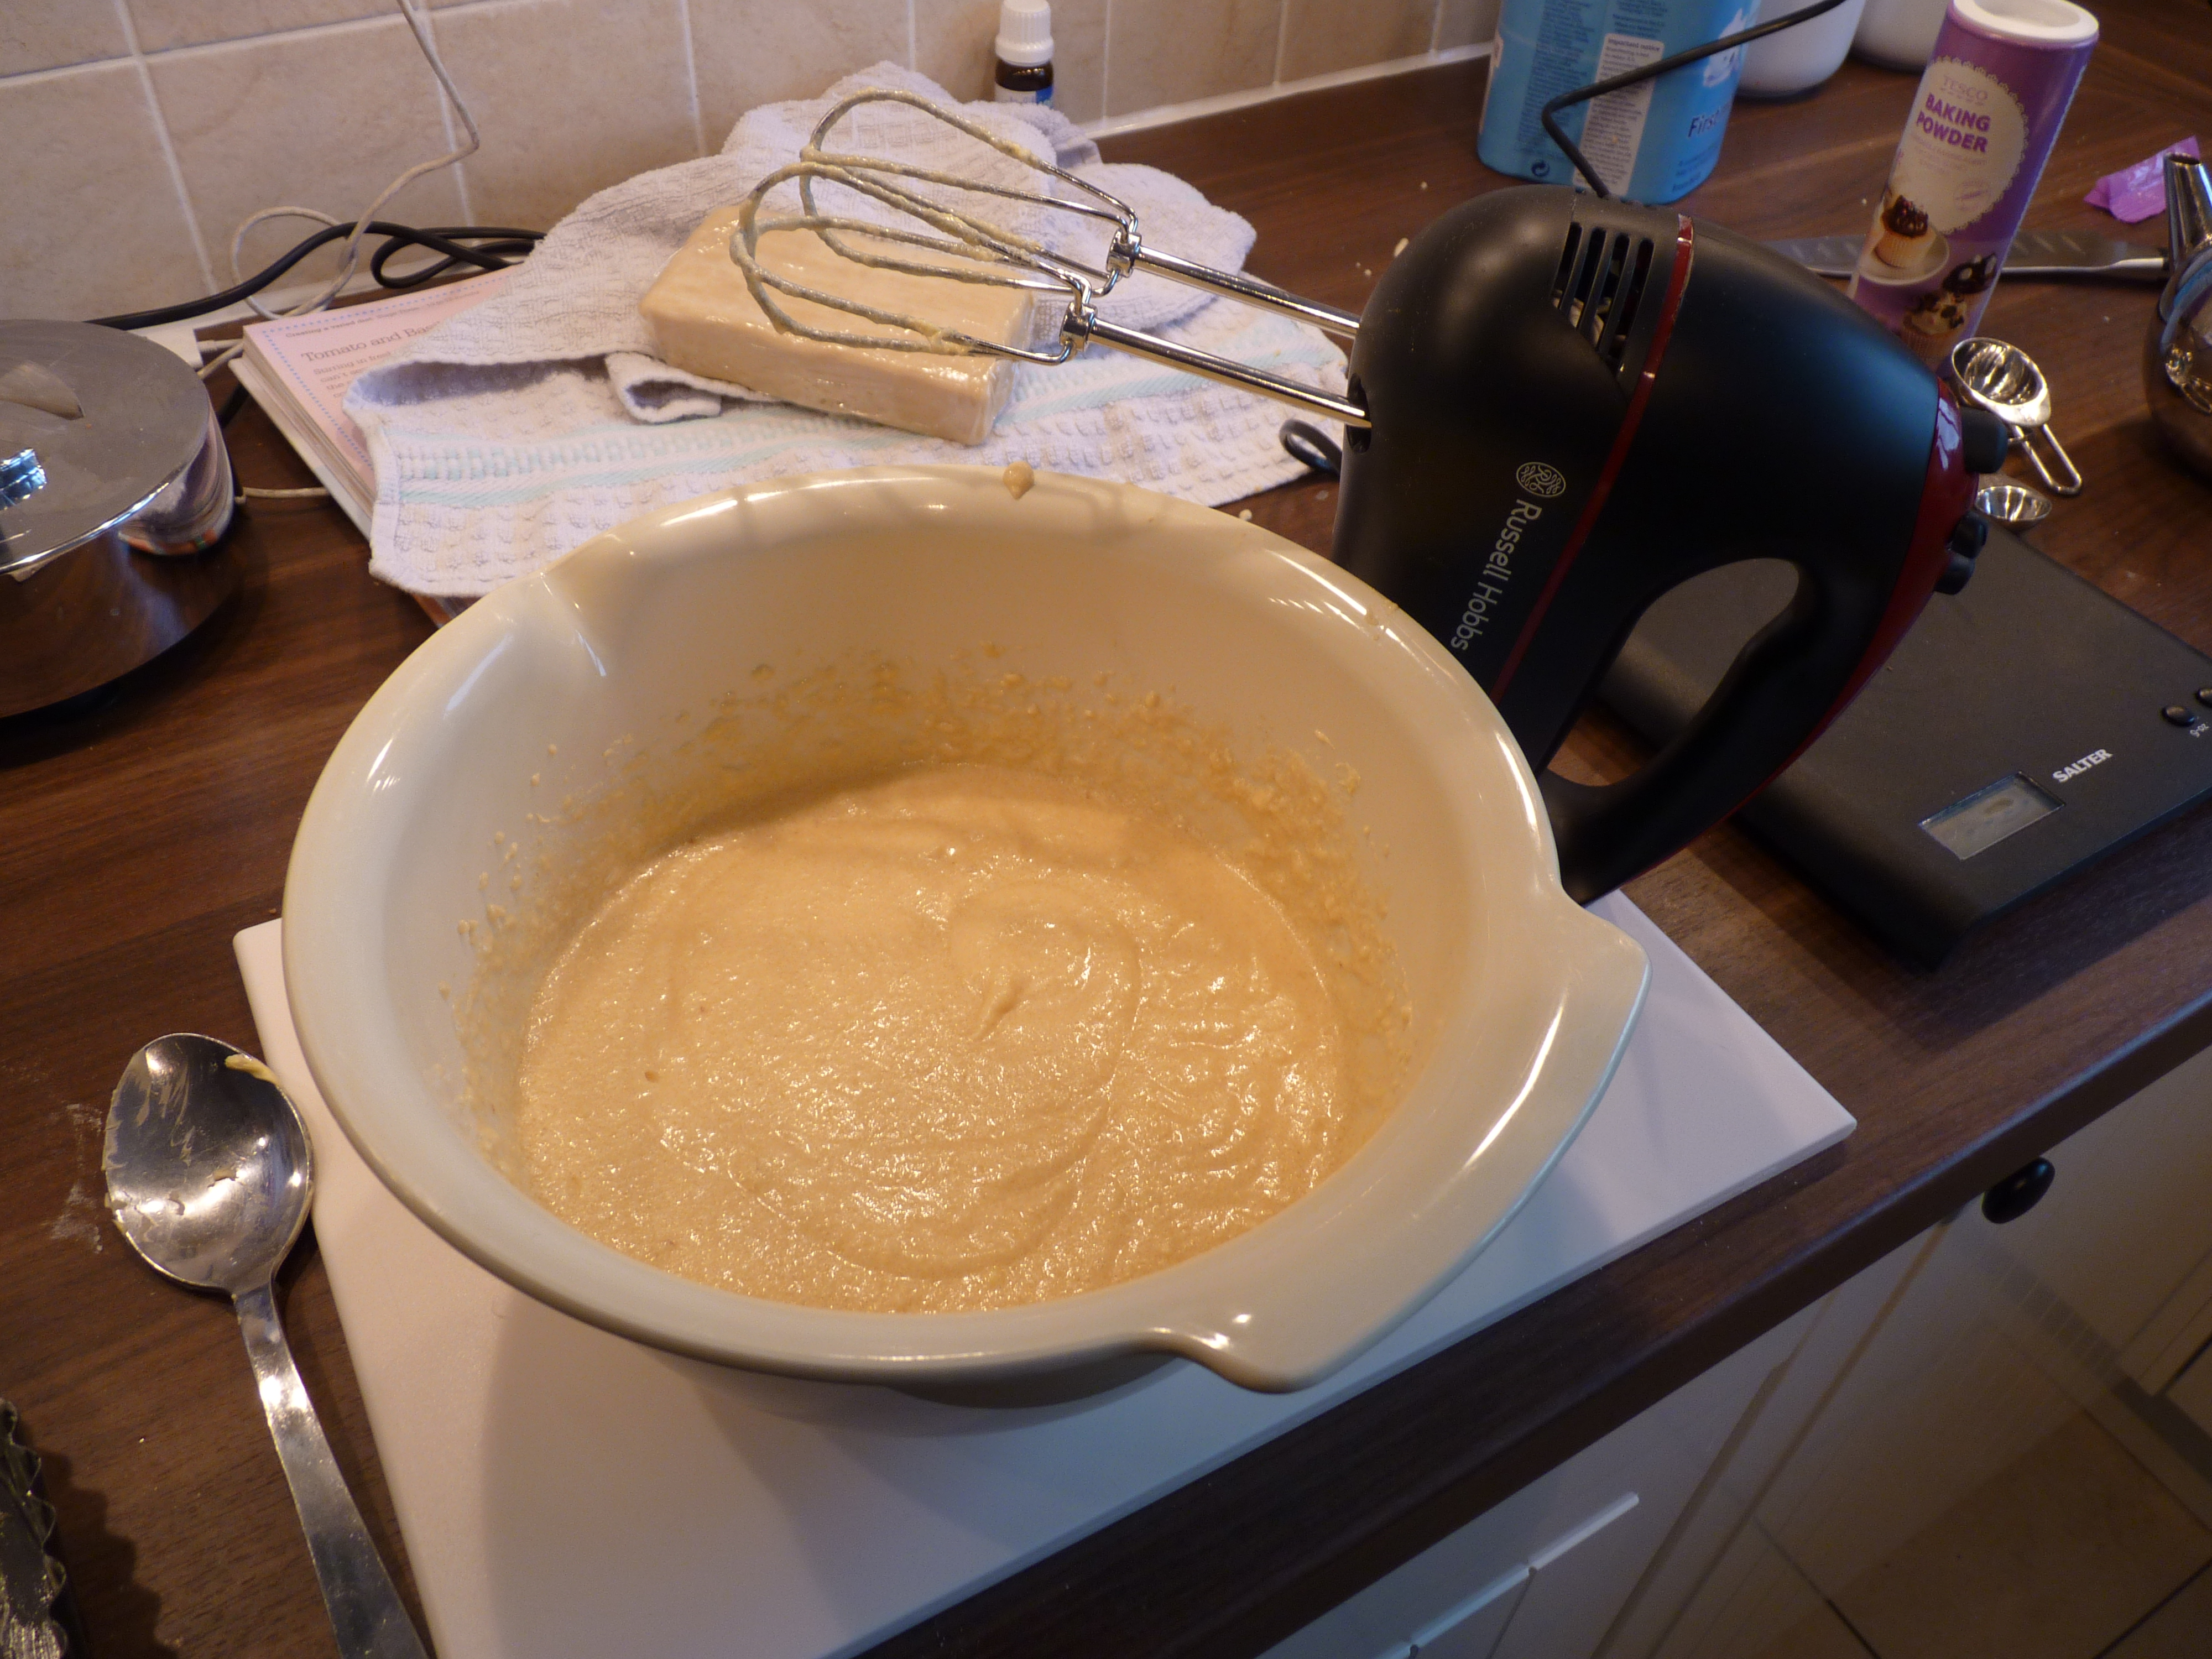
In another bowl, beat together the Butter and both types of Sugar until creamy, then beat in the Egg and Vanilla Extract

Beat in the Flour, Baking Powder, Salt and Oats mixture, then fold in the Cranberries, Pecans and Chocolate Chips.

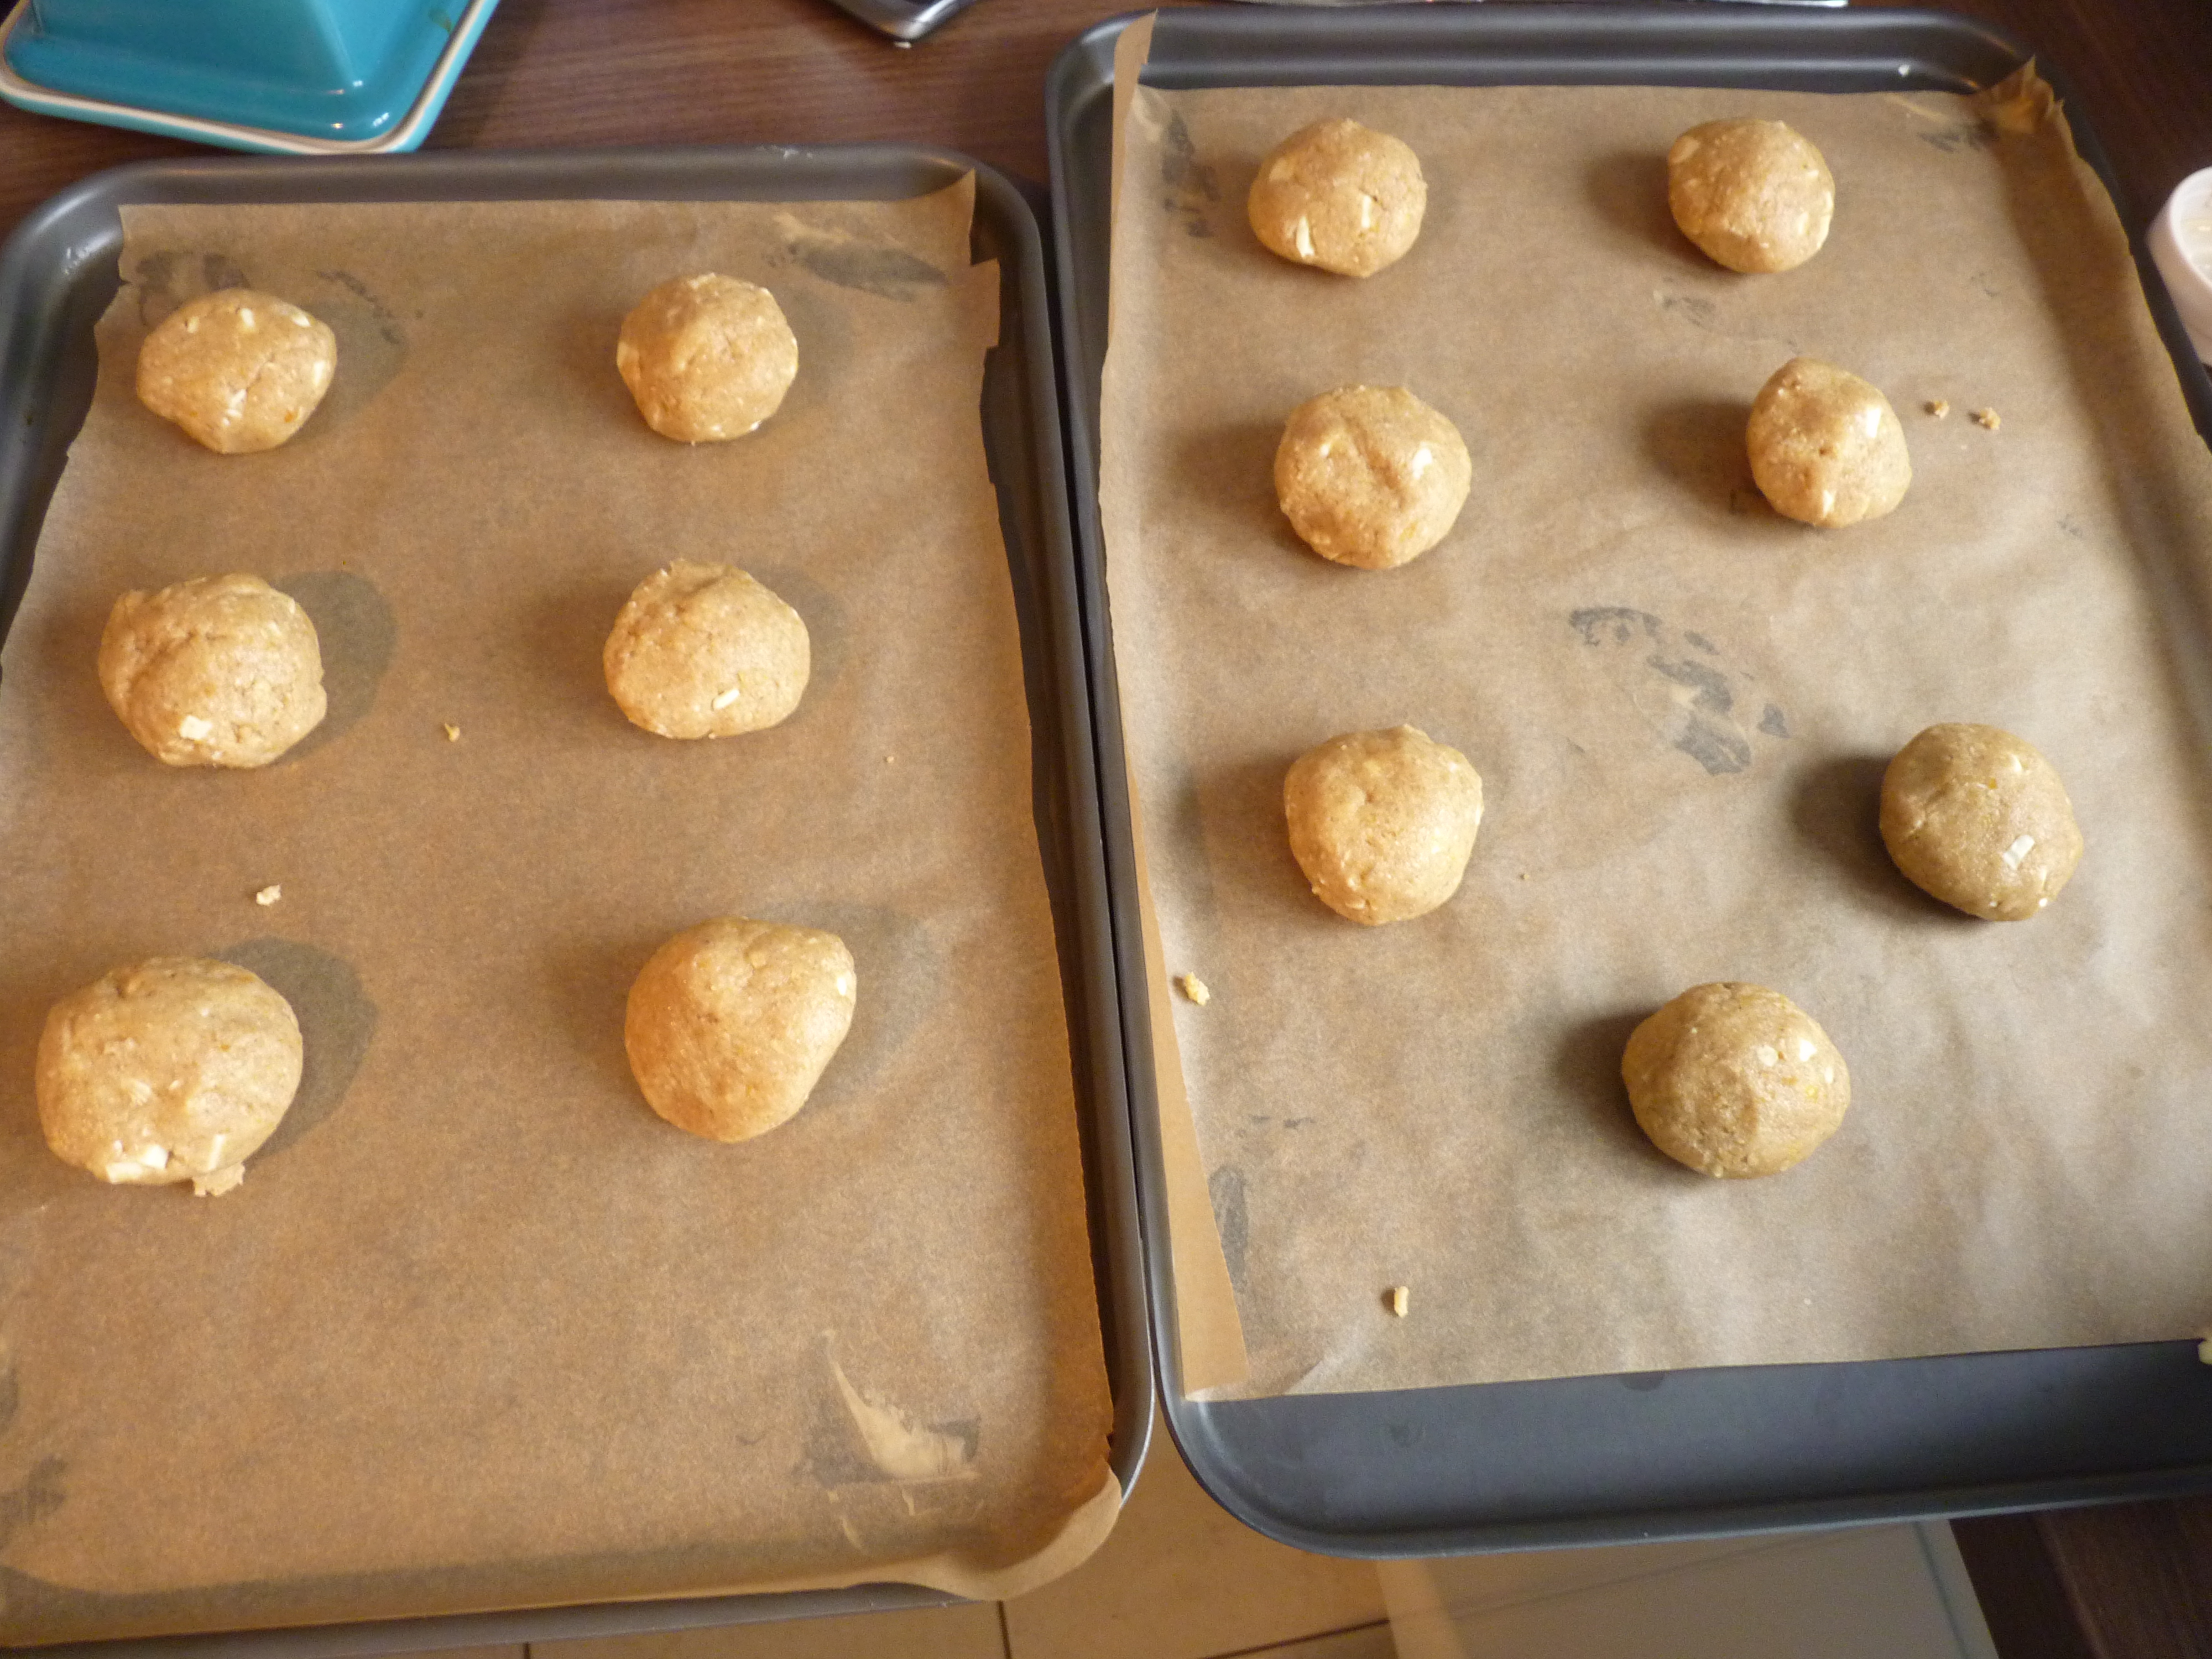
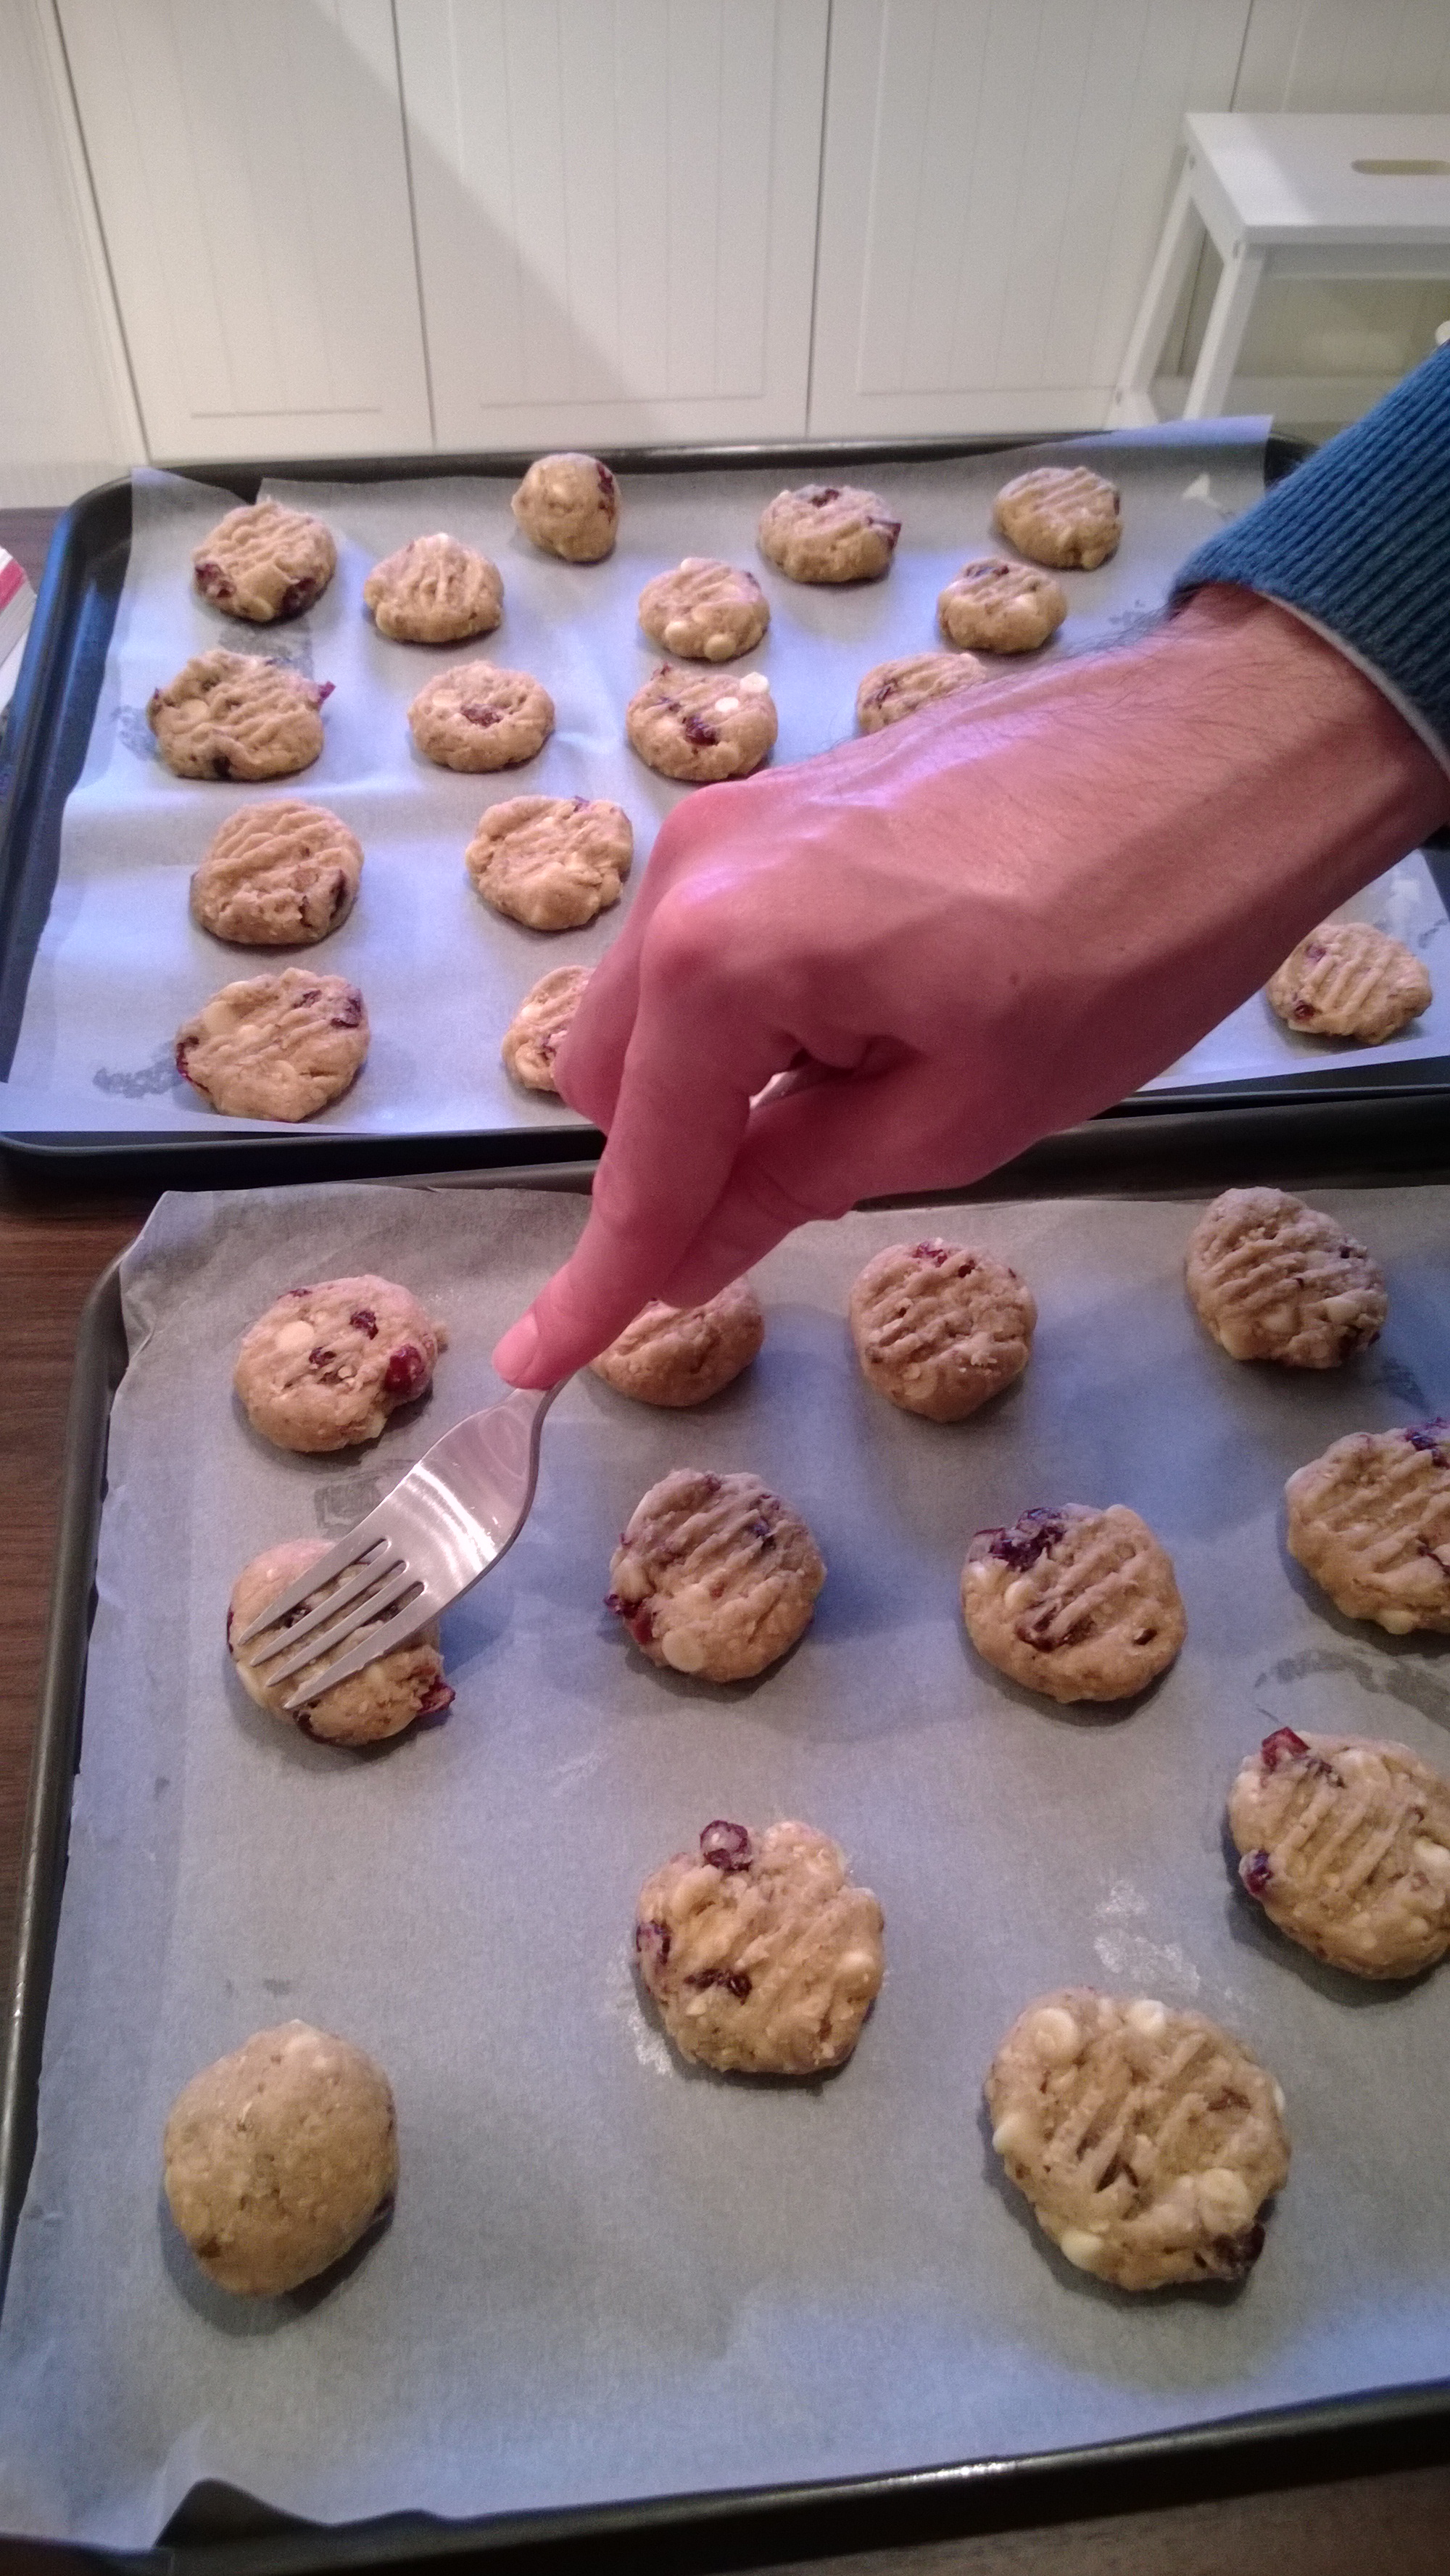
Roll tablespoons of dough into balls with your hands and place them on the prepared trays. Squish the dough balls down with a fork.

WP_20131221_14_08_59_Pro WP_20131221_14_11_26_Pro

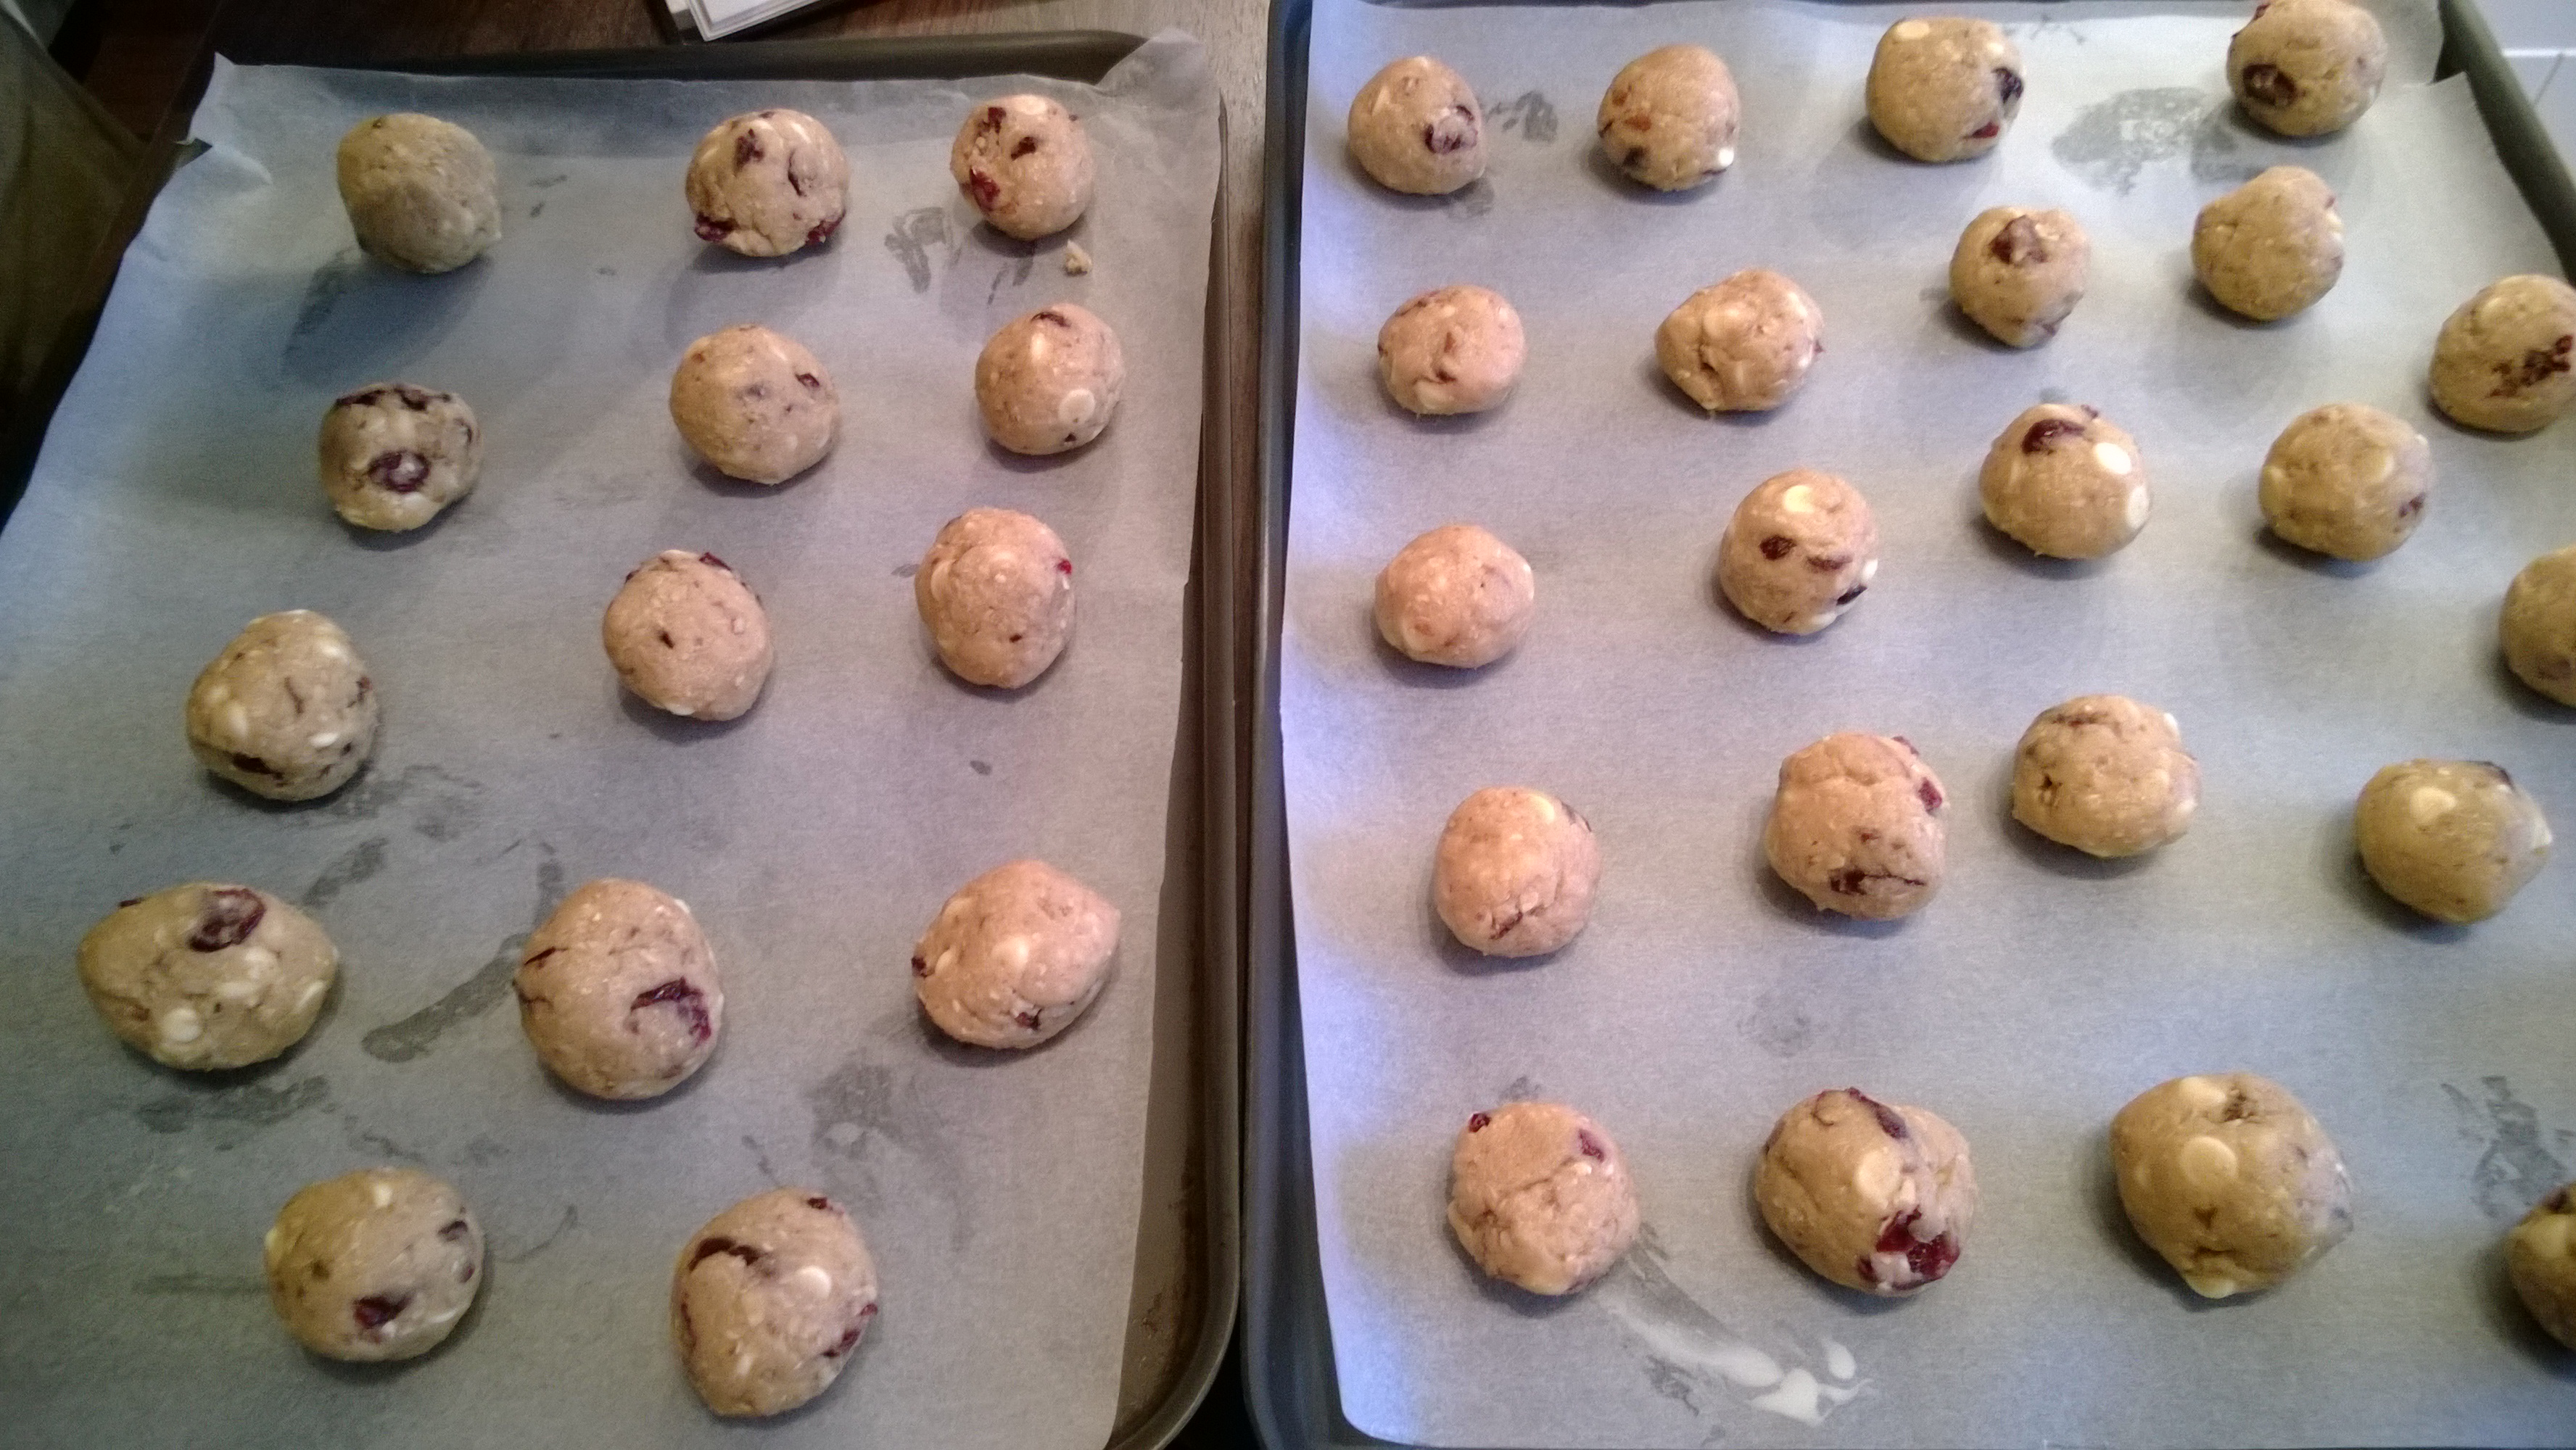
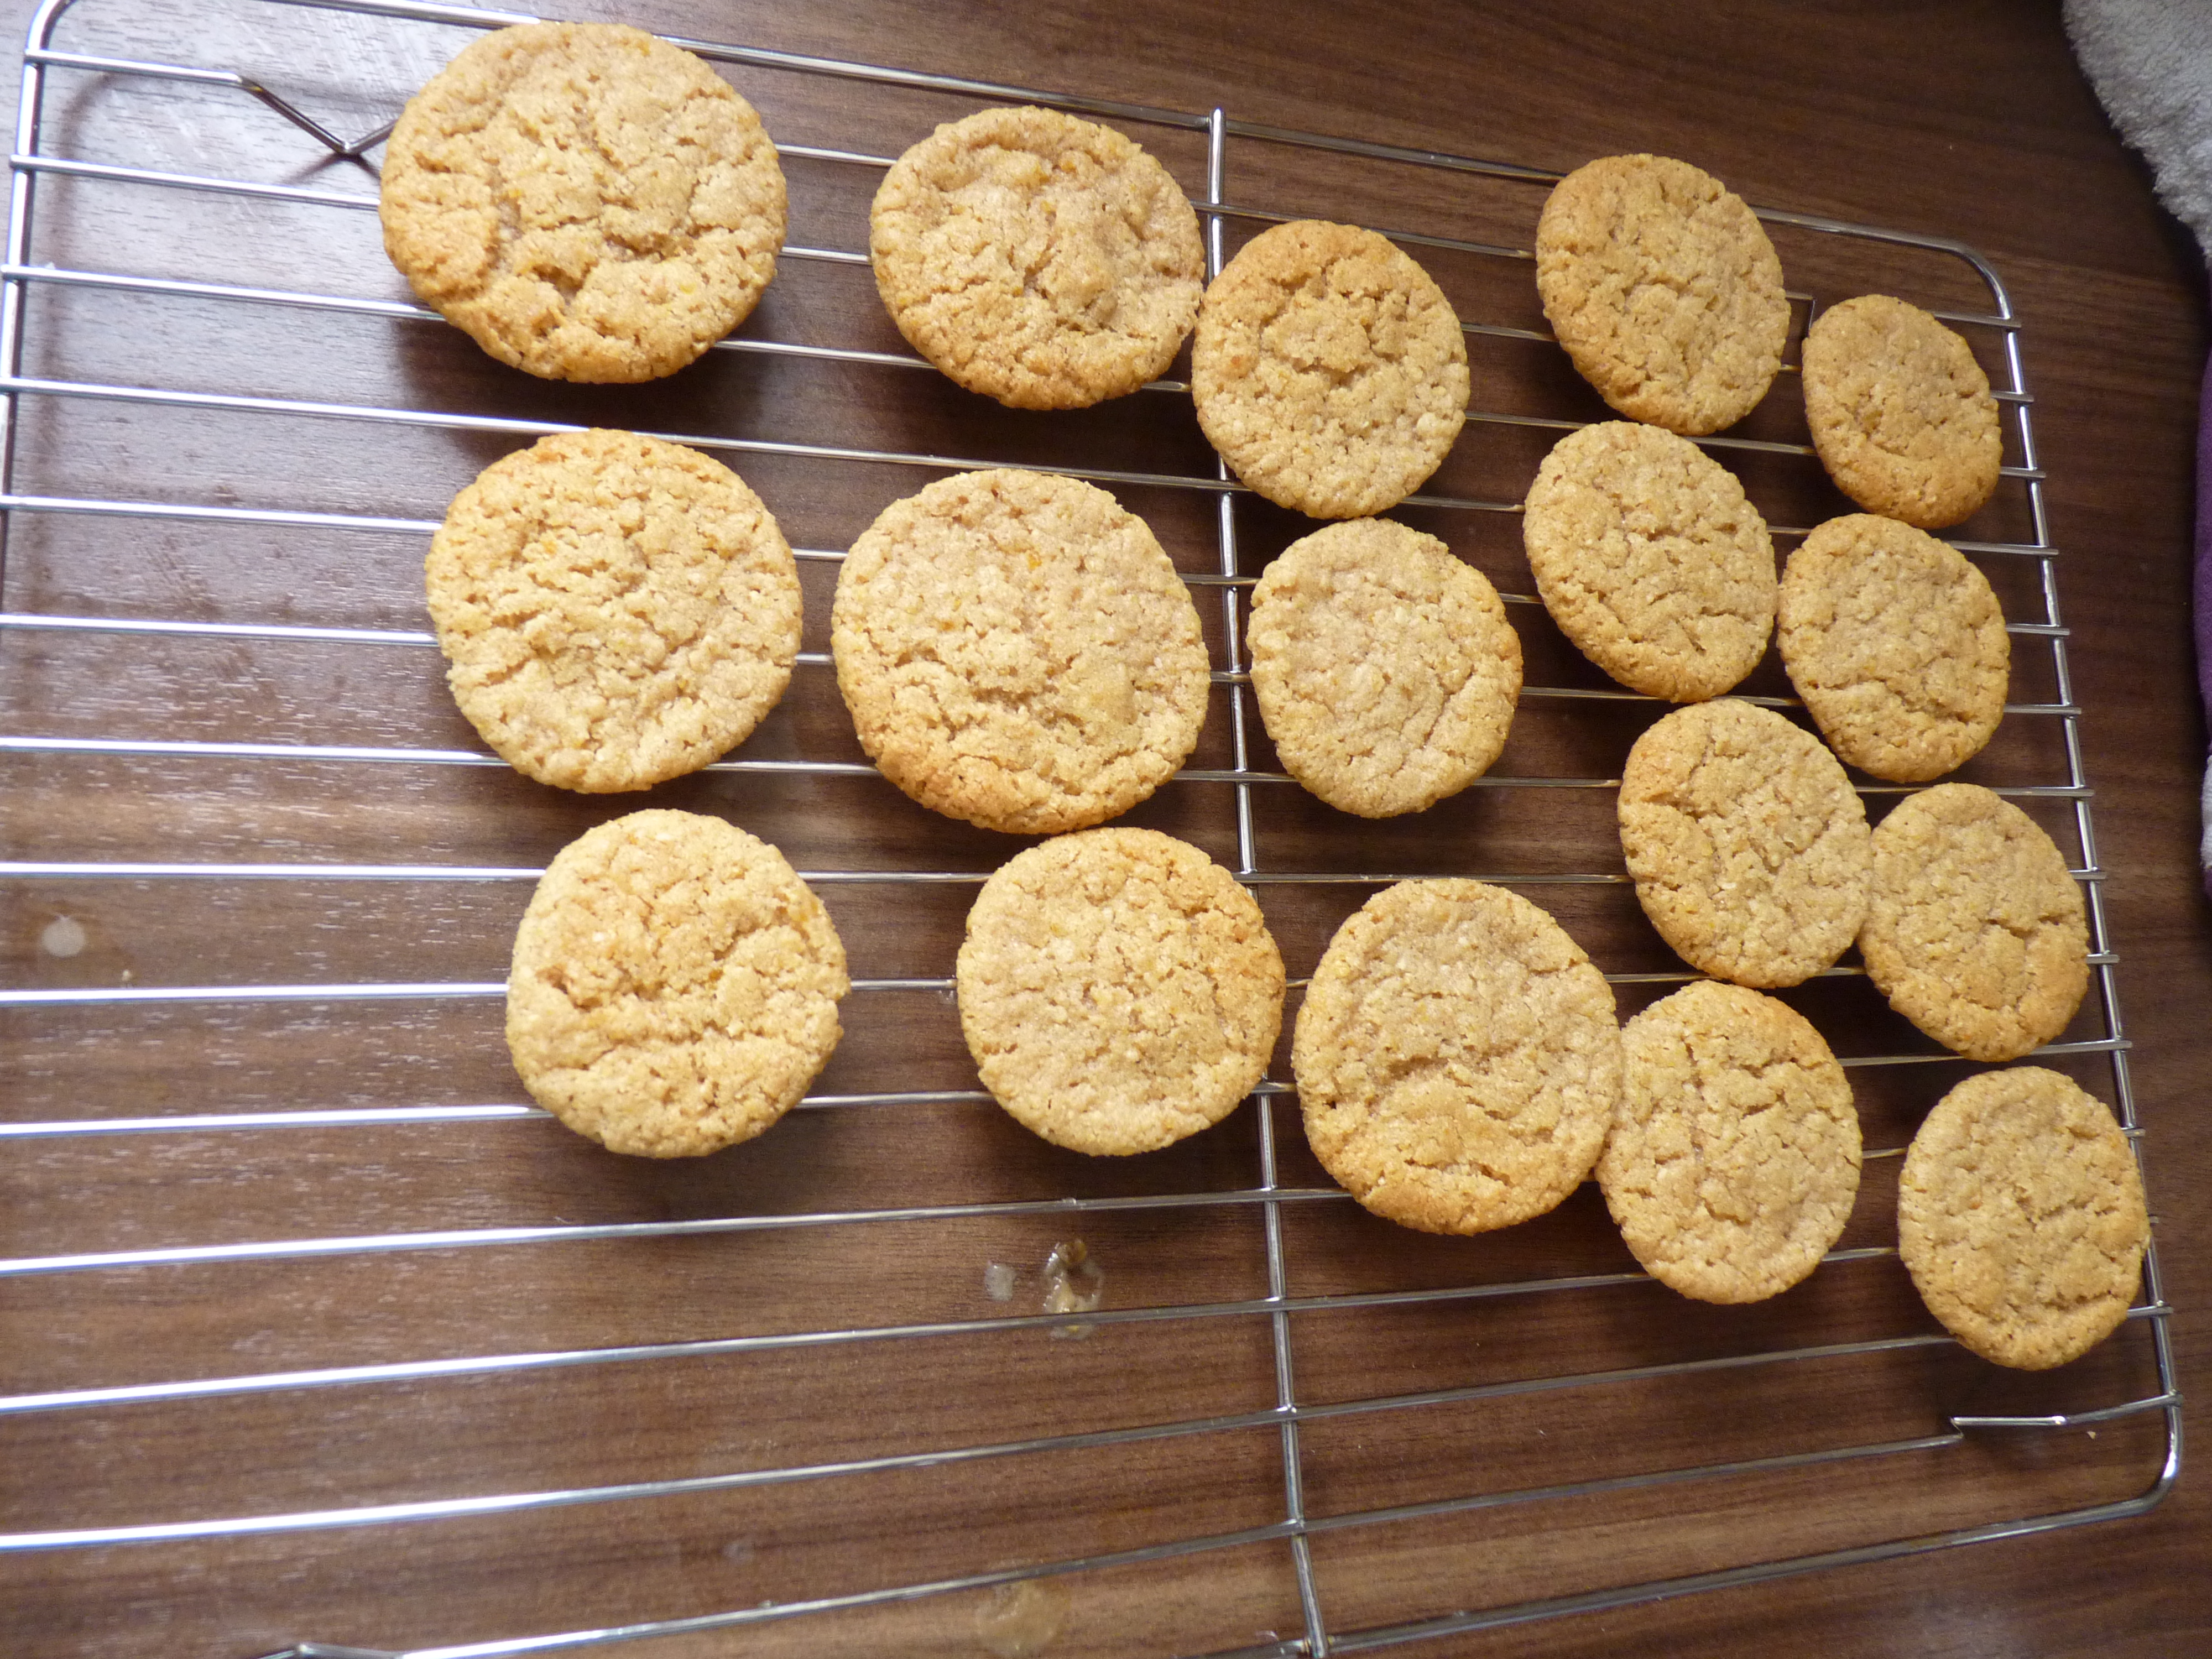
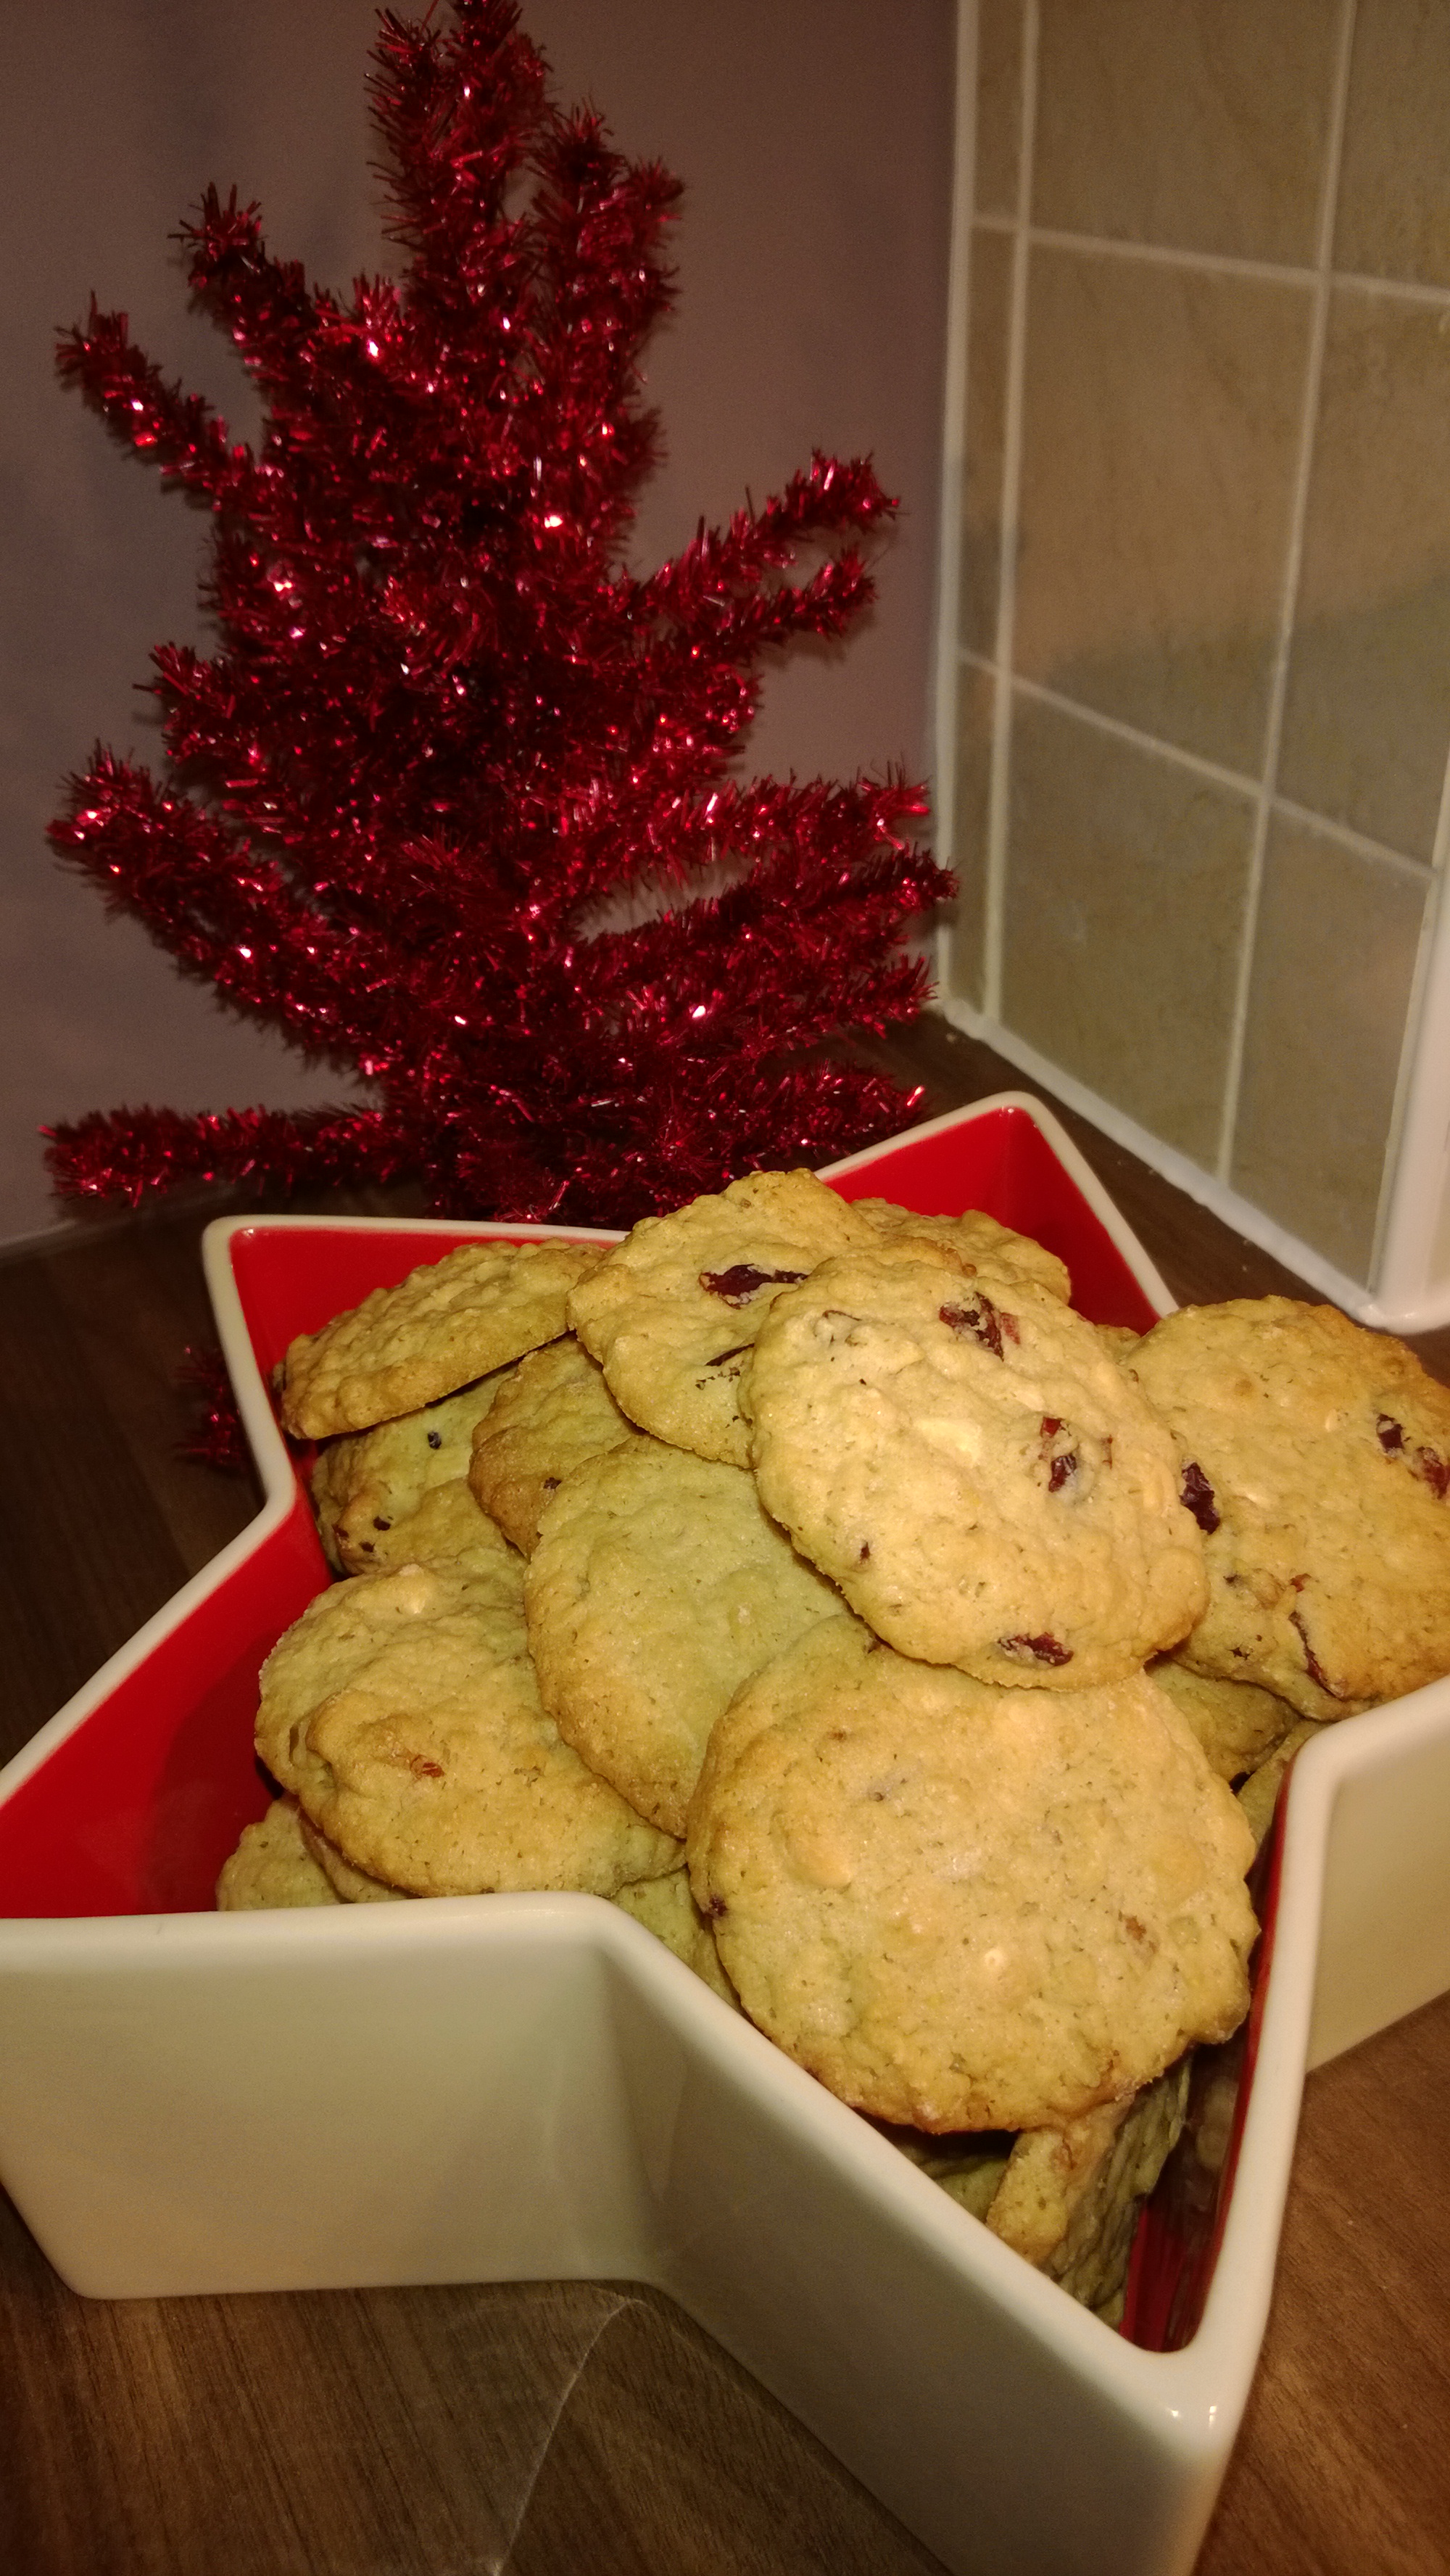
Cook for 13-15 minutes. When ready the cookies will be tinged a pale gold. They will still be soft so leave to cool on the sheet for about 5 minutes. Then move to a wire rack to cool fully.

WP_20131221_14_32_59_Pro

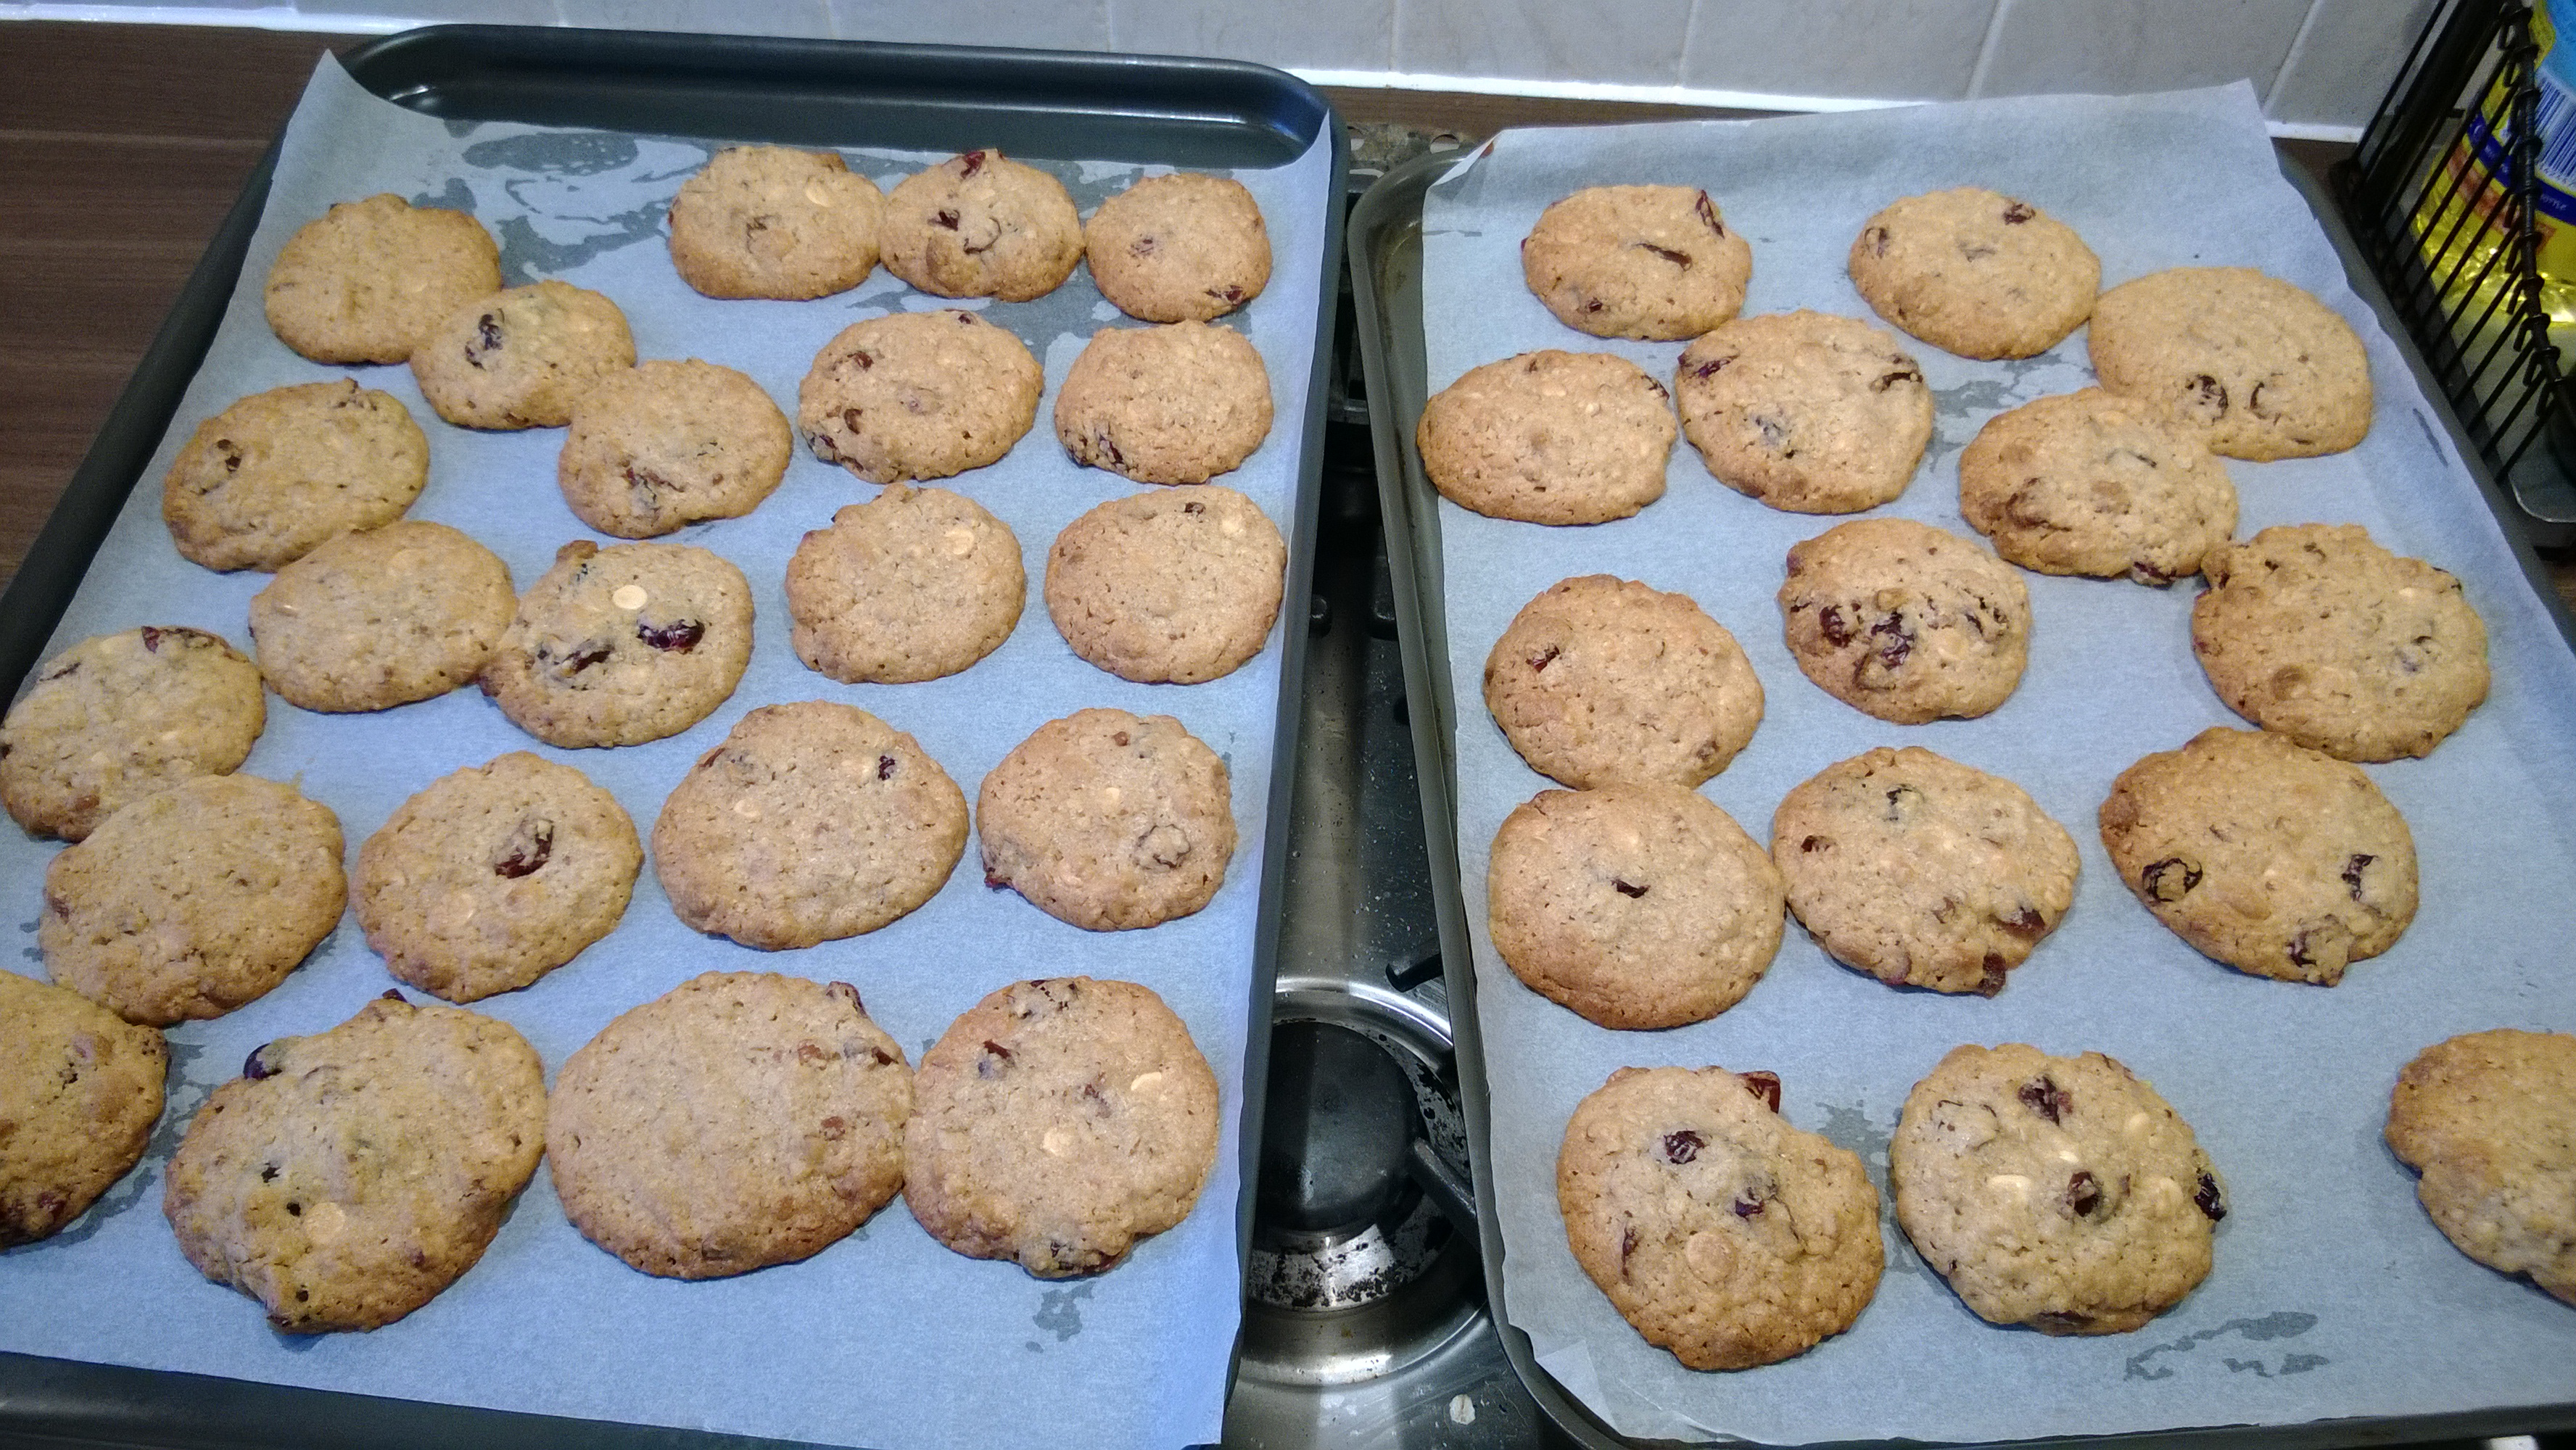
Note We had a debate over how big a table spoon sized ball should be and hubby went for a very literal size, and they came out a little smaller than we imagined, and didn’t quite look how they looked in the piccy in Nigella’s book. We only cooked them for 13 minutes, rather than the suggested 15 minutes and they turned out lovely. I was initially worried they were a little overdone, but they taste absolutely fine! We ended up with 36 I think, so could have made them slightly bigger!

The other good thing with Nigella’s recipes is that she gives tips about freezing them! She says these can be frozen for about 3 months, which is very handy as we are planning to take these to my brother in law’s house on boxing day. So they have been baked and are now in the freezer ready to get out the night before… fingers crossed we remember!

WP_20131223_15_31_39_Pro


WP_20131223_15_01_19_Pro
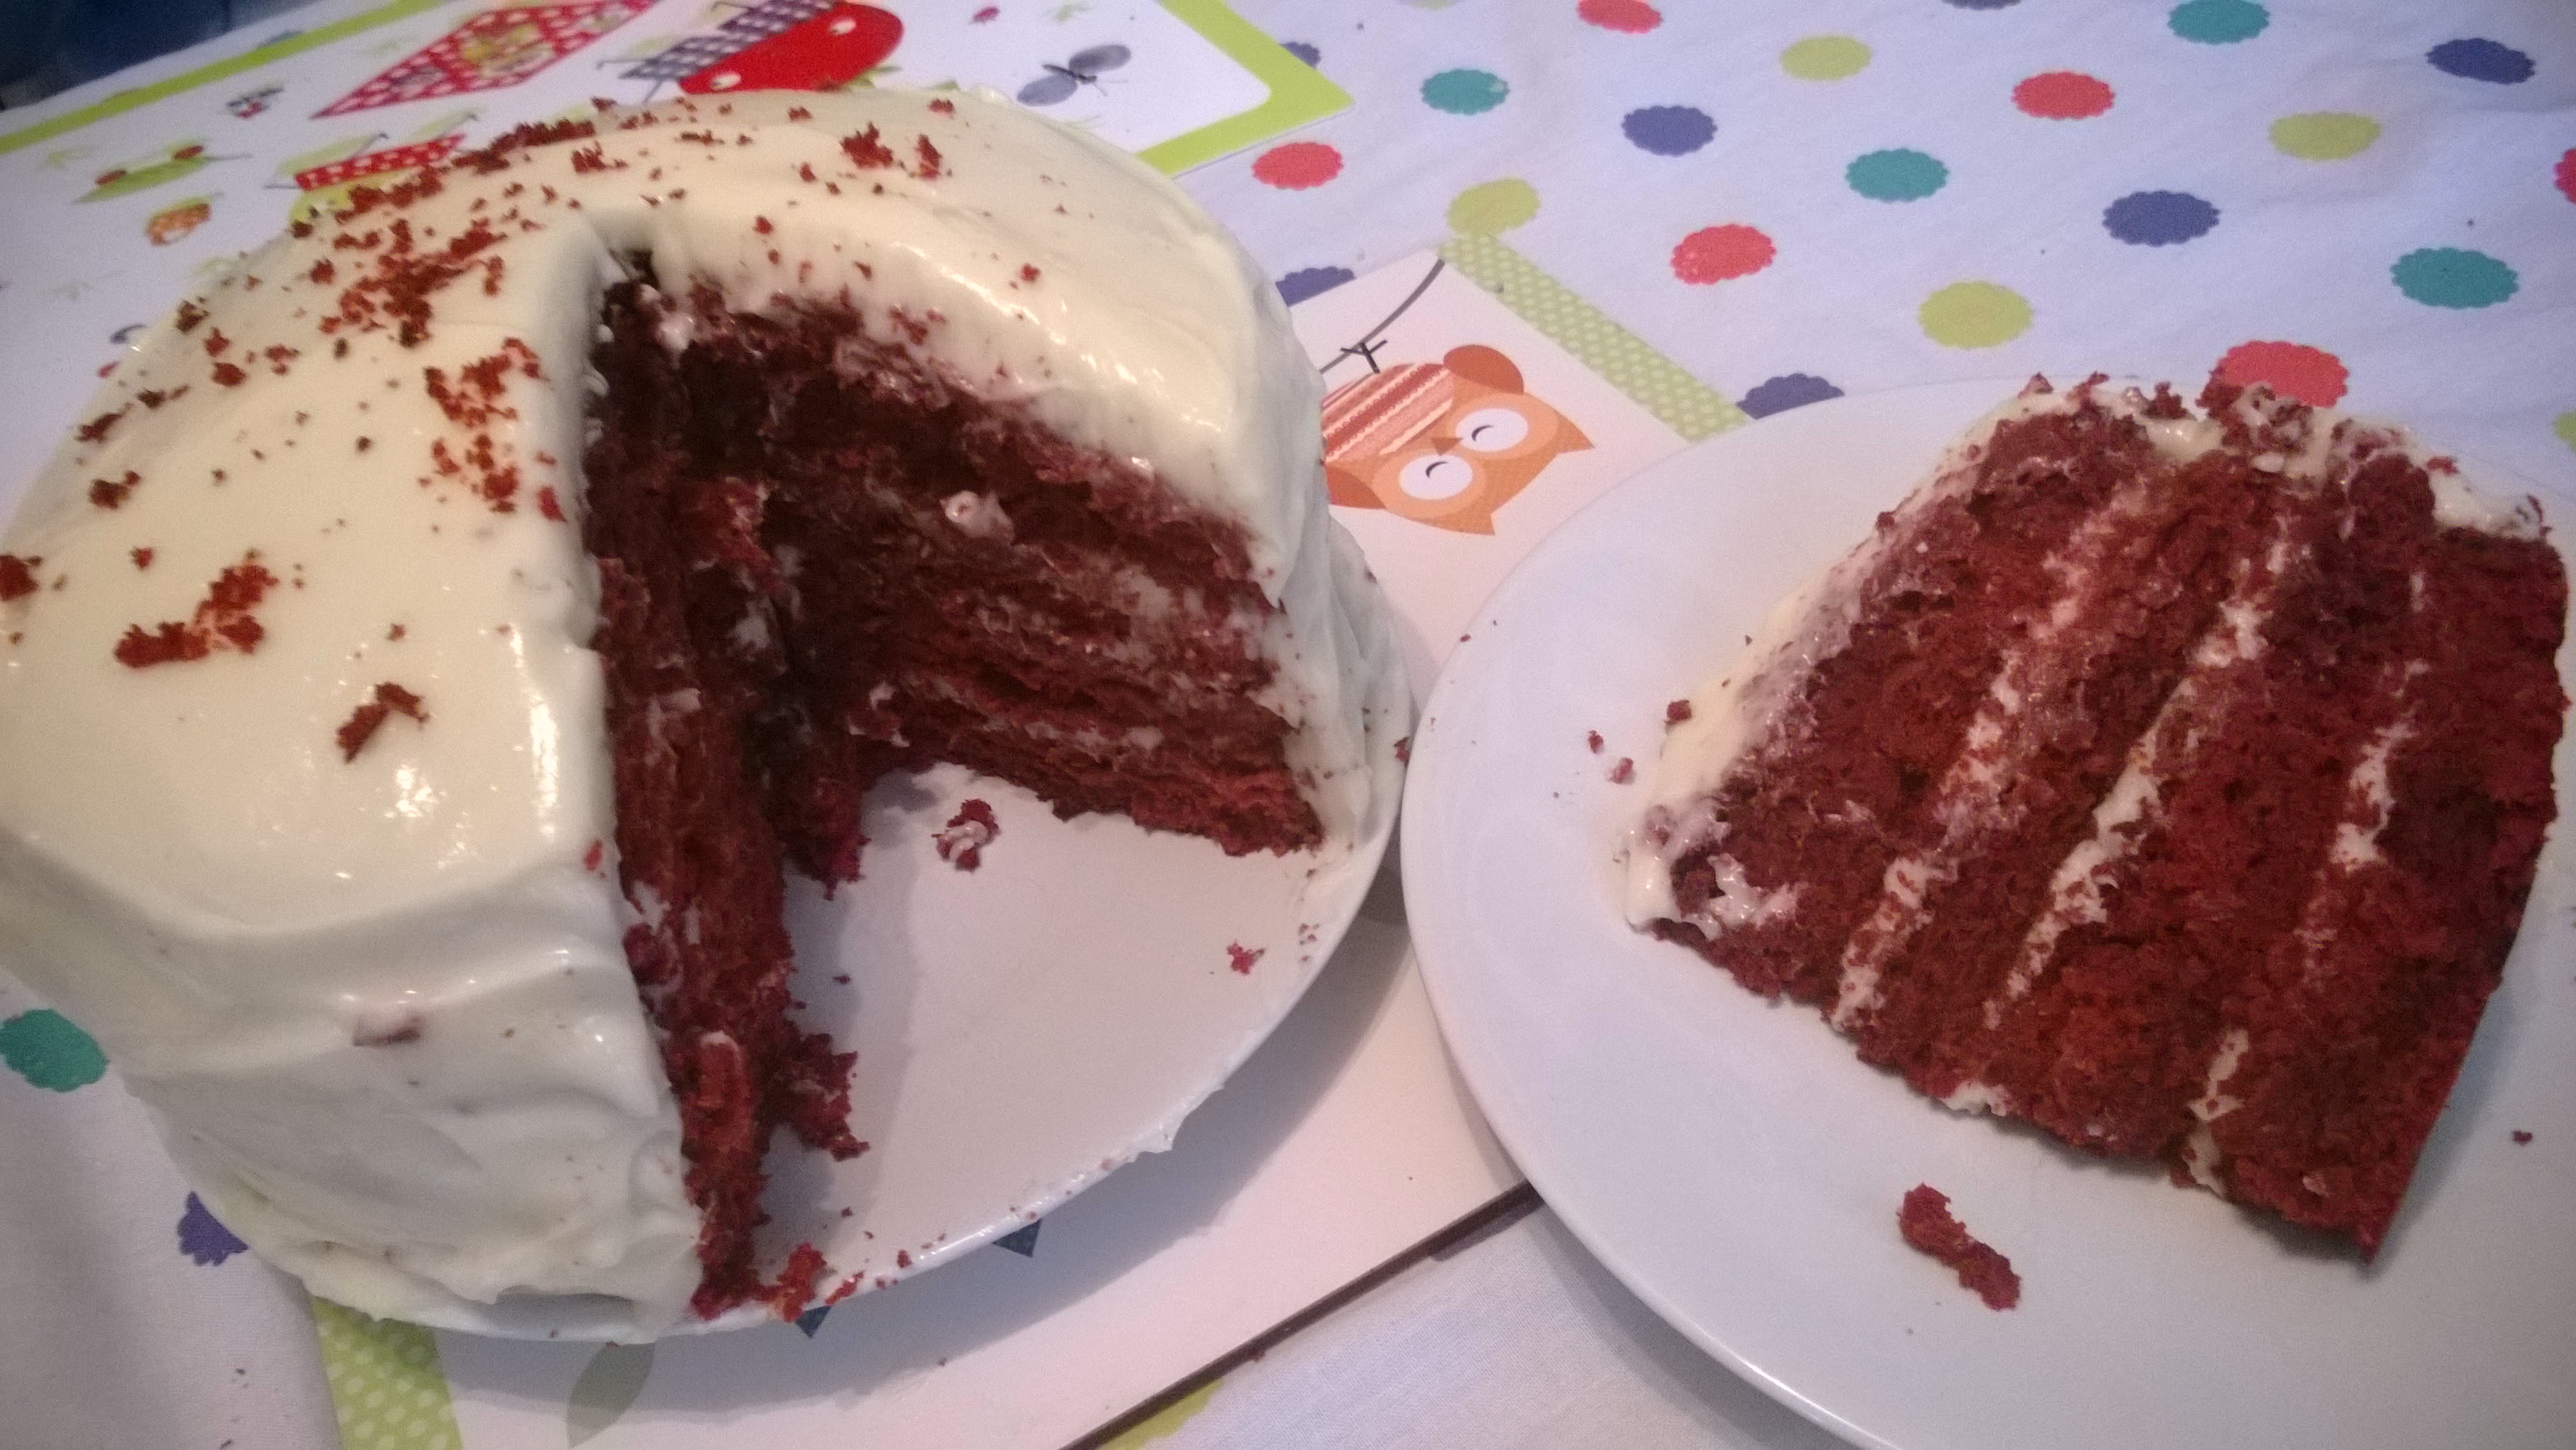
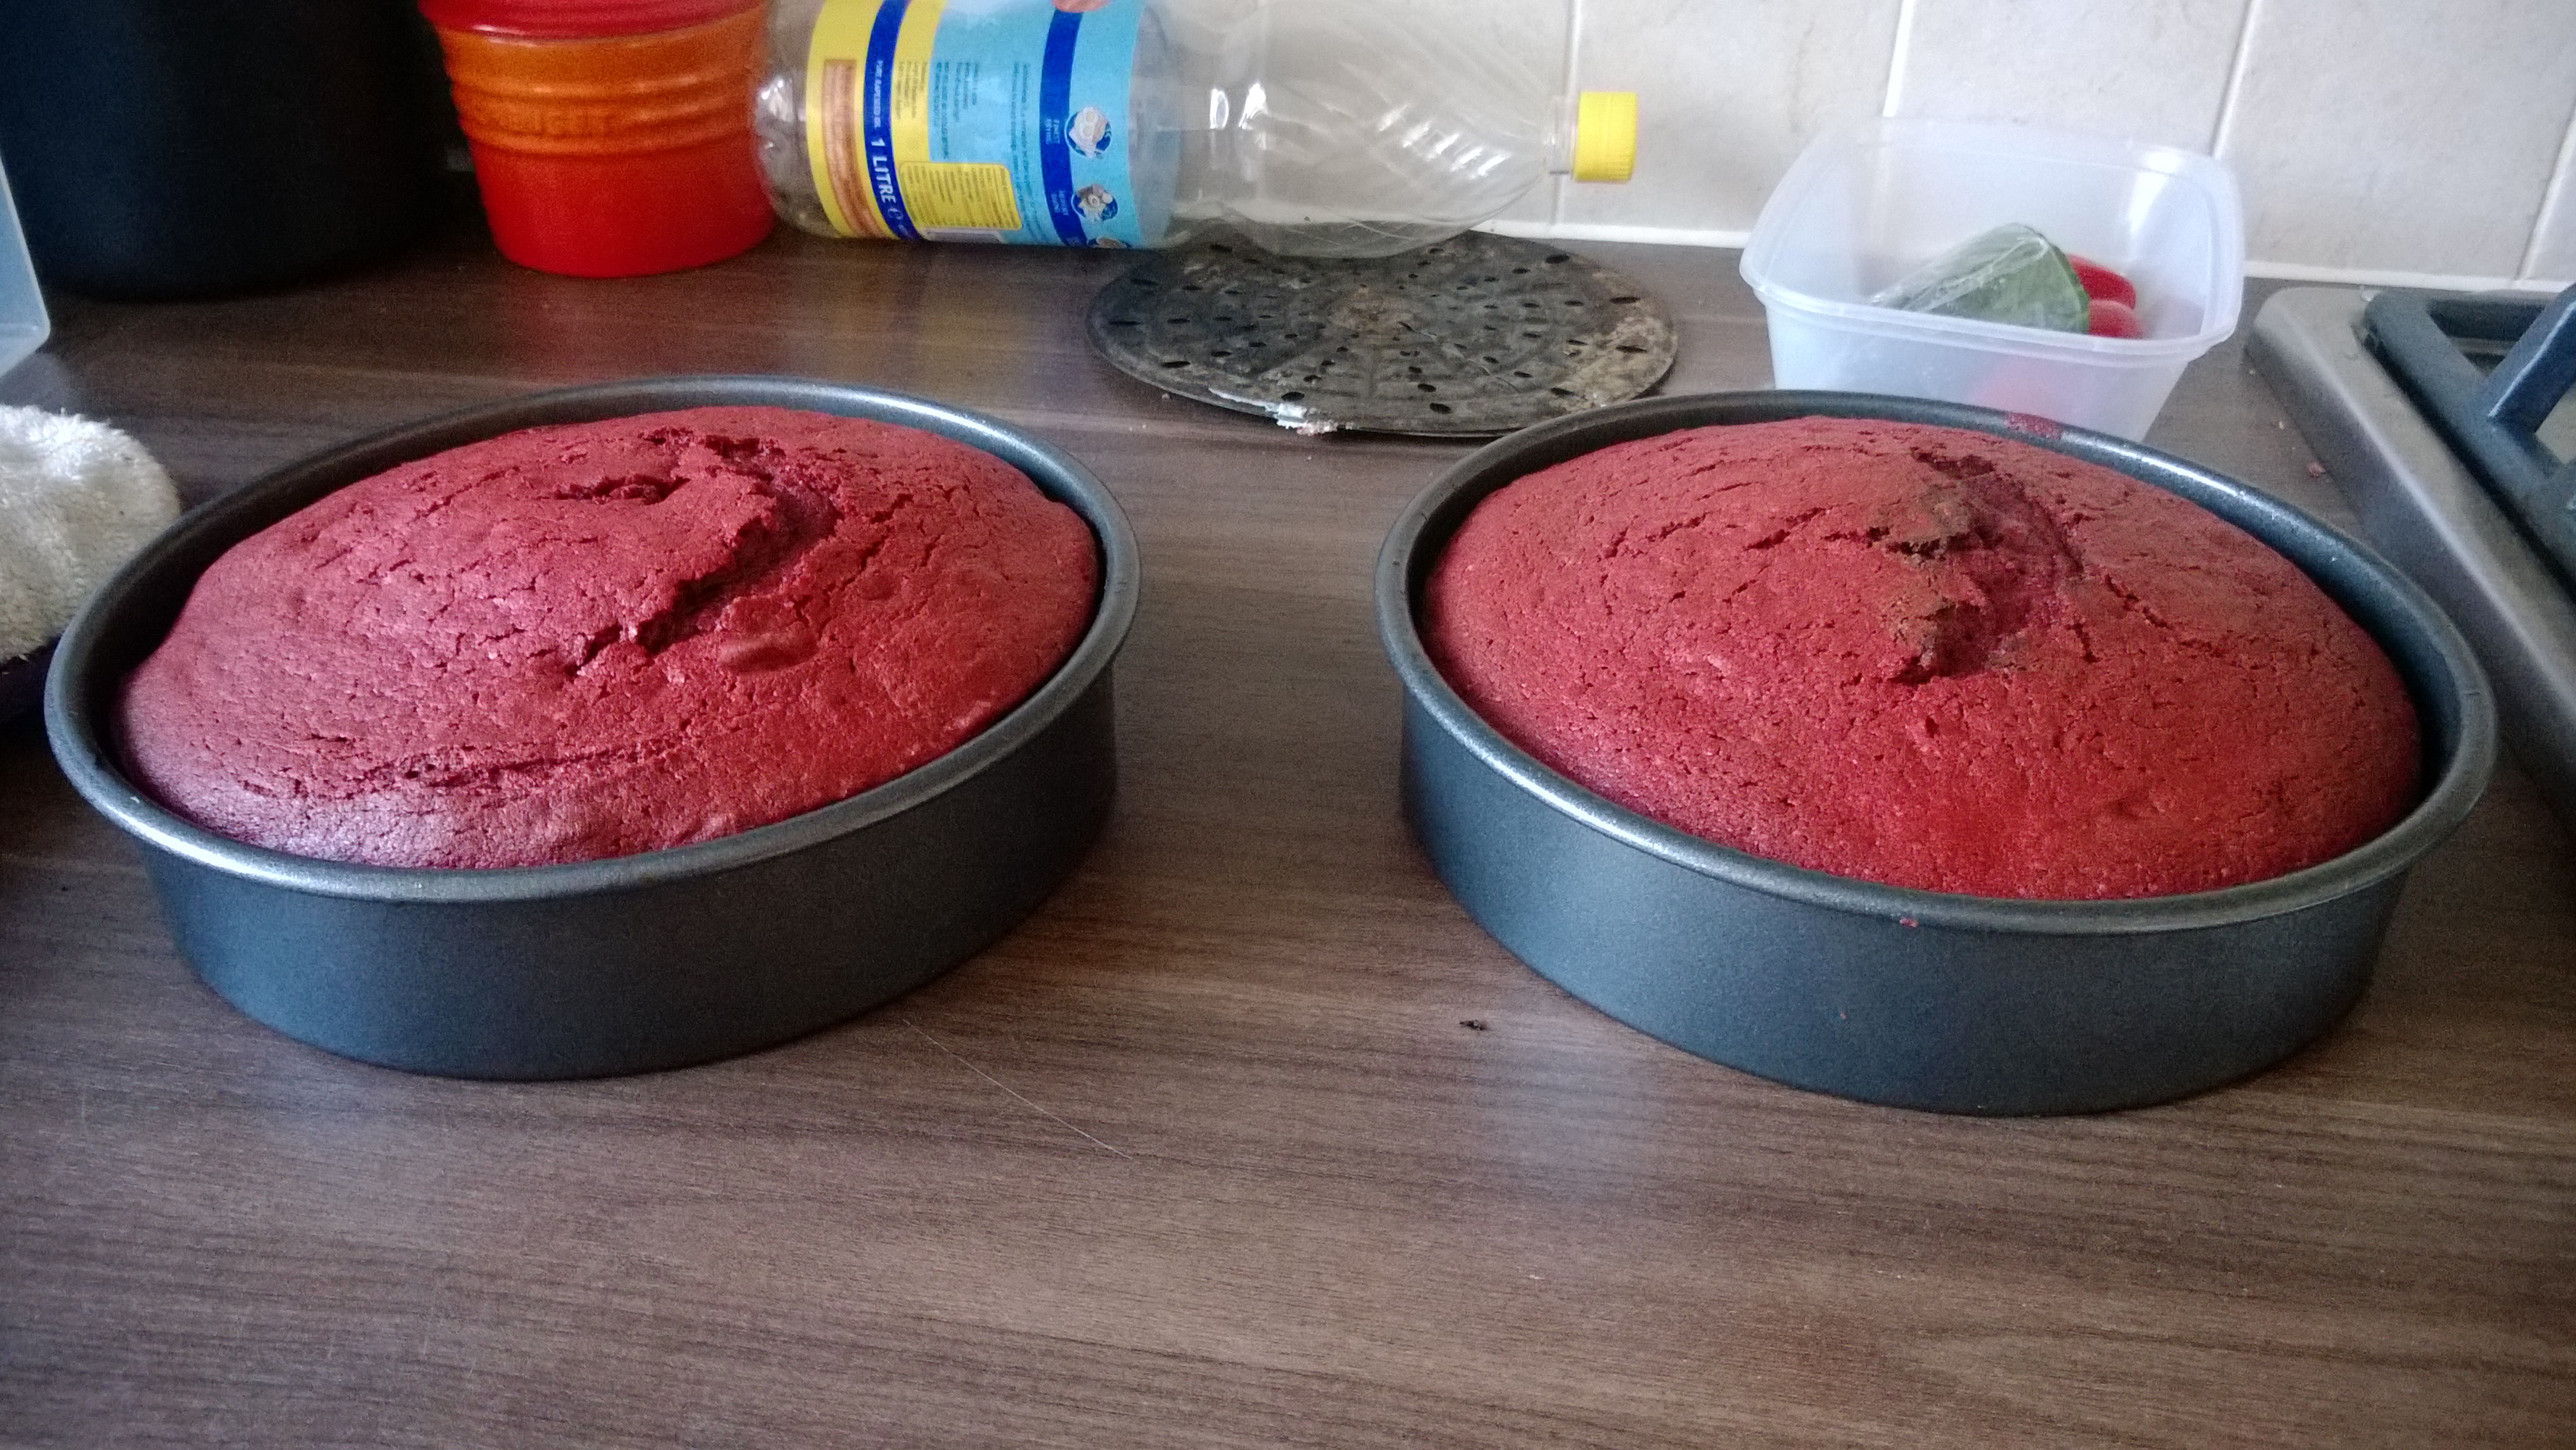
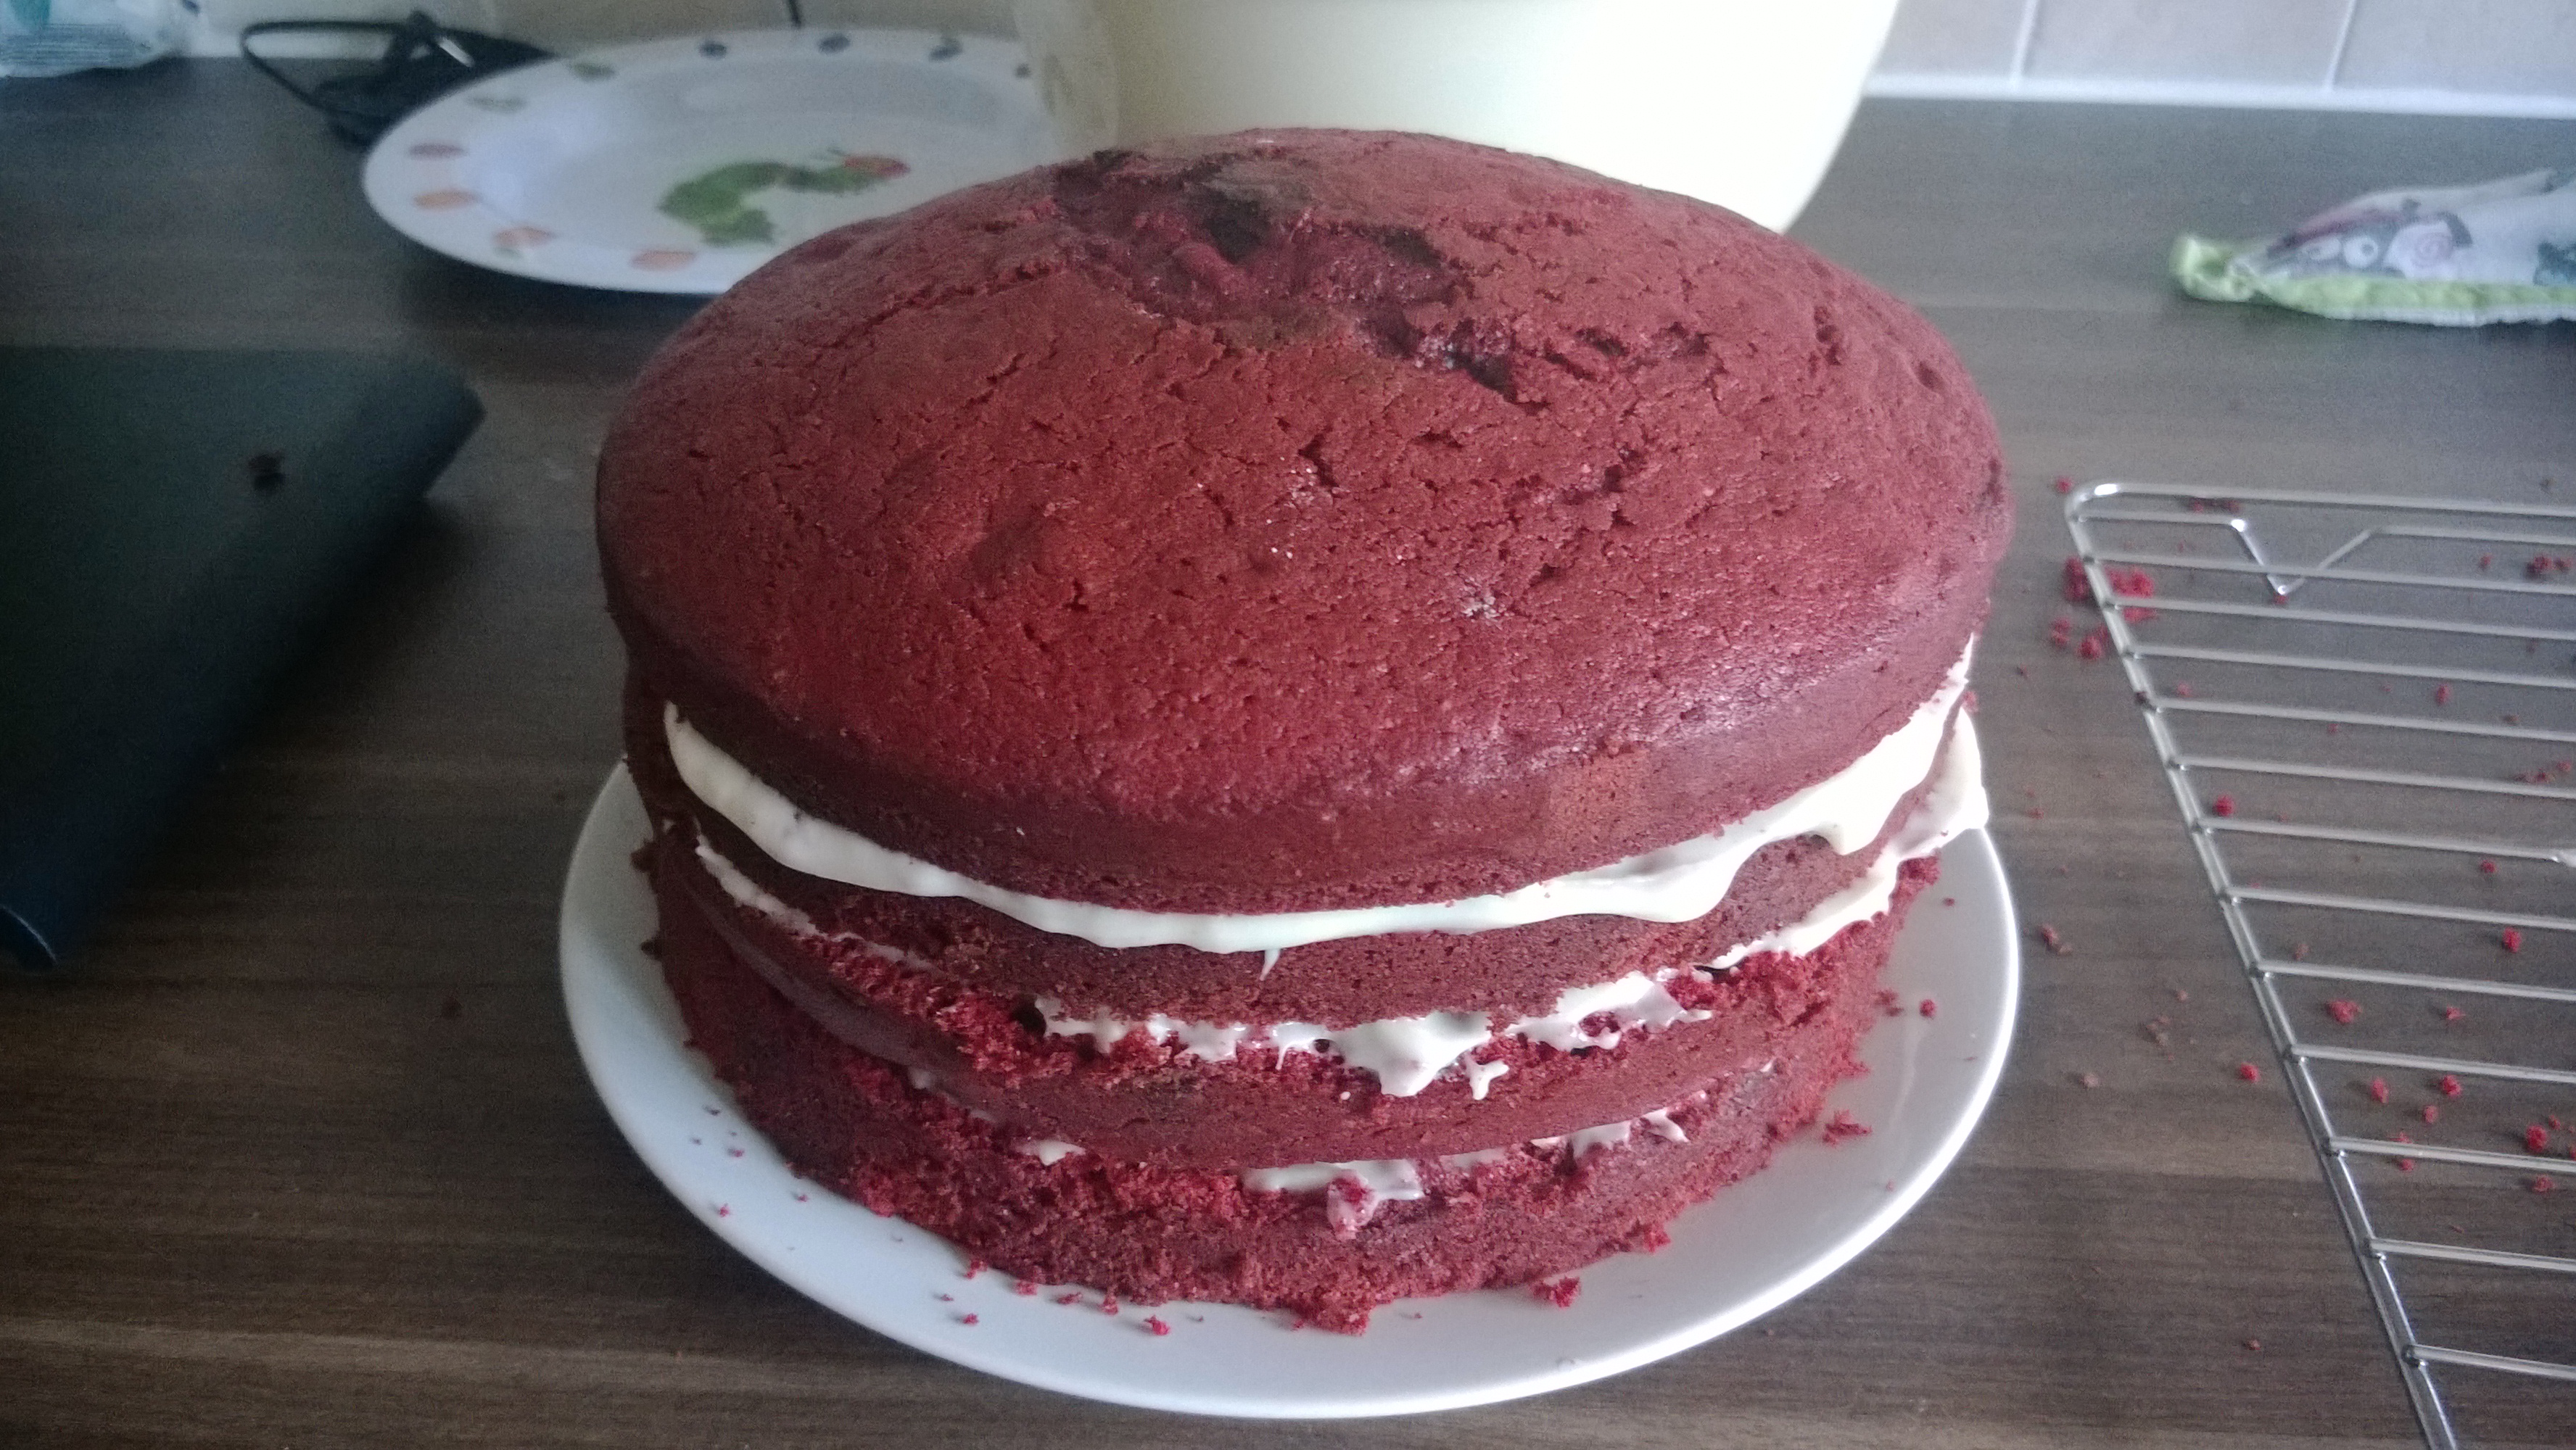
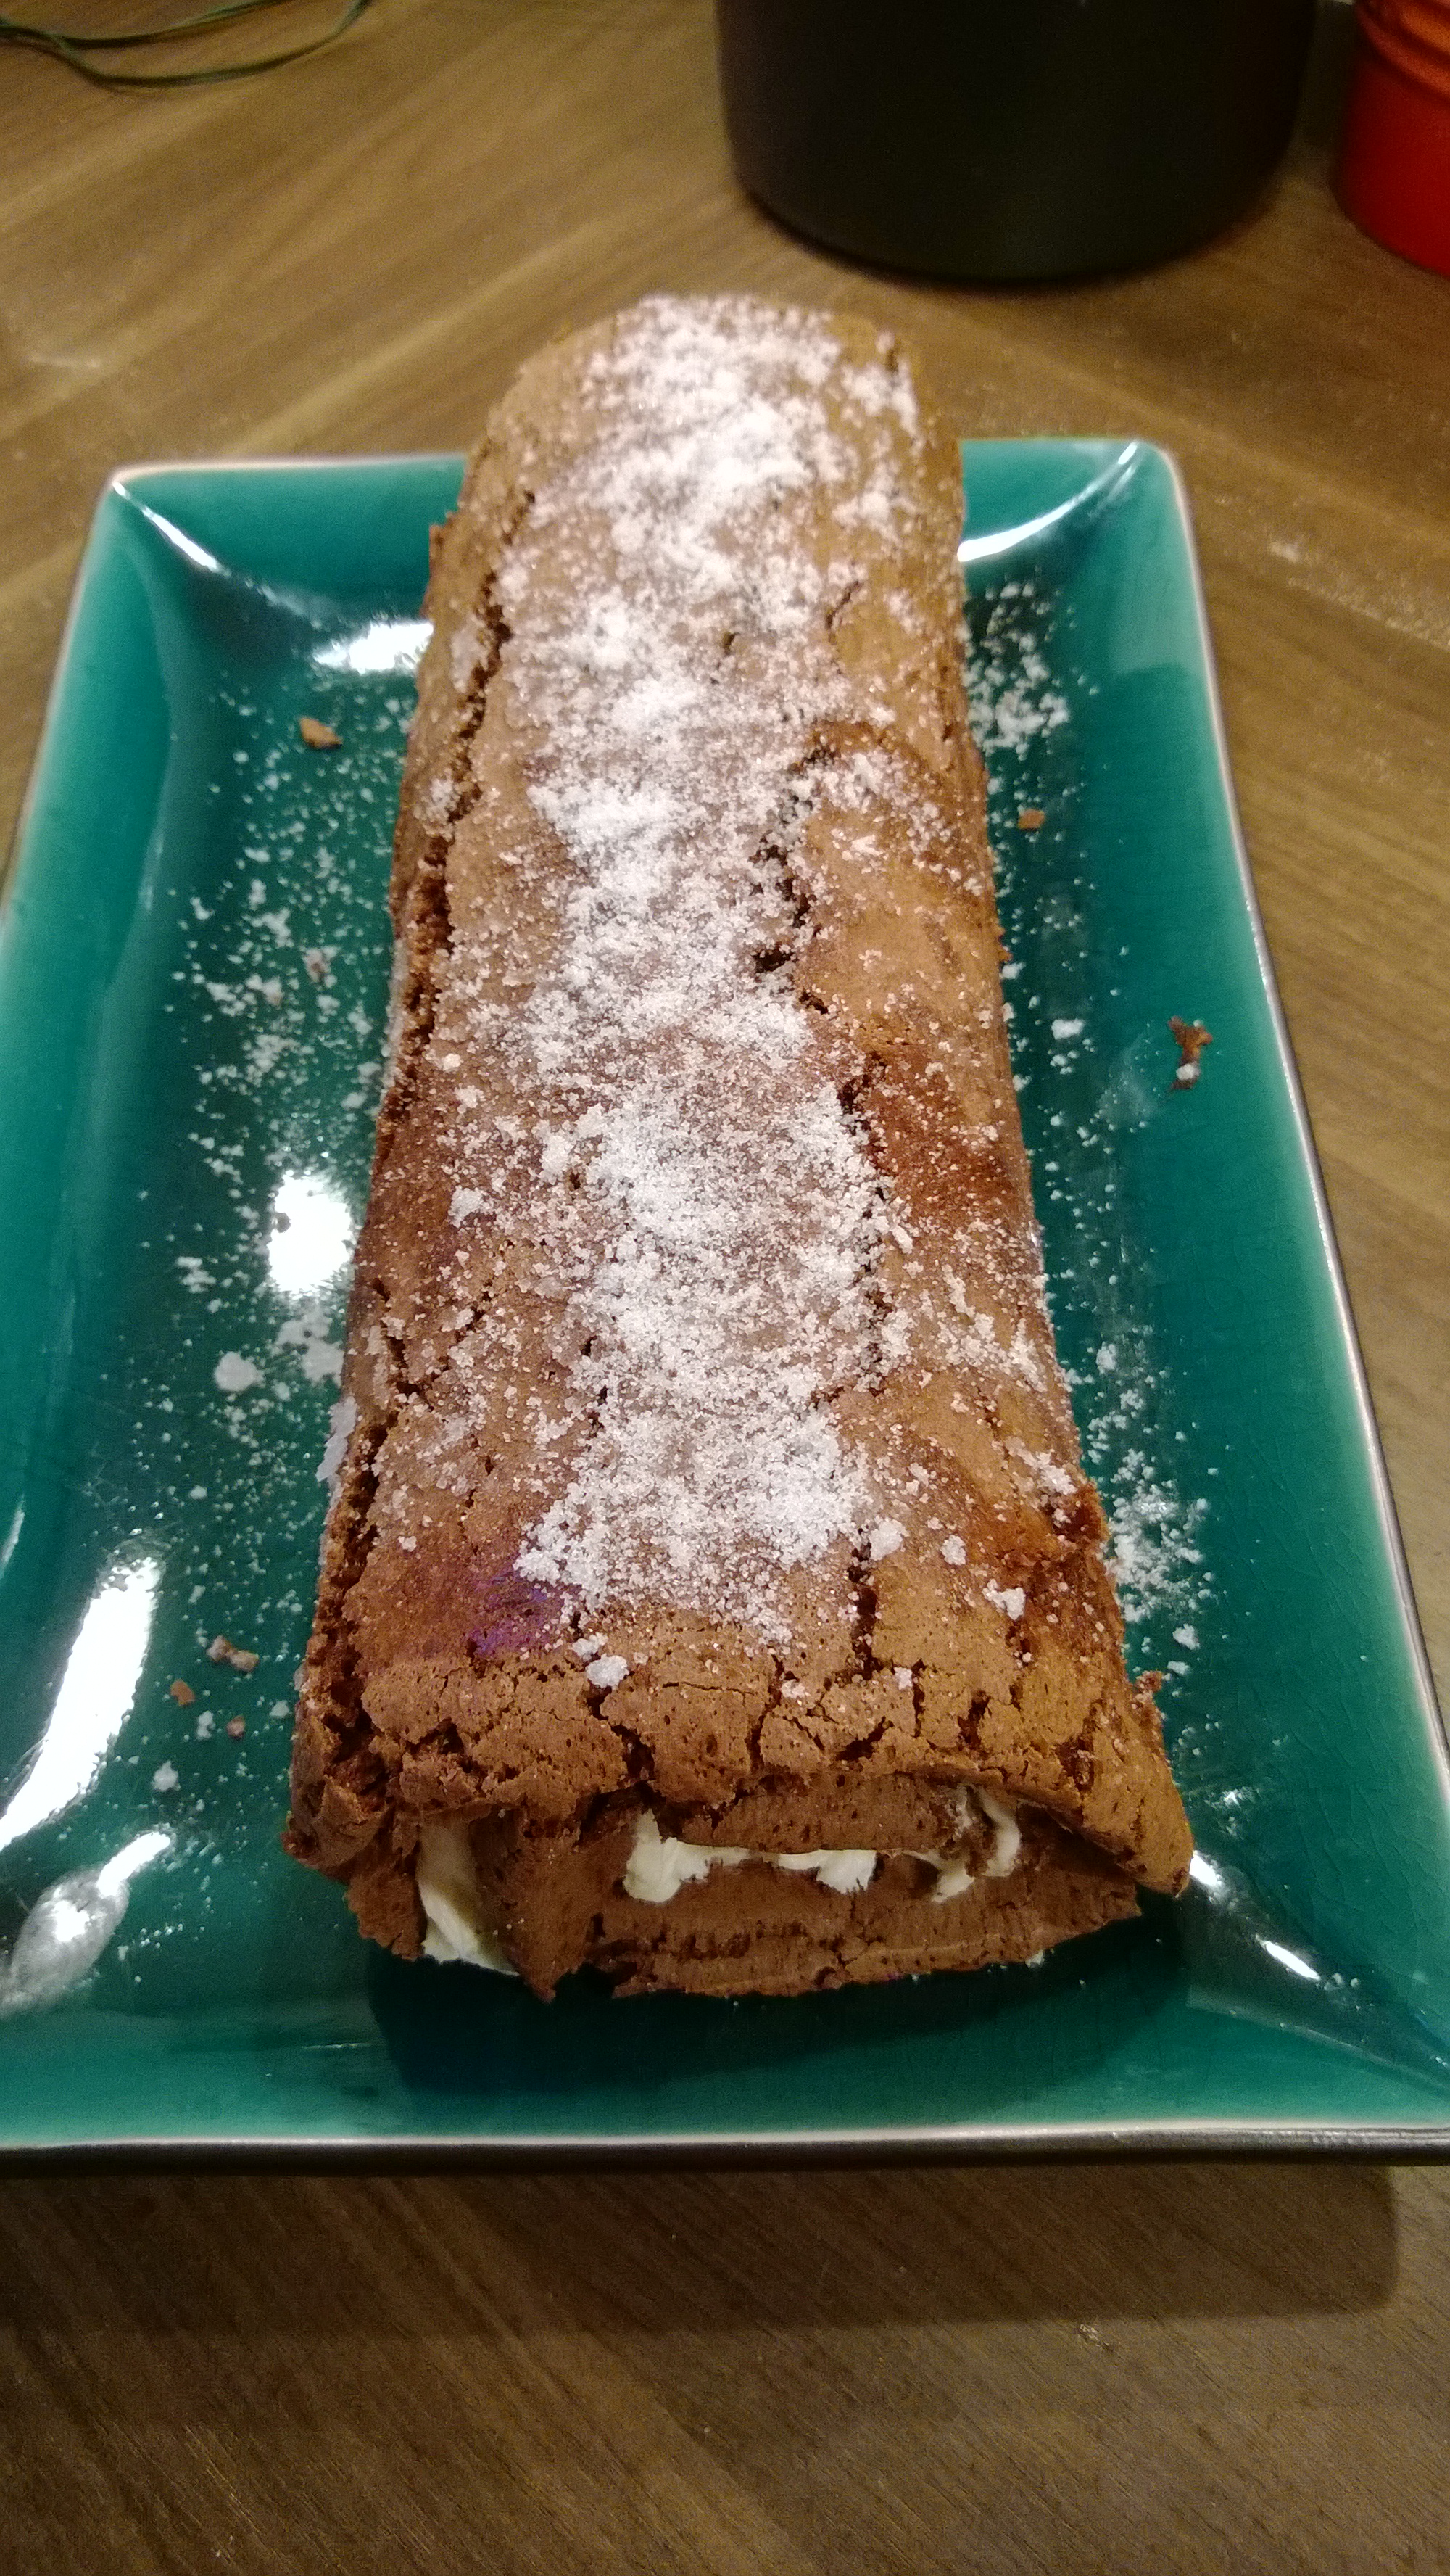
I just made the yummy roulade too, and tomorrow will be making the Red Velvet, amongst  a whole load of other Christmas Preparations! I am finally getting into the spirit of it all, can’t believe it is Christmas Eve Eve already! How are your Christmas preparations coming along?

Tasty Tuesdays on HonestMum.com

Beating Boredom with Baking Blog 3 – Paul Hollywood’s Chocolate and Peppermint Roulade

I haven’t written a baking  blog for a while as I have been on a bit of a diet. I have done pretty well with the diet, but I have really missed the baking. I just find it really therapeutic. Even on days when I am shattered and can’t be bothers, following the recipe is so soothing and then taking it out of the oven, decorating, ah the feeling of satisfaction is amazing.

WP_20131205_15_28_12_Pro

A few weeks ago I caught an episode of Paul Hollywood’s Pies and Puds during Monkey’s nap and just thought that this Roulade sounded delish, so here is the recipe:

Ingredients

  • 125g/4½oz dark chocolate ( I Used Bourneville – 39% Cocoa Solids :))
  • 4 free-range eggs, separated
  • 125g/4½oz caster sugar, plus extra for dusting
  • 2 tbsp cocoa powder, sifted (I use Green and Blacks)

For the filling

  • 325g/11½oz icing sugar, sifted ( I didn’t sift and it seemed fine :))
  • 100g/3½oz butter, softened
  • 2 tbsp milk
  • 3-4 drops peppermint flavour oil (I used about 4 drops of just peppermint flavouring as I couldn’t get oil, and it was very yummy)
  • 2 tbsp dark chocolate chips

Preparation method

  1. Line a 24x35cm/9½x14in Swiss roll tin with greaseproof paper and preheat the oven to 180C/350F/Gas 4.
  2. Melt the chocolate in a heat-proof bowl set over a pan of simmering water.
  3. Whisk the egg yolks with the sugar in a bowl. Add the cocoa powder, stir to combine until the mixture has thickened, is pale and increased in volume.
  4. Whisk the egg whites in a separate bowl until stiff.
  5. Pour the melted chocolate into the egg yolk and sugar mixture. Stir until the chocolate is fully incorporated.
  6. Gently fold in the egg whites.
  7. Pour the mixture into the prepared tin. Tilt the tin so that the mixture spreads into the corners.
  8. Bake for 18-20 minutes, or until firm and springy to touch.
  9. Once cooked, turn the roulade out onto a piece of greaseproof paper dusted with caster sugar.
  10. Gently remove the lining paper and cover with a damp tea towel. Leave to cool completely.
  11. For the filling, gradually add the icing sugar to the softened butter. Beat until all the icing sugar is incorporated. Add the edible peppermint oil to the milk, and then stir into the buttercream.
  12. Spread the filling onto the cooled roulade, leaving a 1.5cm/¾in gap at each edge. Sprinkle over the chocolate chips.
  13. Using the greaseproof paper to help you, roll up the roulade from one of the short ends. Don’t worry if it cracks a little. Transfer onto a serving plate Tip – From watching Paul on the telly, at the top end, fold the edge down completely about 2 cm in, so that it breaks. This makes rolling the rest much easier apparently!

I have never whisked egg whites before, never made meringues or anything so was a bit wary of how this would go, but actually it went pretty well! I’d watched enough of  the Great British Bake Off this year and had seen them whisking eggs, and gently folding it into cake mixtures to know roughly what to do and what not to do. I.e. Be gentle with the folding so you don’t lose any of the air you have just whisked in!

We don’t have a Swiss Roll tin either but I measured one our big baking trays and it was nearly the right depth for a swiss roll tin (2cm) so decided to try it and see if it worked, and it seemed just the right depth actually, which is good as it means we don’t have to buy a new tin.

WP_20131205_14_39_33_Pro


WP_20131205_15_27_28_Pro


I had one big fail, which was that I stupidly bought chocolate drops instead of chocolate chips. Chocolate drops are basically chocolate buttons so are far too big and intense hits of chocolate.


But on the whole it went really well! Hubby and Monkey love it, and my lovely Mother In Law, who is a brilliant baker said that it was possibly the nicest thing she had ever tasted – really high praise! My good friend and neighbour also said it was yummy and looked like a bought one :).  When I first saw it on TV I thought it would make a lovely Yule Log and after the success of this one I will definitely make it for Christmas! Though next time I will try it with chocolate chips or small shards of chocolate, though honestly I think it tastes lovely even without the addition of the dark chocolate in the cream!

WP_20131205_15_28_12_Pro
Tasty Tuesdays on HonestMum.com

Battling boredom and keeping busy

As I have written before, being a stay at home mum is the right decision for me at the moment, because I am lucky enough that we can afford it, and because I like being the one to teach Monkey and to watch him grow. Even though I am confident that it is the right decision for me, it isn’t always easy and some days are definitely more difficult than others. Boredom is one of weirdly hard things about it. We live by a routine as it is the best way for Monkey to be happy and healthy and therefore the best thing for me. But  as with any routine, this can lead to monotony. Particularly as Monkey gets older and needs my constant attention a lot less.

Playtime with friends

Playtime with friends

With the grandparents

With the grandparents


I’ve known for a while that one of the key things to do as a stay at home mum is to get out of the house every day. To get some adult company where possible, to help Monkey burn off some energy, to get a change of scene, you get the idea. This helps with boredom somewhat as it keeps us busy. We go with friends and other kiddies to parks when the weather is good, and indoor soft play places/cafes with play areas etc, when the weather is not so good. We visit relatives and have relatives round. We go to the shops, shopping centres, garden centres (he particularly likes fish and pet areas) or sometimes just for a walk round the block.

Playtime with friends

Out for a walk


This does help a lot but doesn’t really solve anything, and on days where we have nothing planned and the weather isn’t great for getting out…. I can get quite moody and irritable. I just don’t always know what to do with him to burn off some energy and keep him going. We could obviously always go to a garden centre or shopping centre, but I am also not a huge fan of wandering aimlessly with no purpose so if I don’t need (or can’t afford) to buy anything then I don’t like going. So that is when I come up with all sorts of playtime ideas, but even those don’t keep him occupied for that long.

Yummy Red Velvet Cake

Yummy Red Velvet Cake


Having fun with crochet

Having fun with crochet

Even when we do keep busy  together, it’s not usually very mentally stimulating. I can absolutely understand why some mums want to go back to work, because they need something else for themselves. I understand that completely and because of this I do question my decision at times, though for me all of the reasons I chose to stay at home, outweigh this one thing. But I do also recognise that I need some mental stimulation. This is why I crochet and do other crafty bits. It’s why I bake and cook to challenge myself (when I am not on a diet at least haha). I think a lot about home improvements and do all the household budgets, manage hubby’s business account. I also read a lot and I do most of the housework too but that doesn’t stimulate my mind! haha


If we didn’t know we wanted baby number 2 within the next year or so, I think I would be looking to go back to work now, but as it is there isn’t any point trying to find a job at the moment so I will just have to keep busy and find new ways of battling boredom until number 2 comes along, and then we will just wait and see how I feel after that. I think about studying something or even doing some work from home part time, but again I am not sure that I am ready to commit to anything like that when I know we hope to have another baby at some point, as I am sure I will have much less opportunity to get bored with 2 little ones in the house! At least until number 2 is a bit older.

Any other stay at home mums get bored sometimes? How do you keep yourself going?

Beating Boredom with Baking Blog 2 – Buddy Valastro’s Red Velvet Cake

If anyone has ever watched Cake Boss, or The Next Great Baker, then you will know who Buddy Valstro is, and what Red Velvet cake is. He is an amazing and hugely successful baker from New Jersey who runs a family baking business. One of his most popular cakes is his red velvet cake. Here in the UK it is not a well known cake at all. Most people have never even heard of a Red Velvet cake, let alone tried one so whenever they have mentioned it on the show I have been a little intrigued to say the least.

A couple of months ago at a restaurant hubby and I tried our first ever slice of red velvet cake, and Oh My God it tasted amazing! Right then and there we vowed that we would try and make it at home. But you know how it is, life gets busy. I had looked up a few recipes online and it seemed a little complicated so it got put on the back burner. I hadn’t watched any of his programmes for ages, but caught an episode recently and thought ooooh, red velvet, hmmmm and decided to give it a try.

I found quite a few different versions of the recipe online but thought my best bet was probably to go with the recipe of Buddy Valastro himself, which I found here.

One slight problem is that his measurements are all in American measures, cups, which leaves me a little blank. So with a little help from hubby and this handy conversion site, I converted the ingredients into more familiar measurements, which are as follows:

Ingredients

315g Plain Flour
25g Cocoa Powder (I use Green & Blacks)
½ tsp Salt
115g Unsalted Butter
300g Normal Sugar
2 Large Eggs
Strong red food colouring (more on this later)
1 tsp Vanilla extract
240ml buttermilk
2 tsp white wine vinegar
1 tsp Bicarbonate Soda

It is worth mentioning a couple of things at this point.

1 – The food colouring, the first time I used a tube of Dr Oetker red gel food colouring, as it was what we had and I had seen it recommended on a few websites, but honestly the cake was more of a chocolate brown than red. The second time I used 1/2 a pot of gel food colouring which I got at my local Hobbycraft shop. The brand is Wilton and it is called icing colouring. Much better result though like I say I did use half a pot of it and it is strong stuff! I don’t think that normal liquid food colouring that we have in the UK is strong enough to make the cake red after baking it.

2 – The recipe calls for distilled white vinegar, but I couldn’t find that so bought white wine vinegar which works fine

3 – Buddy’s recipe uses baking soda, which is an American term, I used Baking Powder the first time, without really thinking, and the cake turned out way too dense! So I used Bicarbonate soda the second time and it was light and fluffy, so definitely use Bicarbonate soda.

Method

Preheat the oven to 170°. Grease 2 sandwich tins, ours are 8″ I think and they worked fine. Line the bottom of the tins with greaseproof paper.

Sift the flour, cocoa and salt into a bowl.
In a larger bowl, using a hand mixer, beat the butter at a low temperature until creamy.
Add Sugar and blend on a medium speed until fluffy. Add the eggs one at a time, mixing well after each.
Add the food colouring and vanilla .

On a low speed, beat in the flour mixture in thirds, alternating with the buttermilk, beginning and ending with the flour mix. So 1/3 flour, 1/2 buttermilk, 1/3 flour, 1/2 buttermilk, 1/3 flour. Mixing well in between each.

In a small bowl, stir together the vinegar and bicarbonate soda. Stir into batter.
Divide the batter between the tins and spread evenly.

Bake until a toothpick inserted into the centre comes out clean. The recipe says 25-30 mins, it took nearer to 40 mins in my oven, though I would check it at around 25 mins.

Cool in pans for 10 minutes, then run a knife around the edges and turn onto racks. Remove the paper and flip cakes.

Here are the pictures of my cakes, the first one, with the baking powder, just didn’t rise and was really dense. It was also much browner. The second time with the bicarb and better food colouring, it rose much better and was a much better colour.

WP_002380 WP_20130924_15_11_58_Pro

Now for the yummy Cream Cheese Frosting

450g Full Fat Cream Cheese
115g Unsalted Butter
400g Icing Sugar
1 tsp Vanilla Extract
Pinch of salt

Beat the cream cheese and butter at a medium speed until smooth. 
Add Sugar, vanilla and Salt. Stir the icing sugar in a bit before beating, to avoid sugar clouds, then beat on a low speed to start, and then a medium0high speed until the mixture is fluffy.

Once the cakes have completely cooled, cut each layer in half using a serrated knife. (Buddy’s recipe mentioned freezing them but I didn’t have room in our freezer so didn’t do that). Use the frosting between each layer. Roughly frost cake all over once, then put it in the fridge for 20 minutes, before continuing frosting with another layer. I’m not that good with the frosting but this definitely helped! Use some of the crumbs from the tins as decoration et oila!

WP_20130924_16_55_10_Pro WP_20130924_17_43_41_Pro

The first cake I made still tasted fine  but the second one was muuuch better. Hubby says it’s his favourite cake in the whole world, and Monkey loves it too. It is really sweet though so you don’t need big slices of it.

Yummy Red Velvet Cake

Yummy Red Velvet Cake

Maybe if you did Freeze it as Buddy’s recipe suggests, you may get less crumbs in the frosting layers? I have no idea though may be worth a try. Happy baking!

Tasty Tuesdays on HonestMum.com

Link up your recipe of the week

Beating Boredom with Baking Blog 1 – Mary Berry’s Chocolate Fudge Cake

Boredom isn’t quite the right word for it, and Monkey and I keep ourselves very busy, but with the constant routine of mealtimes, playtimes, baby groups, naps, housework, sometimes I feel as if my brain is stagnating with the mundaneness. Sounds all a bit harsh and I am loving being at home with my little man, but I do need pursuits for myself to keep my brain going. Hence the baking!

We are watching Great British Bake-Off so maybe that has something to do with my sudden re-interest in baking, but I had a craving for a nice chocolate cake before that although I’m not sure why. Thanks to my husband’s tutelage I have now mastered the basic baking skills required for making a nice sponge cake, I also make cookies and flapjacks and things, but one thing I had never tried before was a good chocolate cake.

There are many many recipes out there and I was looking for a nice simple one that would give the tastiest chocolate cake possible. We have a few cookbooks in the house but I settled on a Mary Berry one. After a few failed attempts at some of her other recipes in the past (the pinwheel biscuits tasted really dull and we definitely prefer our flapjack recipe to hers) hubby was definitely a bit wary of this recipe book but her Chocolate Fudge Cake sounded too delicious not to try so off I went.

The cake recipe is as follows:

50g cocoa powder (I used Green & Blacks)
6 tbsp boiling water
3 large eggs
50 ml milk
175g self-raising flour
1 heaped tsp baking powder
100g soft butter
275g caster sugar
For Icing and Filling:
150g Plain Chocolate (Approx. 39% cocoa solids DO NOT USE A 70% COCOA SOLIDS CHOCOLATE, see below)
150ml double cream
Method:
 1.Pre-heat the oven to 180°C/gas mark 4. Grease two eight inch sandwich tins and line the bases with baking parchment.
2. Measure the cocoa into a bowl, add the boiling water and mix until smooth. Add the remaining ingredients and mix until smooth.
3. Divide the cake mixture between the prepared tins and level the surface
4. Bake in the pre-heated oven for about 25-30 mins until well risen and the tops of the cakes spring back when lightly pressed.
For the Icing and Filling:
1.Measure the chocolate and cream together in a bowl. Stand the bowl in a pan of simmering water and stir until just melted – do not get too hot.
2. Remove the bowl from the heat ad allow to cool until it has nearly set.
3. Spread onto cake as a filling and then the remaining for the icing.

I have to say right off that miraculously the cake baked perfectly first time round! I couldn’t quite believe it! The icing/filling however… not quite so.

Now it does say in the recipe that the chocolate should be 39% cocoa solids. I read this, but in my local shop they had 2 types of plain chocolate, one which didn’t say anything, and one which was 74% cocoa solids. I thought this was probably fine so bought that one. When I got home however I had another look at Mary Berry’s book and in the early pages (which I never normally read) she does explain why it is important not to use a chocolate with too high a percentage of cocoa solids. Something about the fat separating. This concerned for all of ooh, 2 seconds and then I thought, ahh it’lll be fine so went on with my baking.

What I was mindful of though was how bitter it would be using a plain chocolate that dark, so was prepared to add some sugar. when I had melted the chocolate and cream together I tasted it and sure enough it was a little bitter, so I added some sugar and extra cream to sweeten it. It tasted lovely, so all good I thought. Until I left it to cool. Then it started to go a bit gloopy and sure enouuh it separated. Soon there was a deep layer of oil on the surface of the bowl. Boooo! I tried to dab some off with kitchen roll (fail) then drained some of it down the sink. It did still taste nice which, according to hubby, was the most important thing.

I slapped it on the cake and actually it wasn’t too bad, tasted really good actually, I just knew that it wasn’t right.

Look what I made today... Mmmmm...... WP_002259

So a few days later, armed with some chocolate which was 43% cocoa solids (the lowest I could find) I tried again and it was definitely nicer. It was less greasy and it definitely set better as it cooled. Hubby says he liked both but my mum did admit she thought it tasted nicer the second time round.

WP_002306

So the moral of the story is – use the right type of chocolate! It is a seriously lovely cake though and such an easy recipe, so way to go Mary Berry! 🙂

Oh, one more note, the full recipe also mentions spreading apricot jam onto the cake before putting the icing/filling on, but I know Hubby would not like the apricot jam so I left it out, and it doesn’t feel like we are missing anything! 🙂

Tasty Tuesdays on HonestMum.com

Easter Nests fun and crochet chicks

Who can believe that it is Easter but it has been snowing?! Miserable and so so fed up of the cold but hey ho, what can you do? Have lots of fun indoors, that’s what! We’ve also taken the opportunity to do lots of the niggly little DIY jobs around the house that we haven’t got round to so far, but I won’t bore you with those! This post is about making some lovely Easter chocolate nests with a bit of help from the Monkey, and my attempts at making some cute crochet chicks.

P1020764

After making the lovely blue bunny I decided that it couldn’t be that hard to crochet a little chick for Easter. I looked at lots of patterns online but couldn’t find any that matched up to the image I had in my head so I decided to just go for it, using the bunny pattern as a starting point and then going from there. I couldn’t make up my mind whether to make the head and body separate and then sew them together, or whether to try and make it so that it went in, and then out again, kind of like a skittle pin. I tried this first and the body looked ok, very much like a skittle pin, or maybe a yellow penguin! It was ok but where I really went wrong was with the eyes!! I am not very good at this bit and the end result is here – now known in our house as Evil Chick! hehe

P1020766

You see the problem is the knots in the yarn, clearly the eyes need to be a lot smaller if they are to look cute but as I am sewing them on after stuffing them, I don’t know how to hide the knots at each end without them ending up huge, and, well, evil looking! hehe

P1020773

So I decided to try again and as I wasn’t 100% happy with the shape of Evil Chick I thought I would have a bash at making a separate head and body. I also decided this time that I would sew the eyes into the head before I stuffed it, so that the knots could be inside and therefore the eyes much smaller. This ended up looking much better! Much cuter and just a nicer shape all round I think too so yay me 🙂

P1020770


Loving the long weekend with hubby off and wanted to do a few cooking things, including making some chocolate Easter nests, because they are delicious and it’s really the only time of year you can make them! Monkey has dropped his morning nap this week (it’s been fun) and so is awake much more and I am having to find ways of entertaining him more, whilst also getting my jobs done, more on that in another blog, but it also means I have less time to do baking and chores when he sleeps.

I thought making the nests would be a nice thing for our little family to do together, and have this week bought a little sand and water table for him for crafty time and in readiness for the summer, so decided to involve monkey in the crushing of the shredded wheat. He was much more interested in eating it, but as it’s 100% wheat I don’t think there’s too much wrong with that! It was a bit chaotic and it went all over the floor but it was lots of fun too!

P1020697

P1020712

Daddy then melted the chocolate over a pan of boiling water while Monkey and I played. He also did the serious business of mixing up the shredded wheat and chocolate.

P1020736P1020740

P1020744P1020747

Monkey has never really eaten chocolate before now but we thought we can’t keep it from him forever, and as it’s Easter it’s a bit mean not to share. So we gave him a little bit of the much cooled but still soft chocolate and wheat mixture, and he loved it. He loved eating it, smushing it around his tray and generally waving it around and spreading it throughout the living room hehe. All good fun.

P1020755

P1020758

Meanwhile Daddy finished making the nests and filling them with yummy mini eggs.

P1020761

Then we ran out of mini eggs and made some more with minstrels hehe. Slightly less elegant but still good.


Yum, yum, yummers 🙂 we have eaten far too many but I have also been handing them out to all the family we have seen to make sure that we don’t eat them all! haha Had a lovely quiche for dinner, another of my mum’s recipes, but this one is a slight adaptation from a Mary Berry recipe, and much easier to follow and tastes delicious. Monkey loves it too which is great so some has gone in the freezer for him later in the week 🙂

P1020775


Yummy baby biscuits and weaning in general

When the time came to start to wean monkey on to solids I have to say I had no clue where to start. I felt pressure that I should make all of his purees so they are all fresh and full of goodness, but really didn’t have the first idea how to puree anything, or at least how to cook things until they were ready to puree, steam? Boil? Bake? There are of course many wonderful jars and pots and pouches out there but as a stay at home mummy I felt that I should be able to prepare most of his food myself. So after a bit of online research I bought a book by Annabel Karmel. Her book had lots of good reviews and seemed like a good place to start.

I’m not going to write a detailed review of her book as there any many available online far more eloquent than I would be, but suffice to say this book has been my bible for the past few months. I skimmed some of it, and followed other parts to the letter. Great as a starting off point for how to make apple puree and others and her recipes really are amazing. We are yet to find one of her recipes that monkey doesn’t like and of course I haven’t made all of them but we have a made a lot of them now and each one seems better than the last. Monkey now seems in a phase where he hates to be spoon fed and only wants to eat finger food, and although they are a little fiddly, Annabel’s mini meatballs are delicious and the rice balls so easy to make.

I have of course used jars, pots and pouches too, mainly to give monkey plenty of variety without spending my life in the kitchen, and there’s only so much space in our freezer! There is no denying that they are also really handy, especially when we go out somewhere , but it’s been nice to know that I have made some of his food, and honestly we love some of the recipes that much that we have adapted them in to adult meals for hubby and I so that sometimes we can all eat the same food together, which is nice.

Our favourite recipe of all time though is for her oaty cookies. They are so good we have even adapted them to an adult version, and everybody who has tried them just absolutely loves them! They are very quick and easy to make, although as with anything baking related with me, it hasn’t always been plain sailing. There have been a few dodgy batches along the way, some where we have cooked them for a couple of minutes too long, or one where I forgot about 3 of the ingredients! They still tasted pretty nice each time though so I don’t think you can go too far wrong with them.

Here is the recipe, almost to the letter of Annabel Karmel’s, although we have adapted things ever so slightly 🙂

75g flour (the recipe is for wholemeal flour, but we have used plain flour too and they are delicious both ways)
55g rolled oats
¼ teaspoon of bicarbonate soda
85g of unsalted butter (soft)
75g caster sugar
1 tbsp maple syrup (15ml)
1 tsp vanilla extract (5ml)
55g chopped dried apricots
Some chopped white chocolate (optional)

Preheat oven to 180C if conventional, (160C for fan oven)

All ingredients (except chocolate) into food processor and whizz until well mixed into a dough – all apricot bits should be tiny and the mix is the same consistency throughout, we’ve found that it should almost be shiny for the perfect cookies.

P1020676

When making them for monkey I just leave them as they are but if you want to make them for grown ups or older kids with chocolate, now is the time to finely chop some chocolate (we like white chocolate) and stir it in.

Line baking trays with greaseproof paper (use little bit of marge on underside to stick it down if necessary)

P1020678For baby sized cookies we roll them into teaspoon sized balls, and for adult sized cookies, roughly tablespoon sized balls. Place on the baking trays – they will spread quite a bit so space them out on the baking tray. With adult ones you can see we use two big trays to make about 12/13 cookies.

adult biscuits

adult biscuits

For baby sized biscuits, cook for about 9-10 mins, or for bigger cookies, cook for 12 mins until starting to turn golden at the edges. They can overcook very quickly, and they will still be tasty but less squidgy in the middle.

adult biscuits fresh from the oven

adult biscuits fresh from the oven

Leave to cool on the baking tray for a few mins then transfer onto a wire cooling rack.

baby biscuits cooling

baby biscuits cooling

Store in an airtight container.

We often make a double batch with about 16 baby biscuits for Monkey and 12 adult sized cookies. The apricots went in the food processor as a mistake the first time we made them, and though you can’t really tell that they are there, the cookies were so good that we haven’t dared make them without them in. “If it ain’t broke, don’t fix it” as they say!

Happy baking!

Making a Bakewell tart for Mothers’ Day – don’t forget the jam!

When I conjure up an image in my head of a stay at home mum, they can almost always bake (maybe they don’t all bake in real life but this is how I imagine them). So in my quest to be a good stay at home mum I would like to be a better baker. As mentioned in my intro I am not the best baker in the world, I have improved since my first attempt but I rely on my husband’s help a lot as he is much more experience than me.  I can’t remember why but for some reason a couple of weeks ago I decided I wanted to make a Bakewell tart, something I have never attempted before. We had invited my mum and brother round for a roast dinner on Mother’s day so decided this would be the perfect occasion to try and make one.

My mum makes a lovely Bakewell tart, so I thought I’d ask her for the recipe, seemed a good idea, but, well it turns out she has lost her recipe book with the Bakewell tart recipe in (I only found this out afterwards) so I got a very vague description, that you use the recipe for a Victoria sponge but halve the flour and use the rest of ground almonds. Ummmm how do you make a Victoria sponge? 4444 apparently. I’m sure that means a lot to some people but to me it was like telling me in Russian. According to mum this is 4oz caster sugar, 4oz butter, 4 eggs and 4oz self-raising flour – which for a bakewell tart you halve and then use 2oz ground almonds.

This sounds simple but I am a bit of a planner and wanted more detail, so I turned to my trusty friend Google to find a recipe that backed mum up (none of our cookbooks at home seem to have a bakewell tart recipe in randomly). But none did, although I did find an article on Waitrose that said there doesn’t seem to be much consensus on what the correct ingredients are. Great! Helpful! I relooked through our cookbooks and a Mary Berry one did have one for Bakewell slices, which did seem to slightly correspond to mum’s version of the recipe, with the addition of baking powder so I though ah well let’s just give it a go!

It is worth mentioning at this point that Monkey is poorly (yes, again!) with a terrible tummy bug, won’t go into too many details but he really hasn’t been well so the routine has been a bit shot and both Daddy and I have been covered in output from one end or the other. Yesterday (Saturday) we popped to my lovely in-laws for lunch to see Granny for mothers’ day, but well I ended up eating lunch in Granny’s dressing gown and socks as my clothes were a bit vomit covered.

So it was that Saturday afternoon with Monkey asleep earlier than usual, hubby and I decided to have a bash at the Bakewell tart. I measured the ingredients and we mixed it up, though it definitely seemed a bit sloppy. Hubby then asked “Is there no sugar in this recipe” my reply, “err yes, oops”. Yep great start, I had forgotten to add sugar to the recipe. I blame the fact that my mind was on the monkey at the time. Seemed a bit thicker but still quite gloopy but what do I know, maybe it is meant to look like that?

P1020586


I very nearly handed over the reins to hubby at this point to roll the pastry (No, we didn’t make our own, Hubby’s business partner went on a pastry course a while ago and the master chefs there advised that for all the effort it takes to make good pastry, it won’t be better than bought, so just buy it. Good enough for me!) mainly because I have had disastrous attempts at rolling icing and pastry in the past and it has ended up stuck to the worktop etc. But no, this is my tart, I am going to do it. To avoid previous mistakes I put quite a bit of flour on the worktop, ok, well, loads, which hubby found very amusing, but voila the pastry came out alright 🙂

P1020590P1020596

We added the mixture to the pastry, very proud of ourselves, but d’oh! We didn’t put the jam in. What kind of Bakewell tart is it without Jam??? A rubbish one. We discussed putting the jam on top of the sponge, before we ice it, but that feels wrong. I suggested tipping out the mixture so we can put the jam where it should be and my husband found this hilarious, what a silly idea. Then all of a sudden he was on board. He had come up with a plan, it’s all about the tool, we need a flexible tool. So with a flexible plastic spatula we tipped/gently scraped out the mixture. We then put the jam in and the mixture back on top. What a palaver!

P1020610P1020611P1020613 P1020609

It seemed to cook ok (thanks to mum’s vague directions we guestimated temperature and cooking time, not recommended when baking!) and looked pretty good when it came out of the oven.  By this point monkey was awake so daddy fed him while I iced it. In hindsight I think the icing was a bit too runny as it drifted off to the sides, but that’s all appearance right? It needs the taste test but that had to wait until today.


We had a terrible night with our poorly monkey, have been up since about 4/430 with a fever and horribleness and spoke to the GP out of hours at one point but thankfully by about 7am he managed a little bit of food and started to feel much better. Phew! Had a lovely roast lunch planned, with Cider braised ham (one of our faves) with my mum and older brother coming round. We briefly debated calling it off but decided what’s the point in that? These things happen and we are knackered but more people means more hands to help entertain the little one so while he was down for a very early nap we cracked on with the days plans.

To cut a long story short we had a lovely yummy Mothers’ Day lunch and the Bakewell tart, while it wouldn’t win any beauty contests, did taste pretty darn lovely  🙂 I may be being hard on myself but I thought it tasted a bit soggy and maybe too spongy so maybe 4 large eggs was too many? Anyway everyone else was full of praise (hopefully not just being polite!) and one of brother in laws came round later in the afternoon to help entertain the monkey (mummy & daddy are definitely flagging now!) and it definitely got his seal of approval.

P1020637

P1020636

Definitely room for improvement but not bad for a first try!